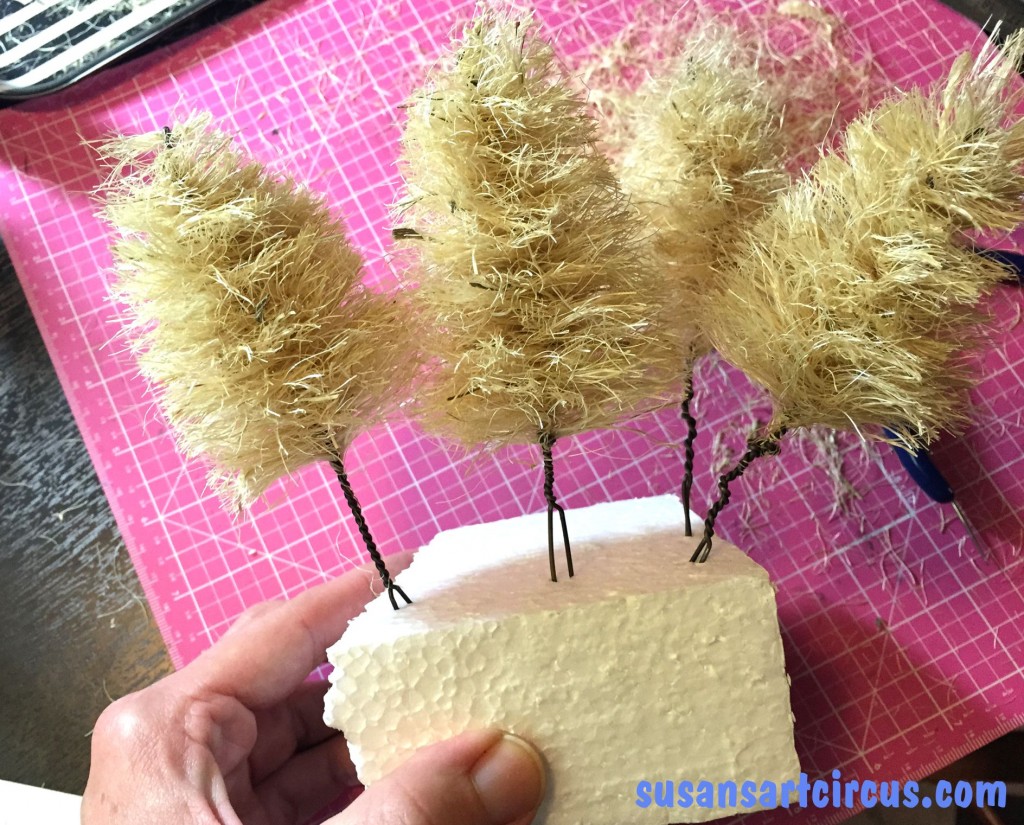
Sisal Christmas Trees DIY

Inspired by another artist I decided to make some of those little sisal Christmas trees this year. Of course you can buy bags of sisal trees but I needed to make them from scratch. (of course)

So I headed off to Home Depot for some ingredients:

Project Ingredients

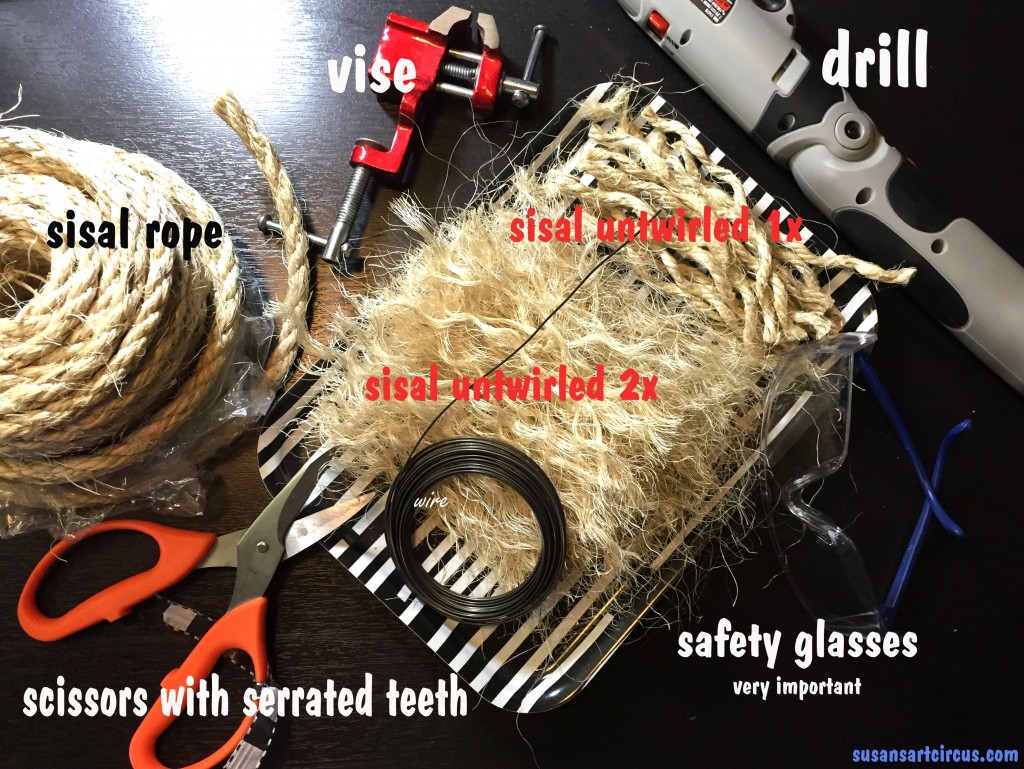
Based on my inspiration tutorial, which you can find here: DIY Bottle Brush Trees, these are all the necessary things.

  1. sisal natural rope

  2. heavy duty scissors (I went with serrated blades)

  3. 18 gauge wire

  4. vise

  5. drill

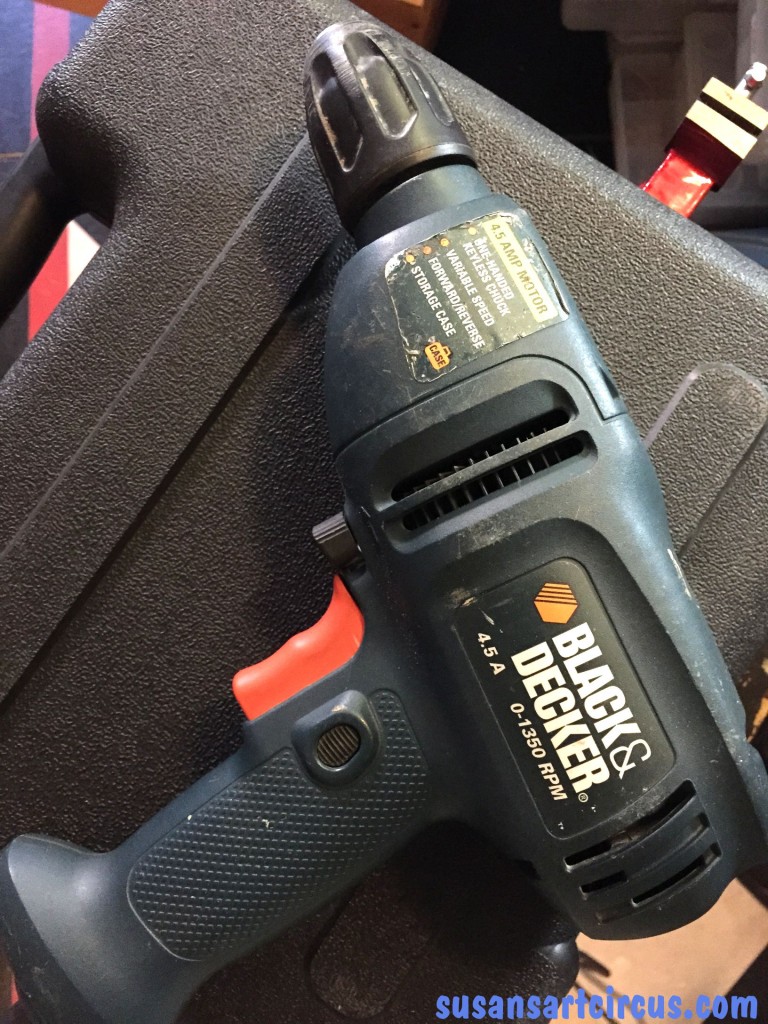
I added safety glasses and a cup hook to this list. Also the above picture shows my household drill that doesn’t have an adjustable chuck (the thing that holds the bit) so I needed to upgrade into this…

Bigger Drill

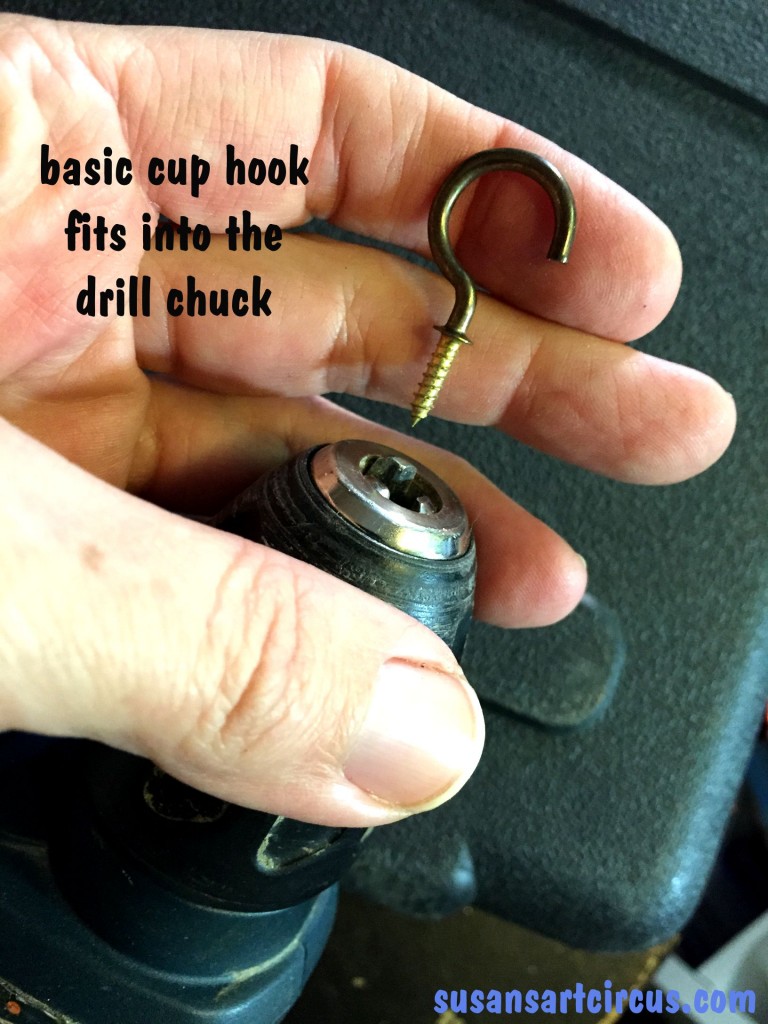
It has three movable parts where the bit is held so I could do this with the cup hook…

sisaltree1cuphook

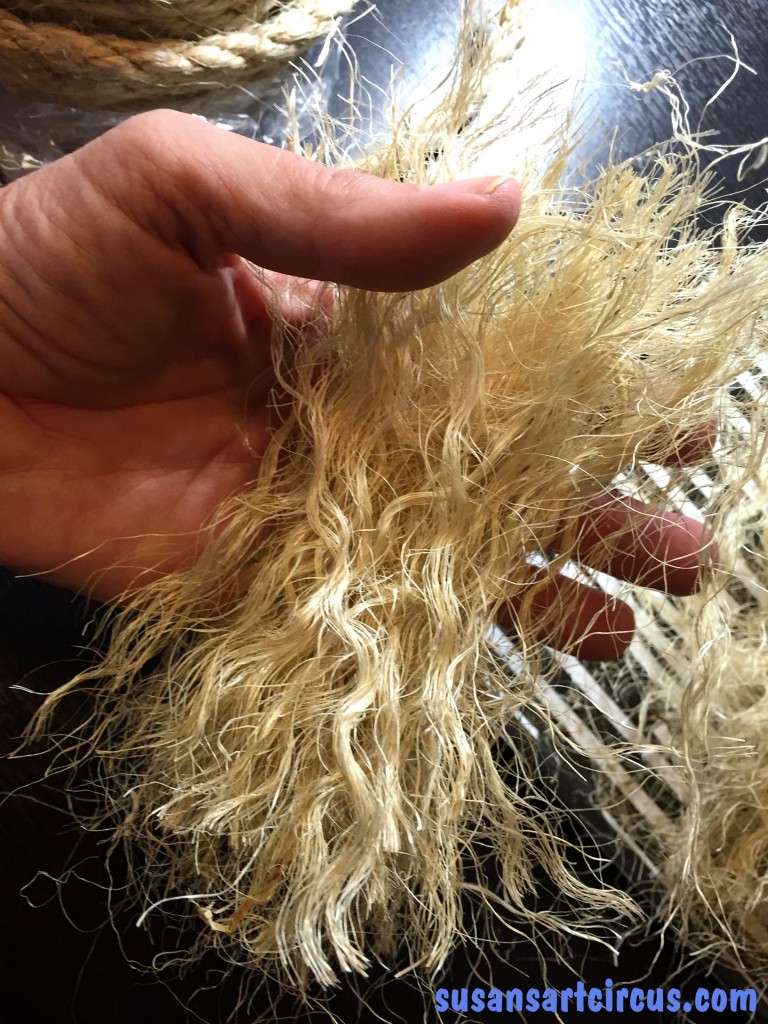
 I stuck that in there for twirling of the wire necessary to make the tree. But let’s back up a little and start with the sisal. First you want to cut some lengths of the rope to work with. I cut 6 inch pieces, about 20 to start, then untwirled all the fibers. You will have to untwirl two times. The first will take apart the rope. The second will take apart the fibers and look the picture below. At least this is what you are shooting for.

sisaltree1untwirled

Looks like my hair! Keep doing this until you have a nice full pile. Mine were about 6 undone strands of rope each but you can really do more or less depending on your aesthetic.

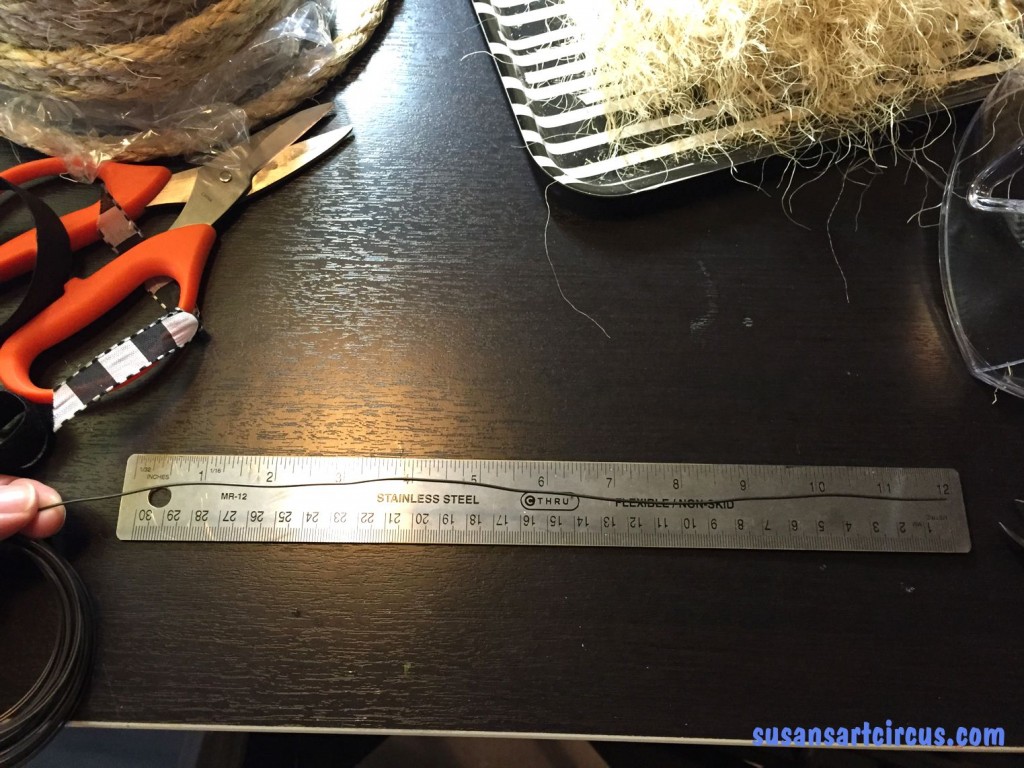
Next you will need to cut the wire.

Cutting Wire

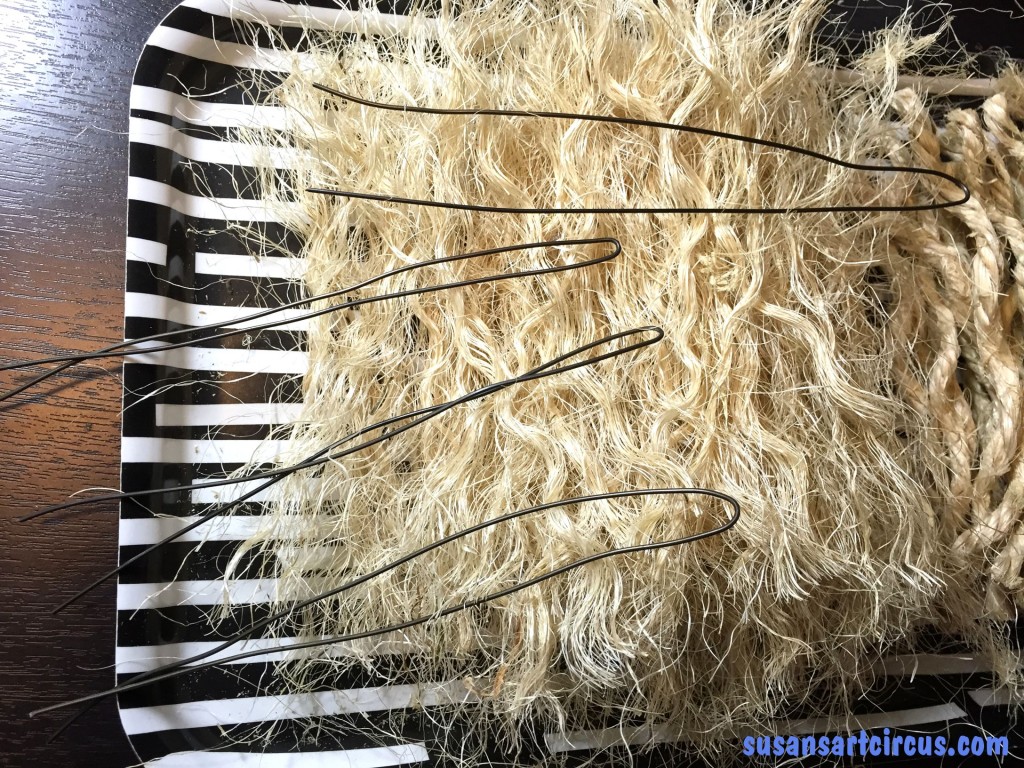
I started with 12 inch pieces which then are folded in half.

sisaltree1wirebend

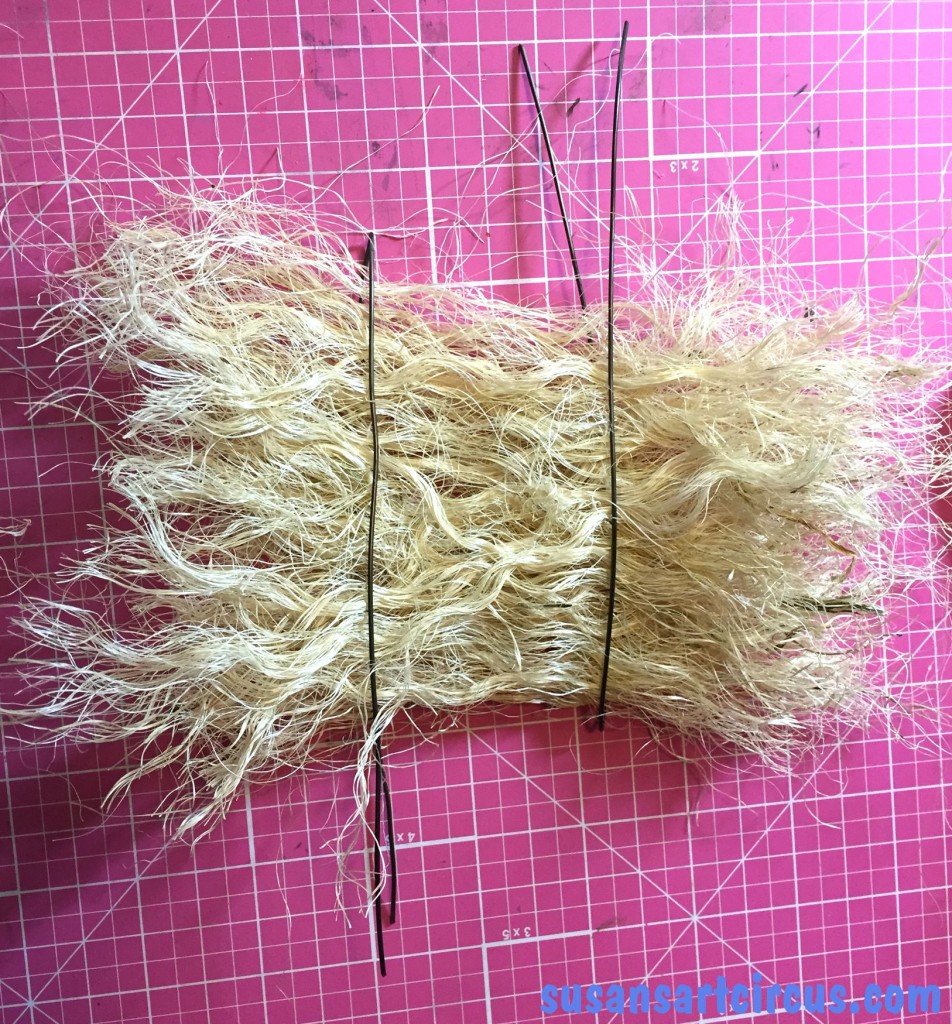
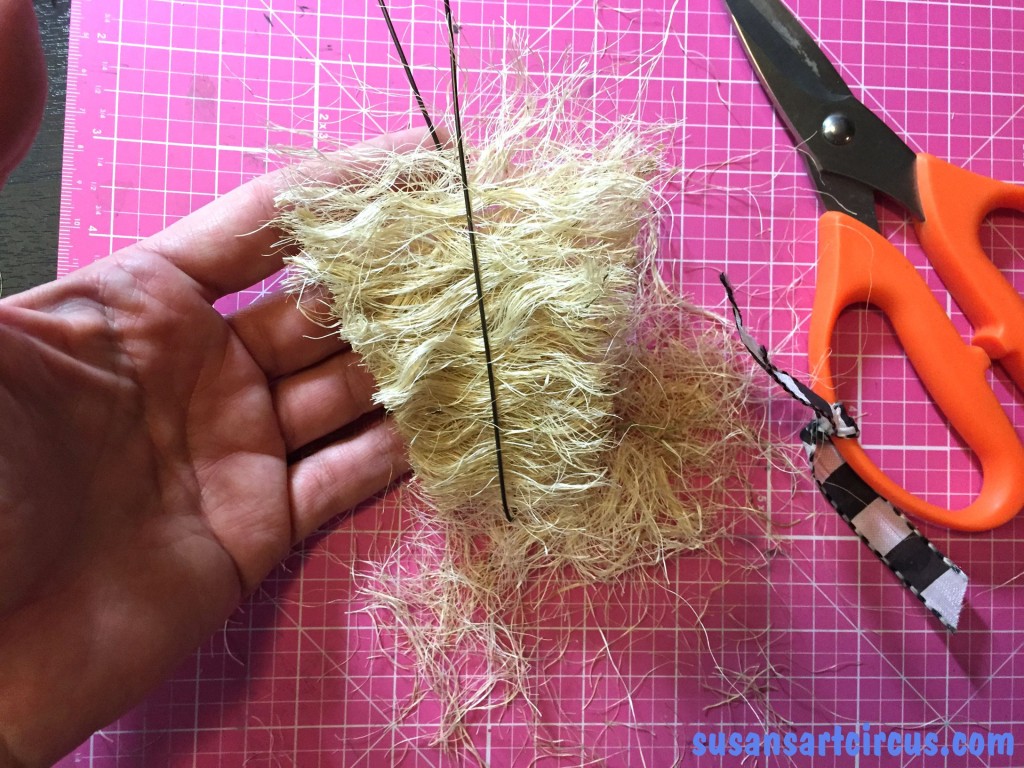
Now take your pile of fibers and fit them in between one of the folded wires. Take a second wire and place it over the fibers in the opposite direction. Slip these to each side of your fiber pile and it should look like this.

sisaltree1lineupwire

Trust me…at this point you’ve made a big mess and you’re wondering if this is even going to work. But be patient because it’s slowly coming together.

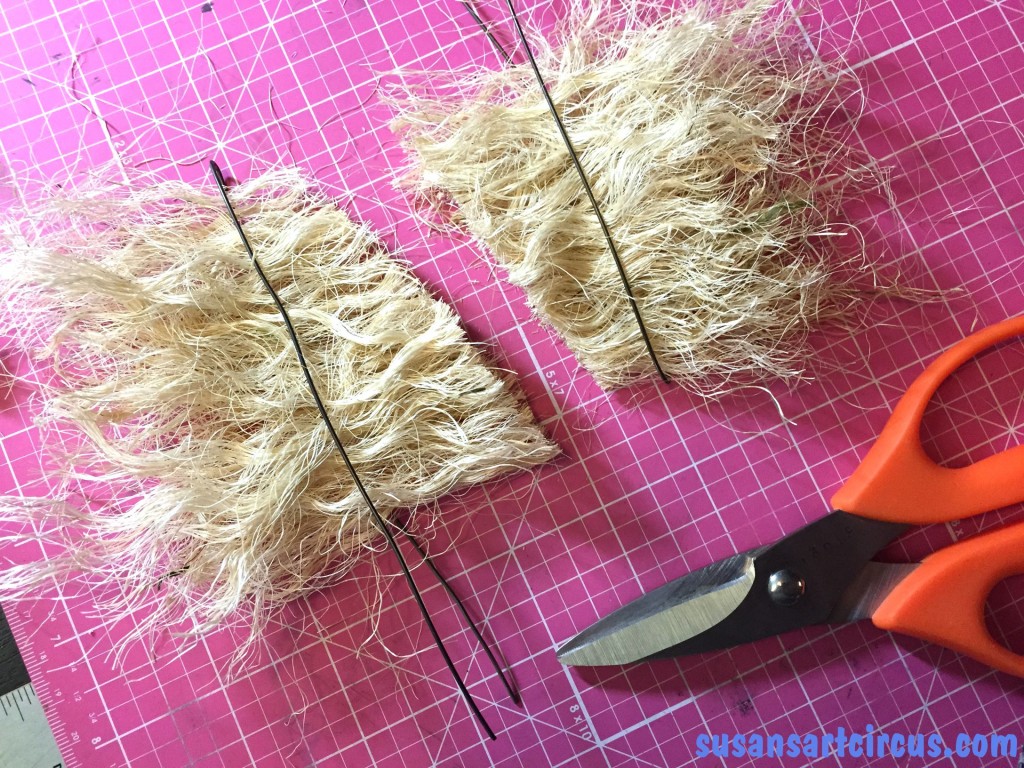
Get your scissors and we are going to cut diagonally in between the wires like so…

sisaltree1cut

Then go back to each side and make some more diagonal cuts so you have basic tree shapes.

sisaltree1cutotherside

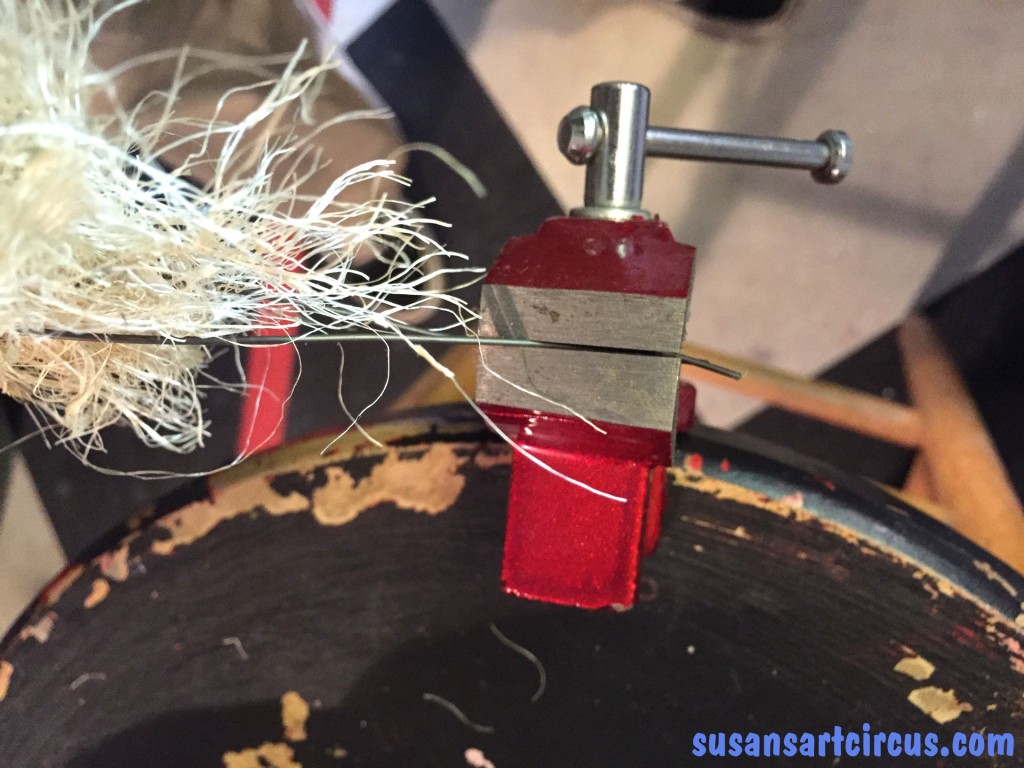
Here’s where that cup hook and larger drill come into play. Placing the bottom of the wires, the open end, into your vise screw it down hard so they will stay put.

Wires in Vise

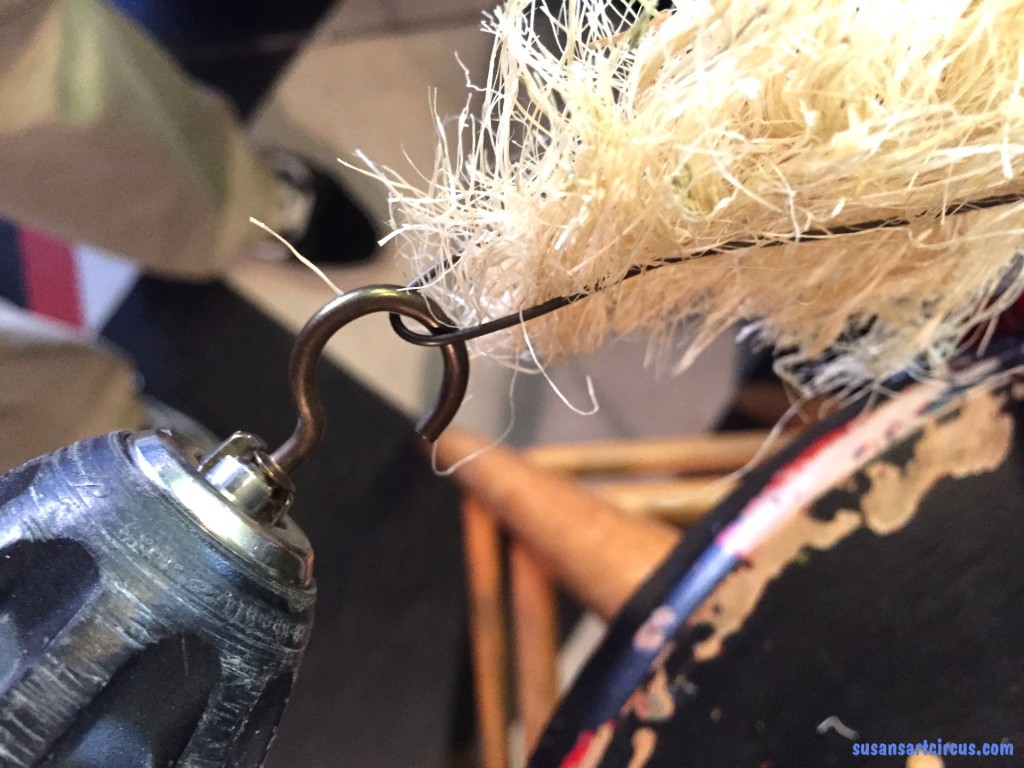
Then take your drill with the cup hook and place the hook like so in the folded portion of the wire…

Cup Hook Twirling

Pulling up slightly with the drill start to allow the wire to twirl. The hook will probably catch a bit more wire here than you would like but keep twirling with the drill moving slowly until you get the hang of it. The wire will be very twisted when it’s done but not so twisted that it breaks or twirls over on itself. This took me a few tries before I felt comfortable. AND WEAR YOUR SAFETY GLASSES! You don’t want things spinning through the air to hit you in the eyes!

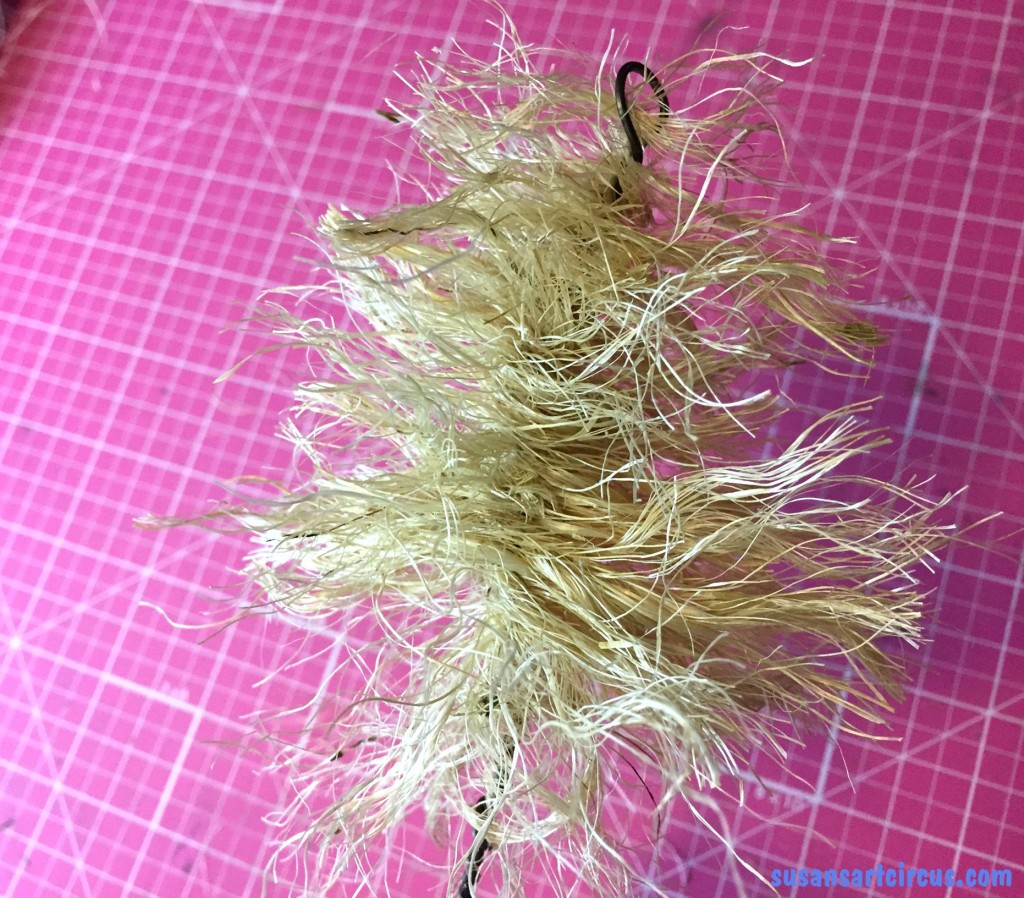
So here is the pay off…

After Drilling

A messy tree like thing…but wait! Take your scissors or, I used a needle tool, and brush out the fibers. I found it best to work in one direction. Then using your scissors trim into a tree shape. Keep trimming…and trimming….and trimming and a tree will appear!

sisaltree4trimwide


Many Sisal Trees

Miraculous! All of a sudden you really have a mini sisal Christmas trees….but they’re beige. And now the real fun begins!

Don’t hate me but I’m not going to show you until tomorrow!

See you back here then!

Susan


Christmas with Ice and Santa!

Christmas is coming?! Really? Didn’t we just do Christmas?

I have to admit that Christmas has not been my favorite holiday over the past decade. When you’re on the road, as I am, through the holiday season Santa is more work than pleasure. Add to that 10+ years of this love/hate relationship and thinking about Christmas seems really daunting.

So, several months ago I was sent some beautiful Rue Romantique pieces from the Ice girls and asked to do something for Christmas. My first honest response in my head was, “oh no, not that!” I’ve wrestled with it ever since…until this past week.

Knowing our blog hop was fast approaching I knew I had better wrap my head around it or be totally delinquent. Out came all the pieces and more from my design team stash…ribbons, the component Rue pieces, resin, bezels, papers….all of it all over the studio. I stared at it for several days. Pushing it aside I went back to my all time favorite material, shrink plastic, and just began to play with some holiday stamps. Then it dawned on me! K.I.S.S. Stop over thinking it and keep it simple stupid!

Merry Christmas and Santa emerged…
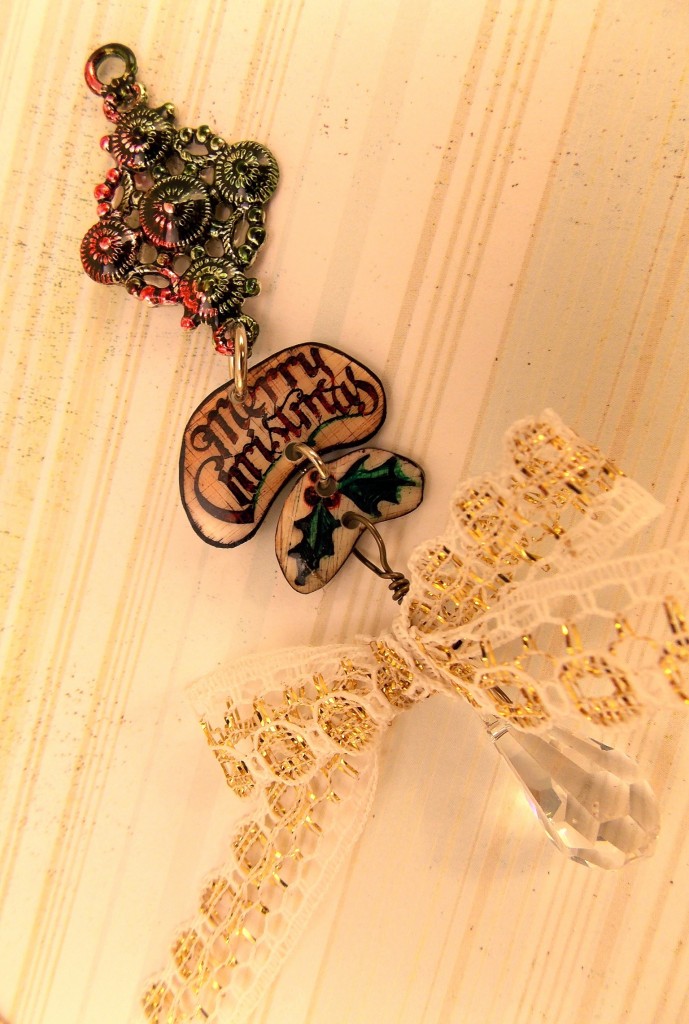
Merry ornament

I pulled out the alcohol inks in red and green to add some holiday color to the components. Wrapped a bit of vintage ribbon to the bottom.
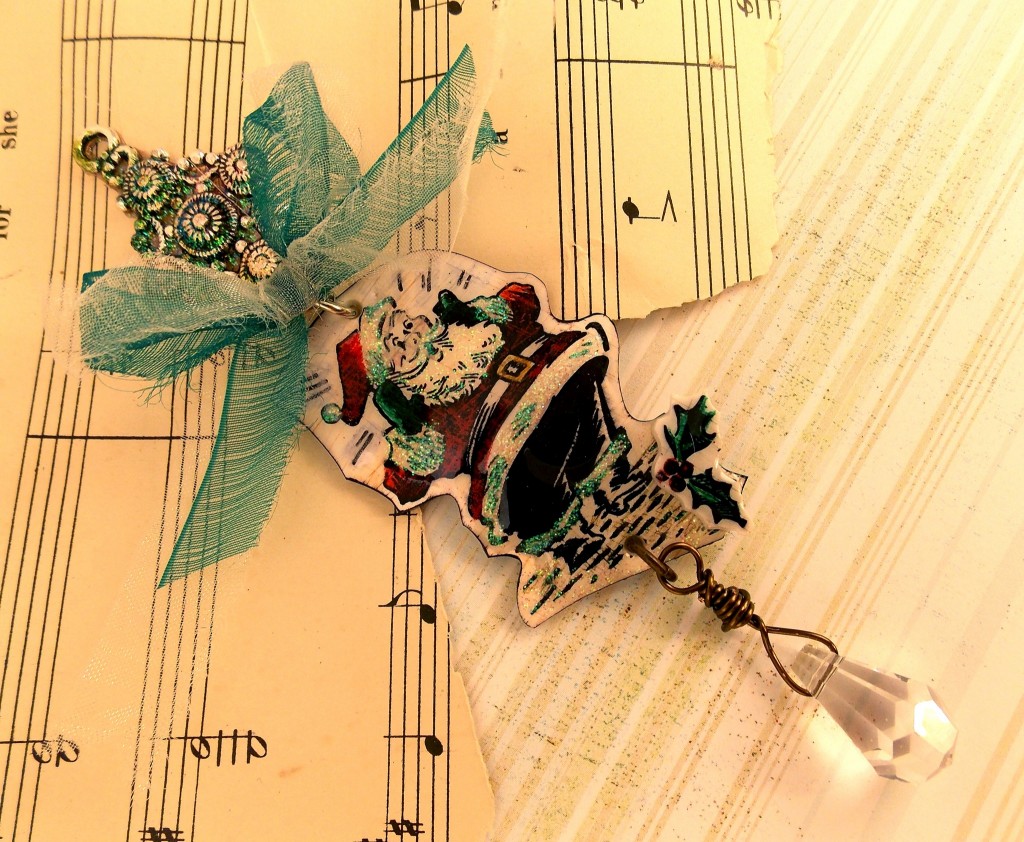
IMG_3104

Santa had to have some shiny, sparkly areas so out came the iridescent glitter added to some ModPodge then painted into his fur, beard, hat, and sleeves. Also some glitter was added to the component piece then resin over the top to seal.
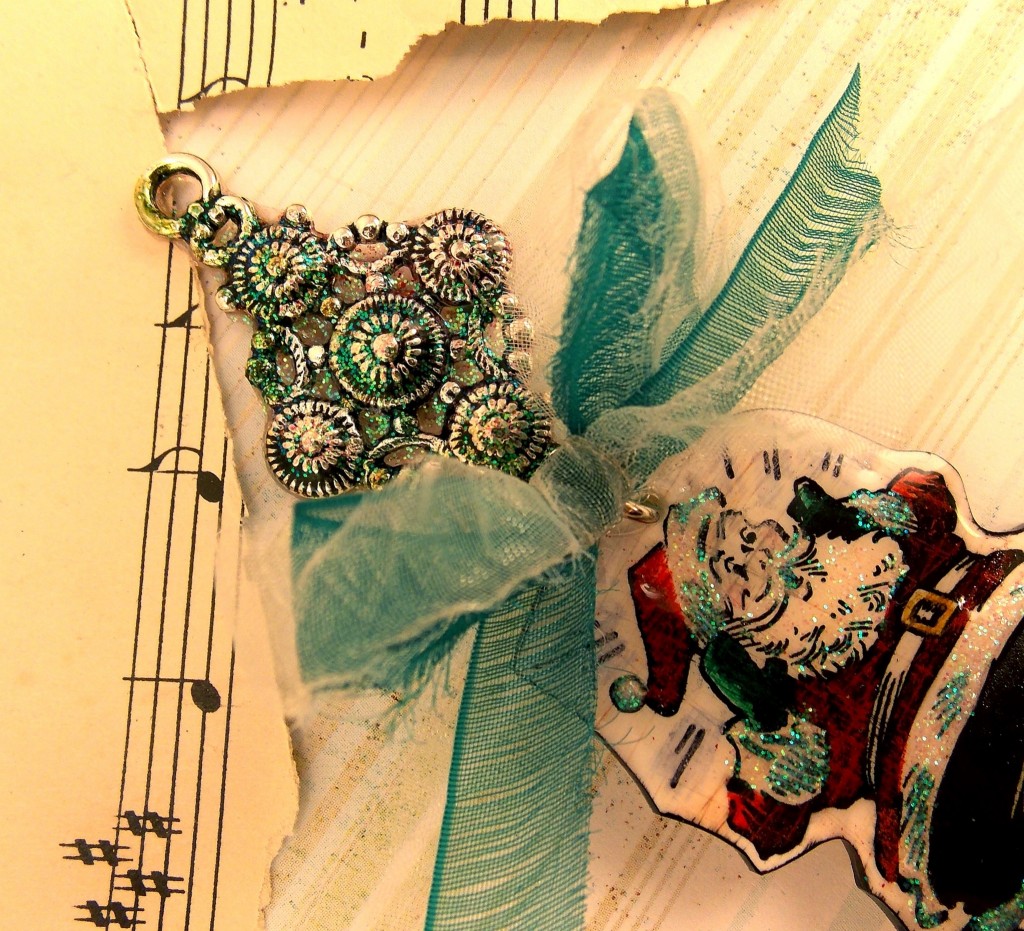
IMG_3105

Here it is a bit closer so you can see how wonderfully the glitter falls into the component grooves then lights up under the resin. Santa and all the pieces also have a resin coating. Such a nice gloss to reflect the lights when these are hanging from the tree. The bottom crystals are also from the Connie Crystals…last blog post…beautiful, faceted teardrop shapes. They made the perfect sparkling end to the base of both.

Here’s to Christmas…a better relationship with Santa and wishing you all the meaning of the season!

Check all the fantastic Christmas projects for the hop!! Don’t miss any of them!

ICE Resin site  http://wp.me/p1MCno-2W3

Lexi Grenzer http://lexigrenzer.blogspot.com/2013/11/rue-romantique-ornament-blog-hop.html

Pamela Huntington  http://pamelahuntington.typepad.com/february_2007/2013/11/handmade-holiday-blog-hop.html

Jen Cushman  http://wp.me/p1lhEq-Gb

Until next time…

mainsignature1