Two Shows the Same Weekend

Show prep is in full swing here at my very messy studio…this year I have two shows on the same weekend!

First there is the best mixed media show in southern California…
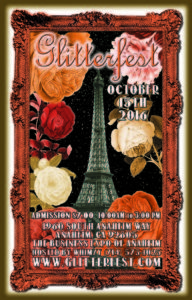
October 15, 2016
October 15, 2016

My daughter and I will be at Glitterfest (Anaheim, CA) from 10-am to 3pm in our best fall attire with all my goodies.

Also the same day and weekend is the 39th Annual Fall Bernardo Winery Art and Craft Fair (Rancho Bernardo, CA)…my son, Paul, will have his maiden solo voyage running my booth on Saturday from 10am to 5 pm! Please come say hello and spur him on! He’s a budding entrepreneur and has been working with me for the past three years. He can do it!!

So how does one prep for two shows on the same weekend? FURIOUSLY!

Stay tuned for some sneak peeks…

Until next time,
Susan
Ice Resin Design Team 2.0

Well, to say I’m thrilled would be an understatement…!

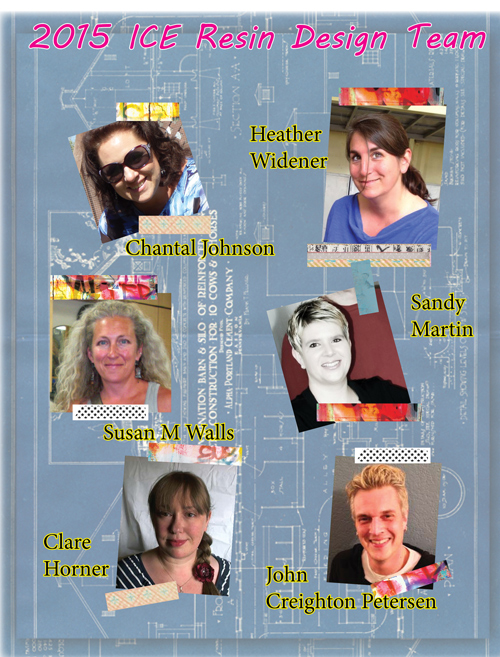
It was announced today and the team for Ice Resin in 2015 includes …me!

It’s an honor and a delight to be involved with such a great group. After my 2012-13 involvement with them I have to say I missed them all last year!

Here’s the new team…

Ice Resin Design Team 2015

Here’s to an absolutely creative and artsy 2015!

Please be sure to join me in all the creative festivities!!

Come by and like my page…Susan’s Charming Trinkets and be sure to look up the Ice Resin Design Team on the Ice blog


Until next time,

Susan

Ice Resin Play: Molding Putty Part 2

So last time we found out what molding putty is and the very basics of how you use it. Now let’s get a little more in depth.

How can I make the molding putty into something I can use? How does the molding putty make a mold?

Well…let’s see…we left off with mixed molding putty ready to go so say hello my zoo…

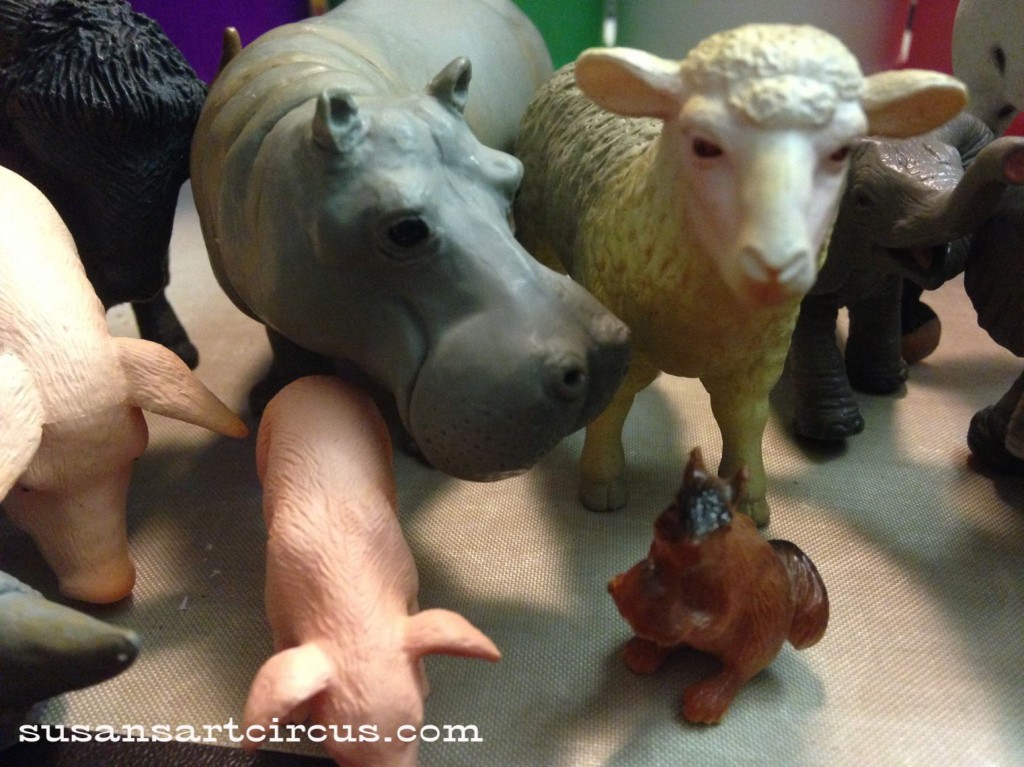
my animal zoo

I’m starting to hoard small cute plastic animals. Yes, I can’t help myself. But they make the perfect molding subject matter…let’s start with the big piggy there on the left…

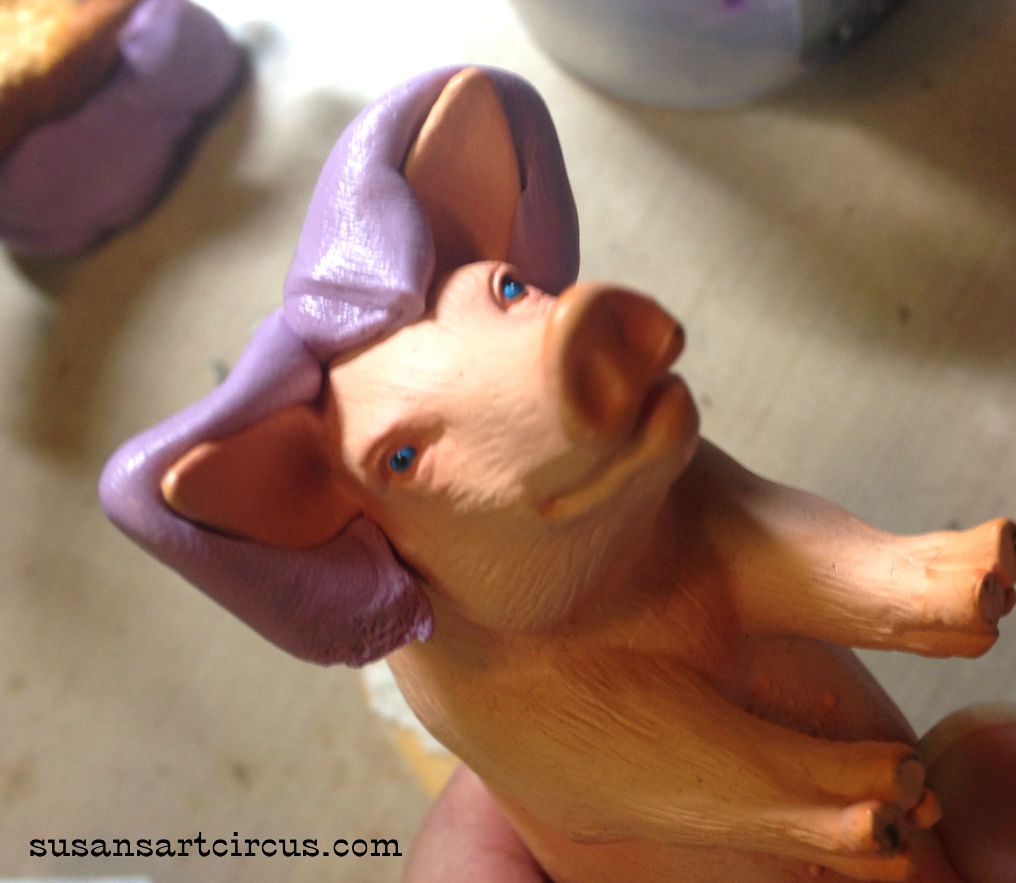
pig ears and molding putty

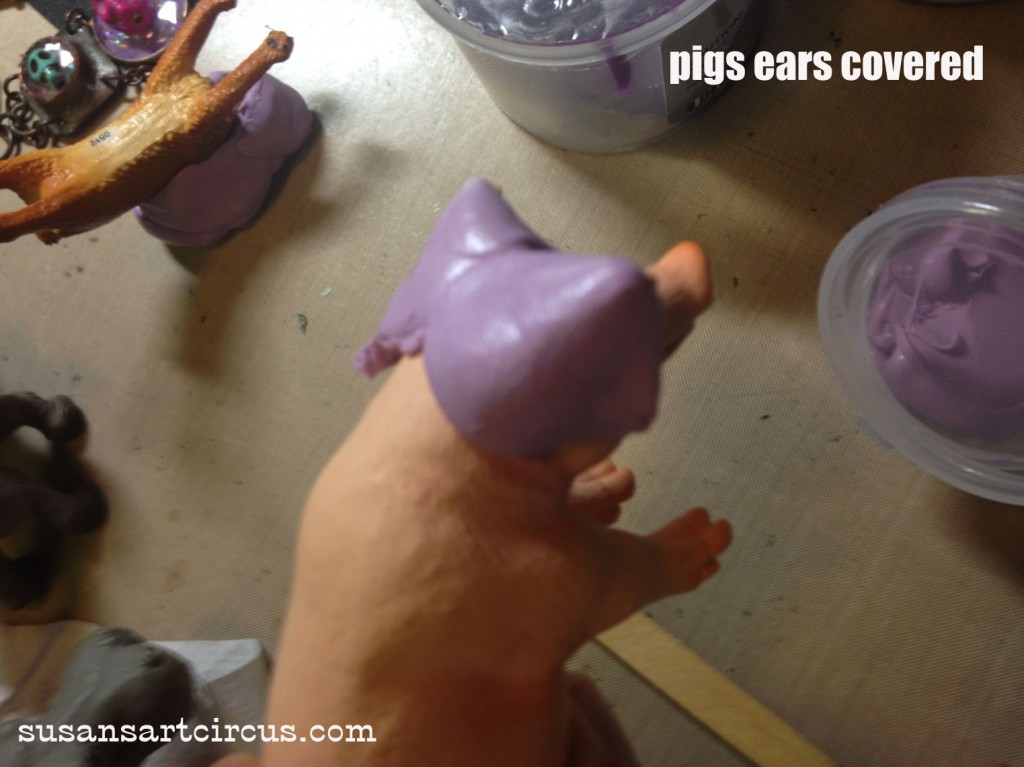
Now you have to work pretty fast but you also want to make sure that the parts of the animals, the ears and snout in this case, are covered well to get a good mold. The molding putty will adhere to itself as you go but, again, you have to work quickly.

pigs ears covered

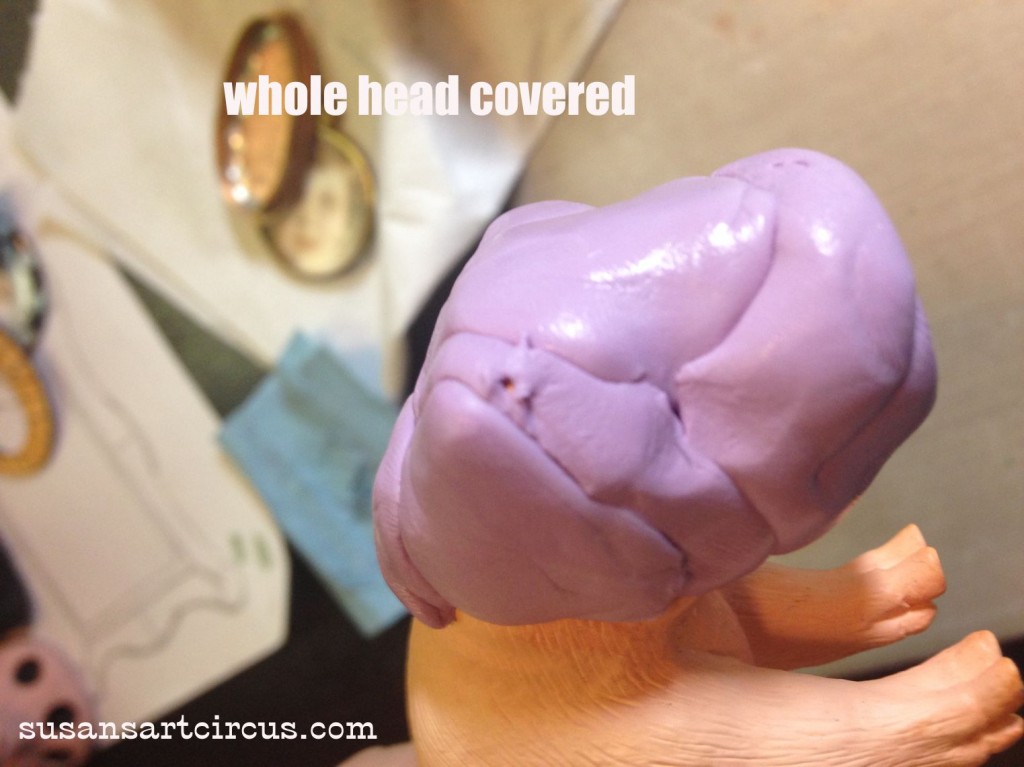
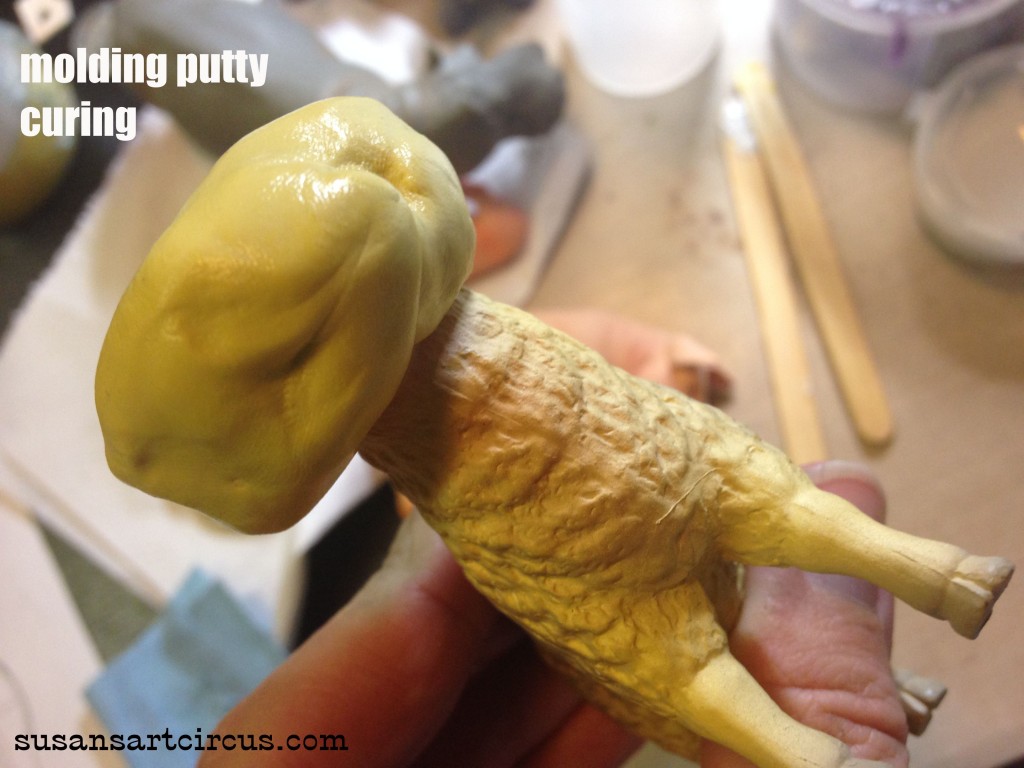
Here is Mr. Piggy with his whole head covered and ready to cure.

whole pig head covered

 …and my sheep was done in the same manner.

sheep head covered

Now comes the hard part…you have to wait. Only about 15 minutes or once you can’t leave an imprint with a finger nail pressed into the molding putty. He’s curing so leave him alone!

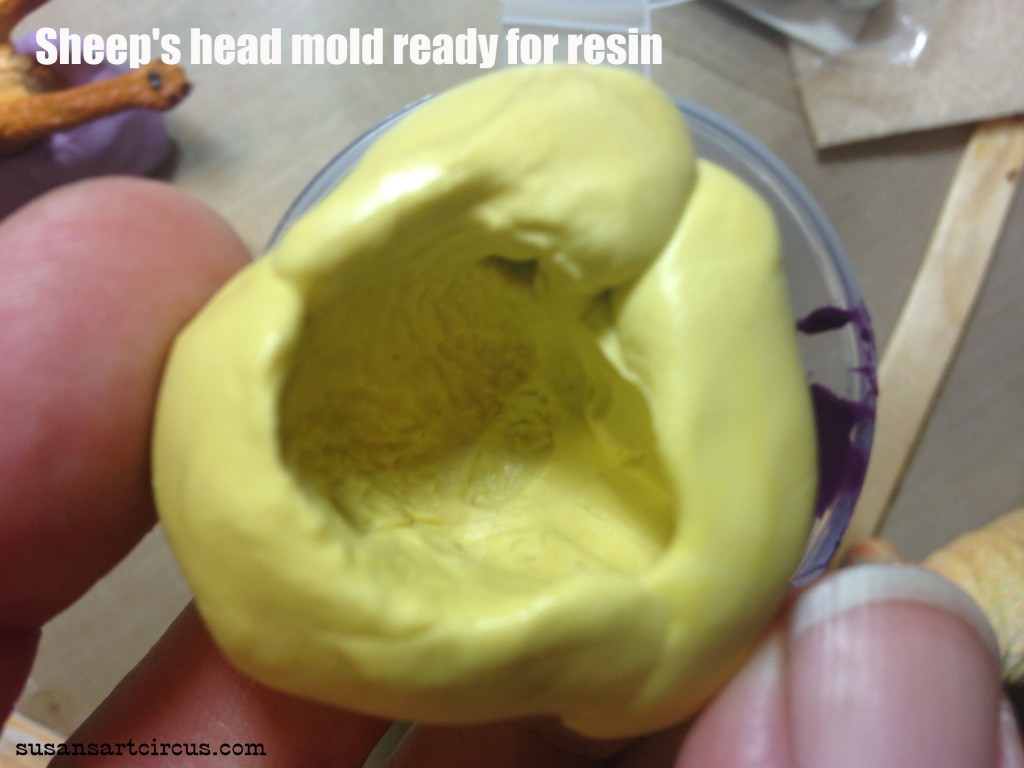
After the time has passed just gently wiggle the molding putty to loosen it around the head. If necessary pull it back from the sides and slide it off around the ears and nose. Careful! You don’t want to tear the mold. I’ve done that from being too anxious to see what I’ve molded. And here is what my sheep mold look like!

sheep mold

See all that detail? All the fur swirls and eyes? Next time we will pour some resin in it!

Happy cre8ing!!


Part 1 can be found here:

https://www.susansartcircus.com/ice-resin-play-molding-putty/

Ice Resin Play: Molding Putty Part 1

Have you played with silicone putty or molding putty? Do you know what that is? Ooh…you’re in for a fun surprise!

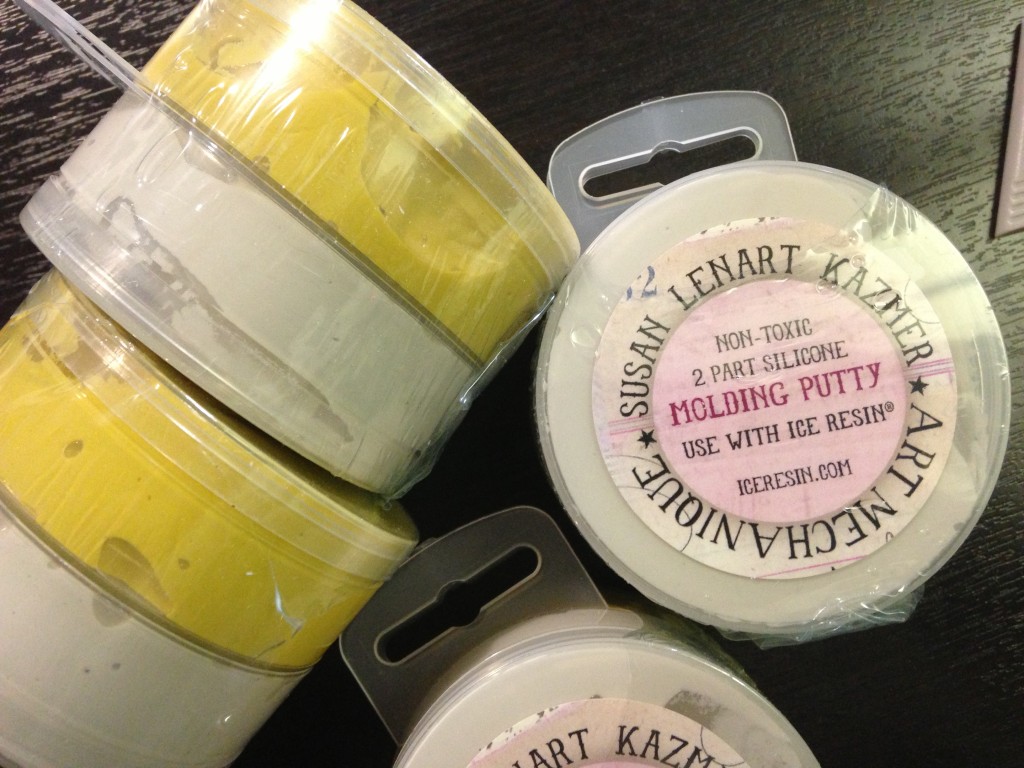
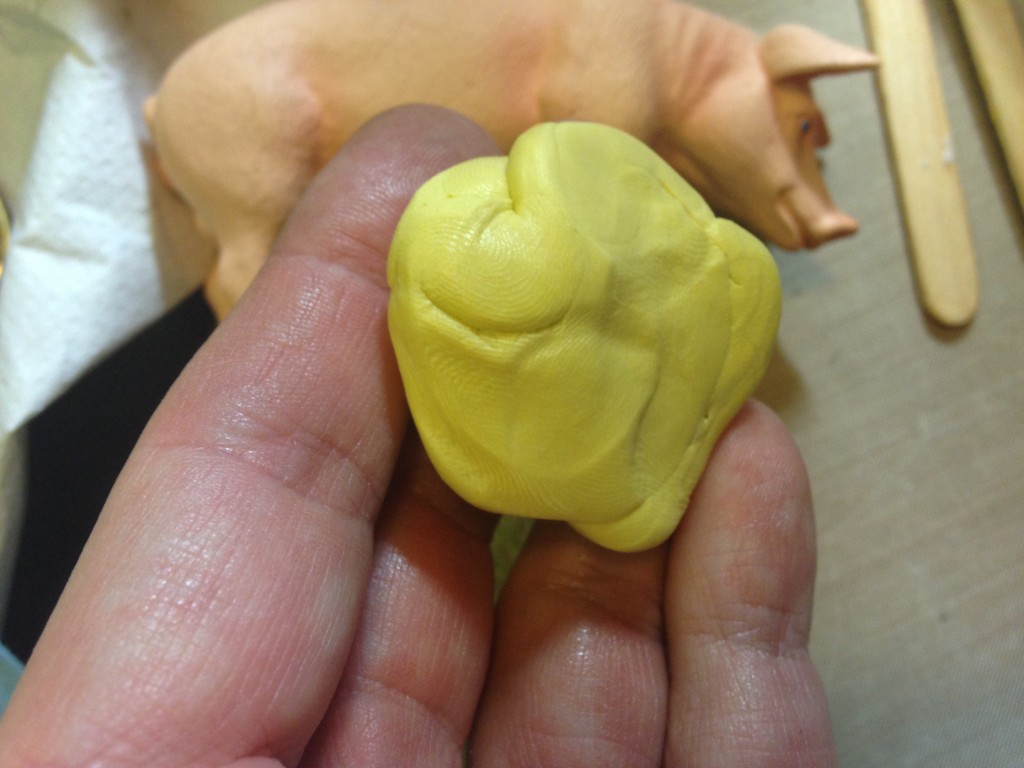
Silicone putty comes in two parts that you mix together to make one uniform color putty.  Sometimes it’s dark and light purple labelled part A and part B. Or it’s yellow and white like my favorite molding putty from Ice Resin.

molding putty

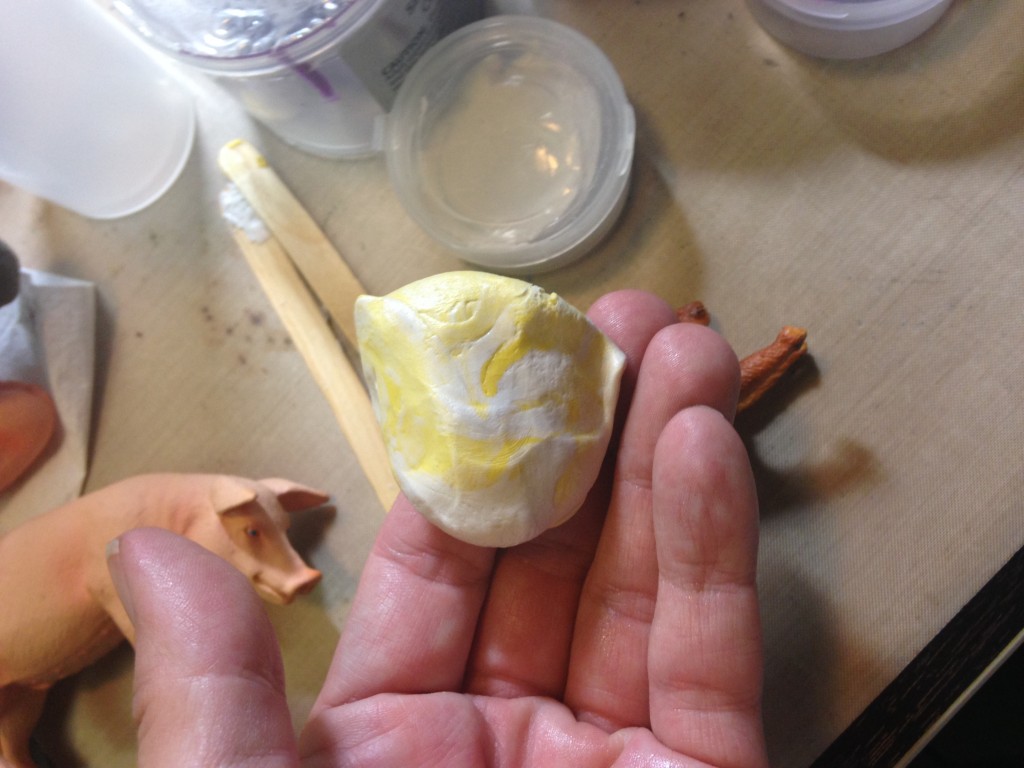
What you do take equal parts of the each color, no need to measure just eyeball it, and mix them to make a uniform blended color. It only takes about 30-45 seconds.

mixing the putty

Once the molding putty is blended together you can press just about any object you want into it…buttons, small dolls, utensils, vintage parts, beads, your finger, use your imagination. Wait 10-15 minutes and you have a mold that is an exact replica of whatever you stuck into the putty. Really…it’s that simple.

IMG_1621
The applications for this stuff are crazy! If you’re a mixed media artist your head will swim with ideas. I swear the first time I was introduced to this stuff I ran around the house and tried to mold everything that wasn’t alive!

If you haven’t tried it you need to! Come back by for another step in molding putty and see what I’m molding!!

Until then!

signature3button

Ice Resin Play: Casting Resin Into A Zoo

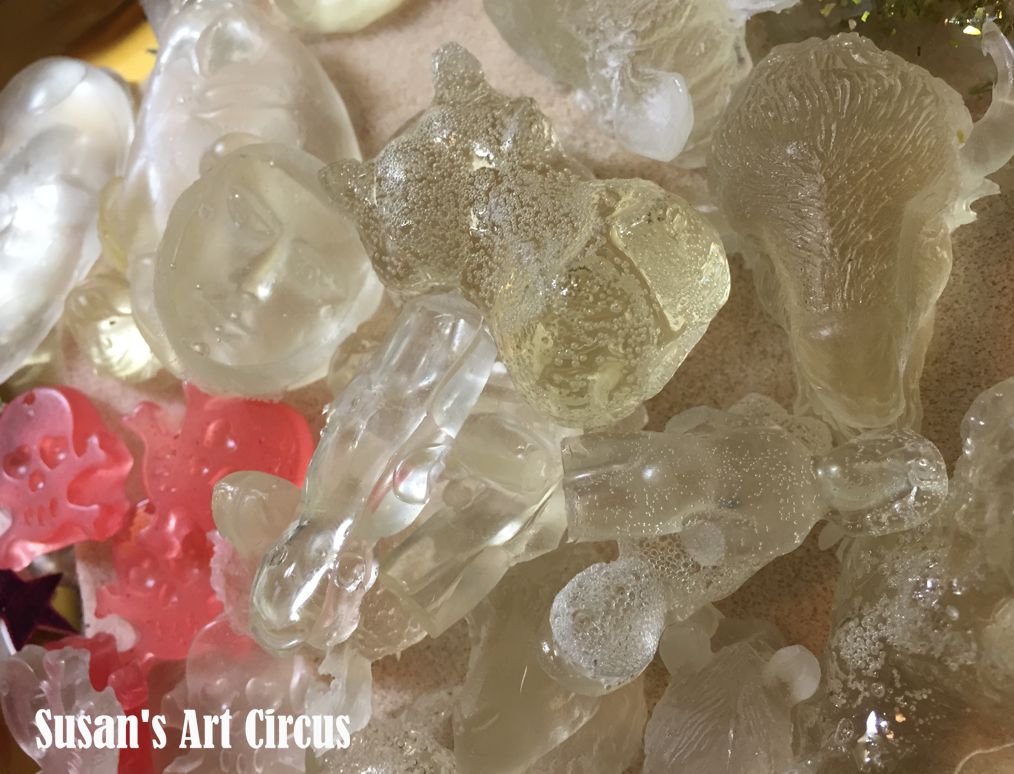
During this last few months I have literally been casting a resin zoo.  I’ve shown you guys with my posts resin and casting materials. This is the culmination of some (operative word some) of the cast pieces.

Needless to say I keep a bowl full of small plastic kids animals that are my casting resin muses. There’s just something about them…

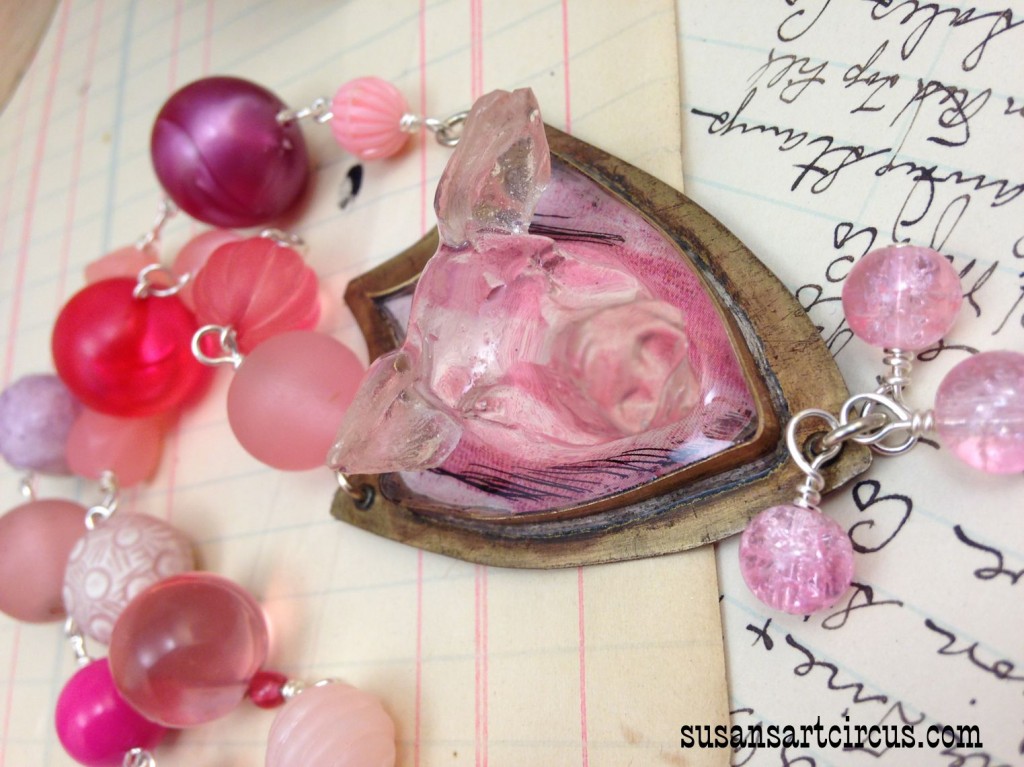
Piggie

I can’t get enough of these…

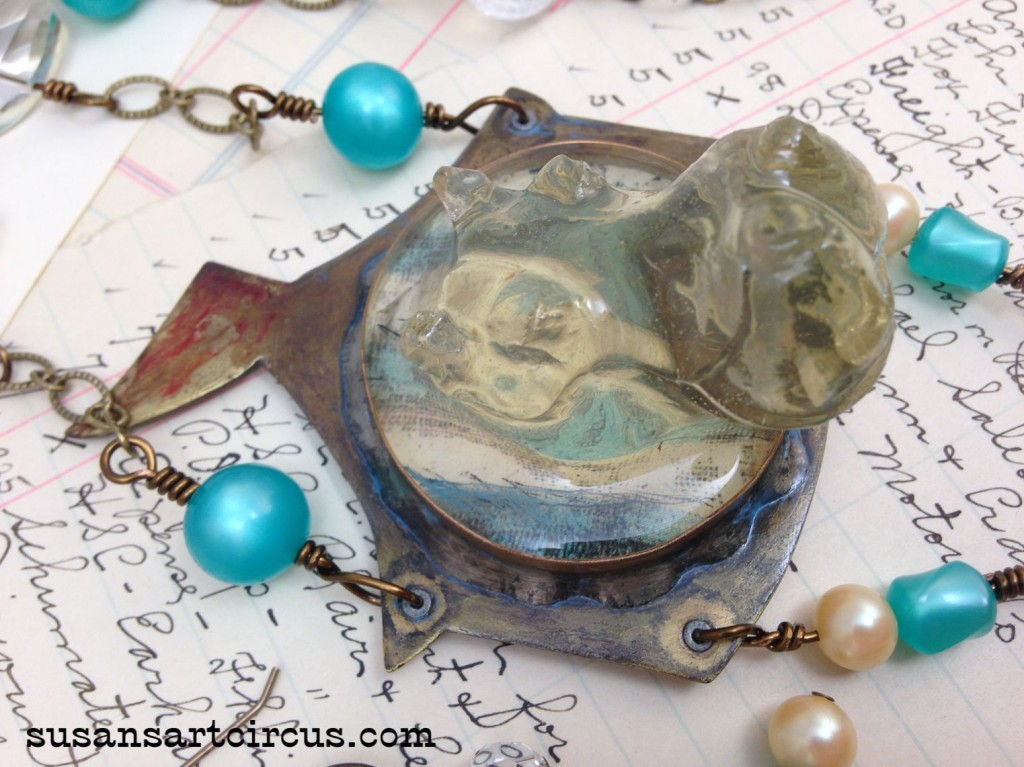
Hippo

 And you’re saying to yourself…”so this is what you do after you cast a zoo!” I (I feel like Dr. Suess)

Horse

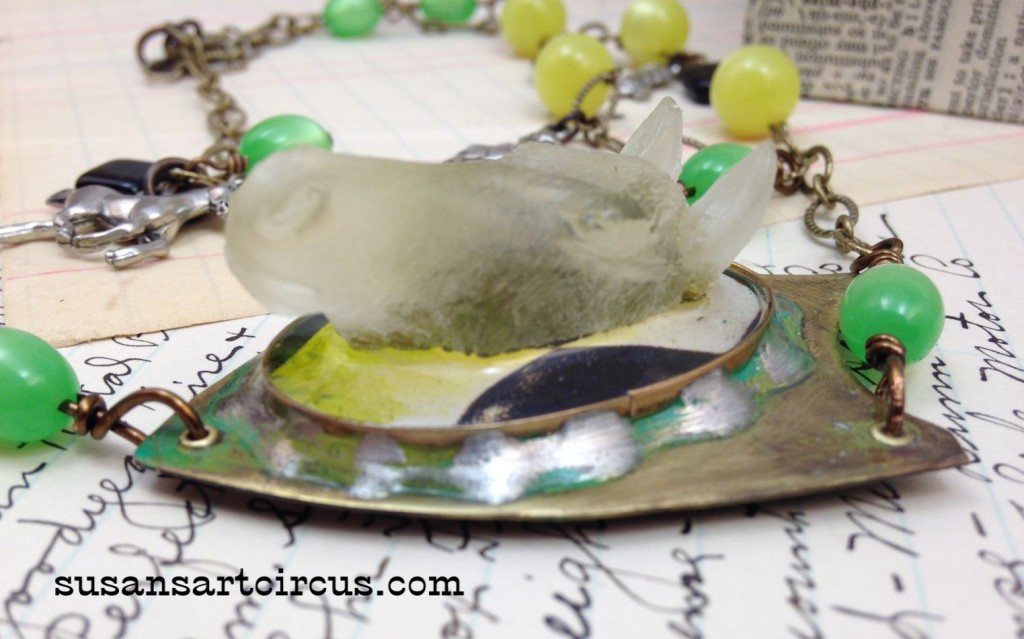
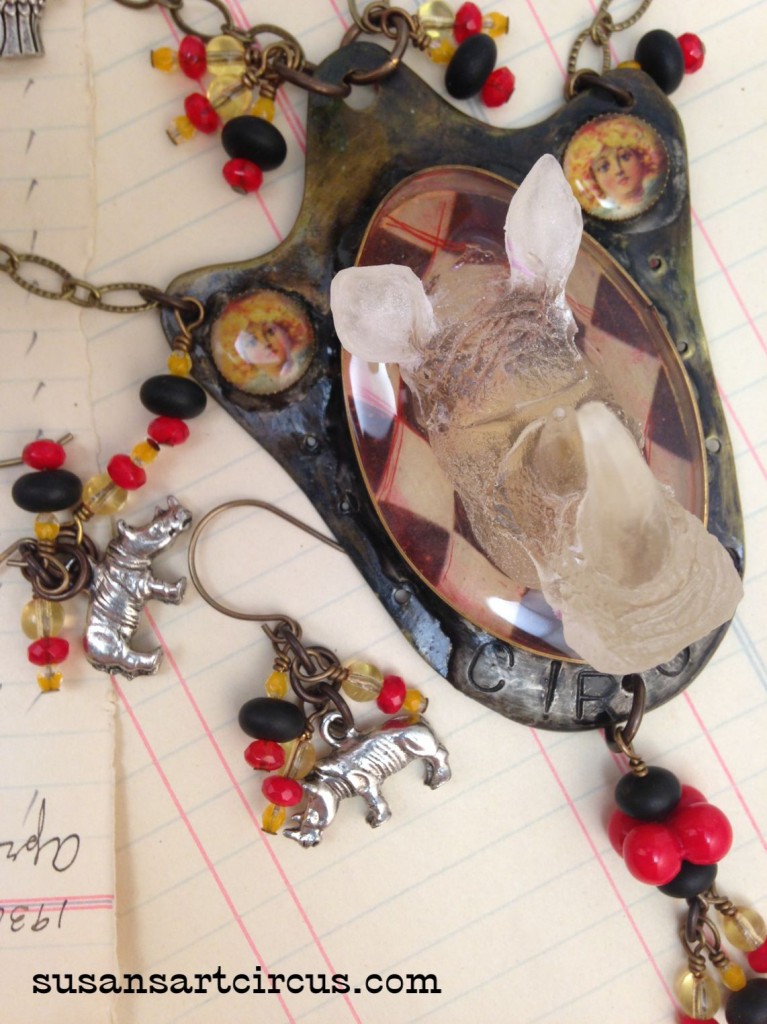
My absolute favorite…the Rhino!

Rhino

 There are only about 100 more to make into something.

resinanimaltray1res

Don’t ask how many other animals are around the studio. It would take me an hour to show them all to you. Once you start casting resin it becomes obsessive. Oh well…it’s fun…

Here are the links to my series Ice Resin Play and casting resin:

Molding Putty: Part 1

I’ll be back with more resin adventures soon…

Until then,

Susan