Ice Resin Play: Molding Putty Part 1

Have you played with silicone putty or molding putty? Do you know what that is? Ooh…you’re in for a fun surprise!

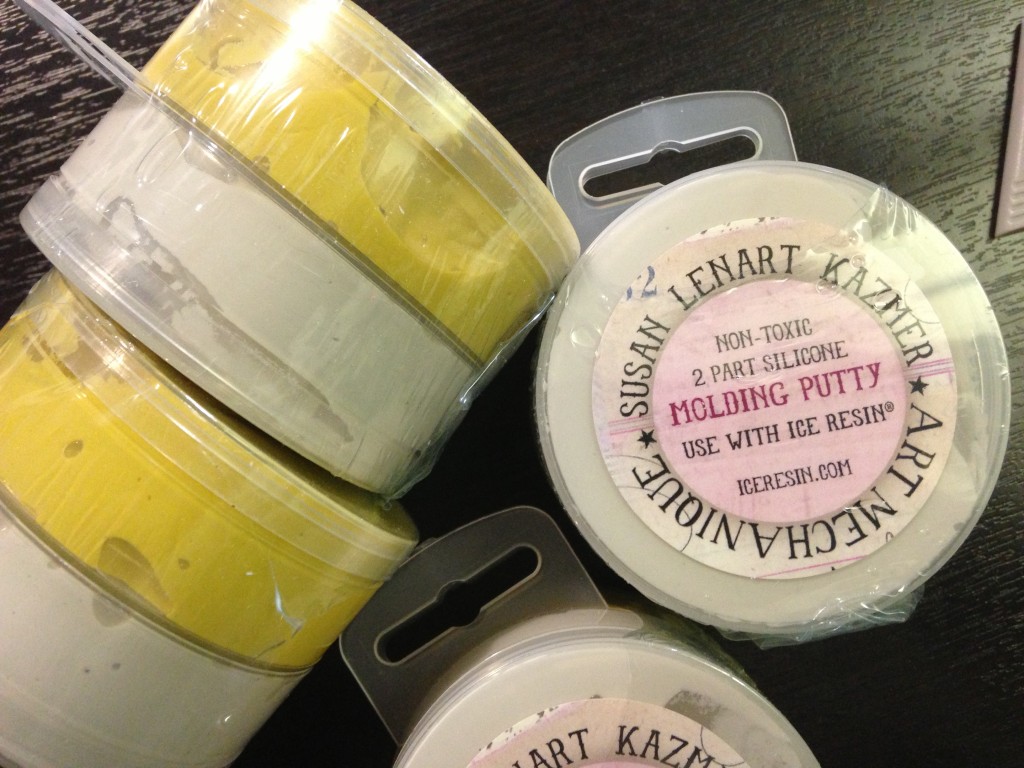
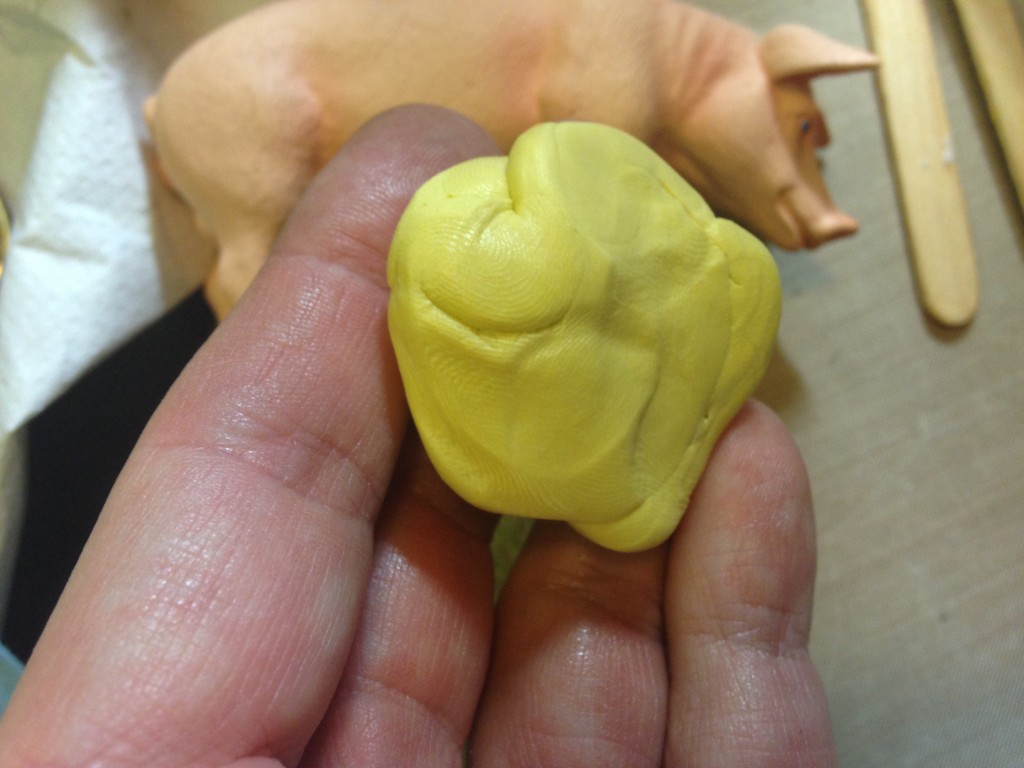
Silicone putty comes in two parts that you mix together to make one uniform color putty.  Sometimes it’s dark and light purple labelled part A and part B. Or it’s yellow and white like my favorite molding putty from Ice Resin.

molding putty

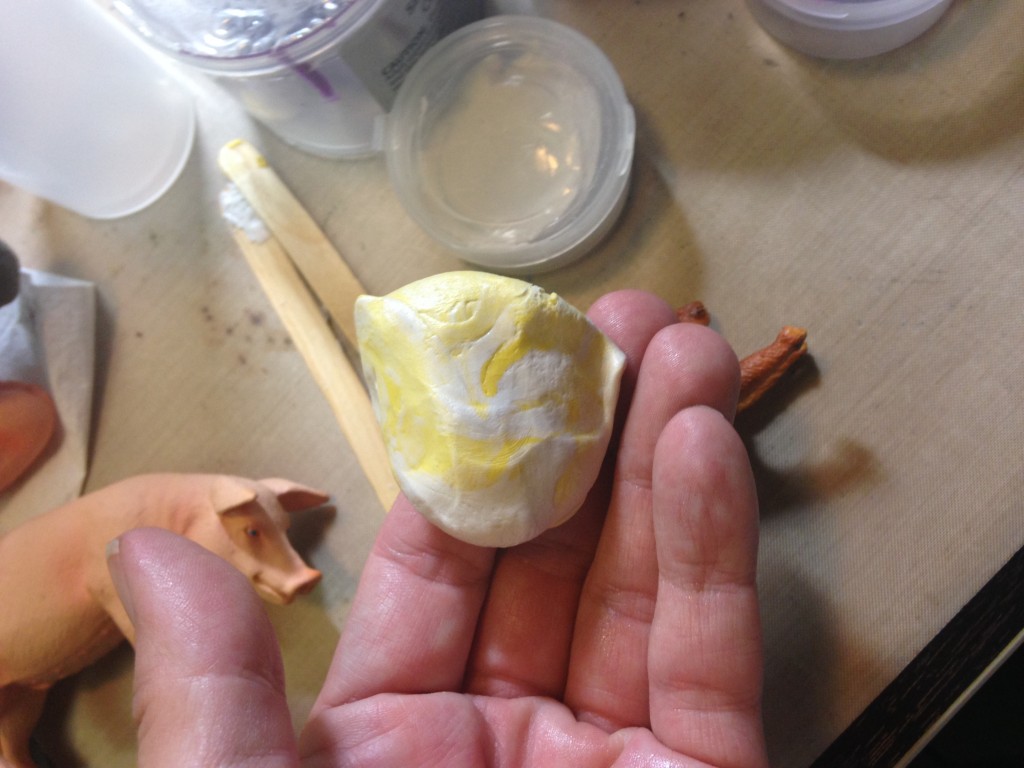
What you do take equal parts of the each color, no need to measure just eyeball it, and mix them to make a uniform blended color. It only takes about 30-45 seconds.

mixing the putty

Once the molding putty is blended together you can press just about any object you want into it…buttons, small dolls, utensils, vintage parts, beads, your finger, use your imagination. Wait 10-15 minutes and you have a mold that is an exact replica of whatever you stuck into the putty. Really…it’s that simple.

IMG_1621
The applications for this stuff are crazy! If you’re a mixed media artist your head will swim with ideas. I swear the first time I was introduced to this stuff I ran around the house and tried to mold everything that wasn’t alive!

If you haven’t tried it you need to! Come back by for another step in molding putty and see what I’m molding!!

Until then!

signature3button

Ice Resin Play: Casting Resin Into A Zoo

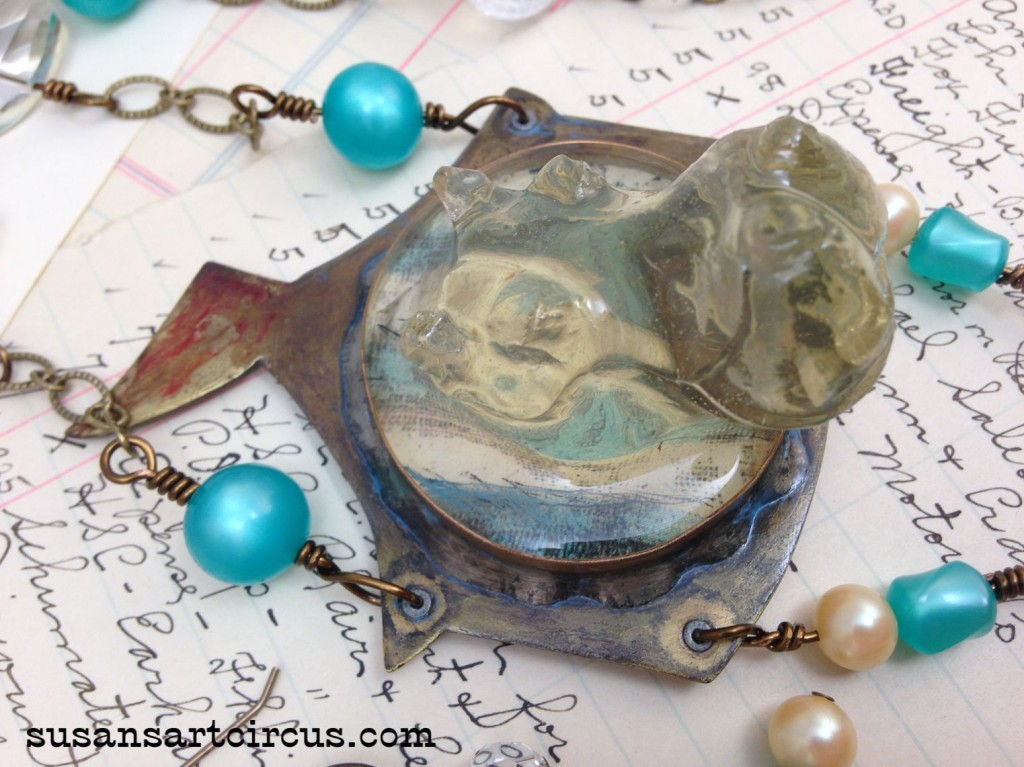
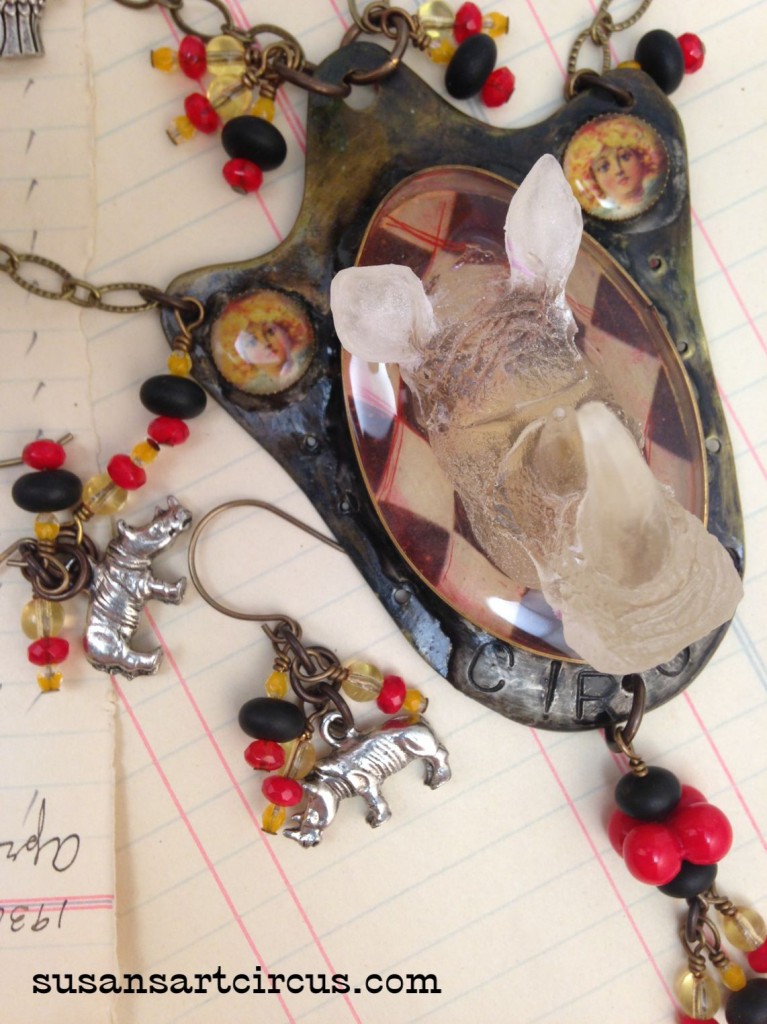
During this last few months I have literally been casting a resin zoo.  I’ve shown you guys with my posts resin and casting materials. This is the culmination of some (operative word some) of the cast pieces.

Needless to say I keep a bowl full of small plastic kids animals that are my casting resin muses. There’s just something about them…
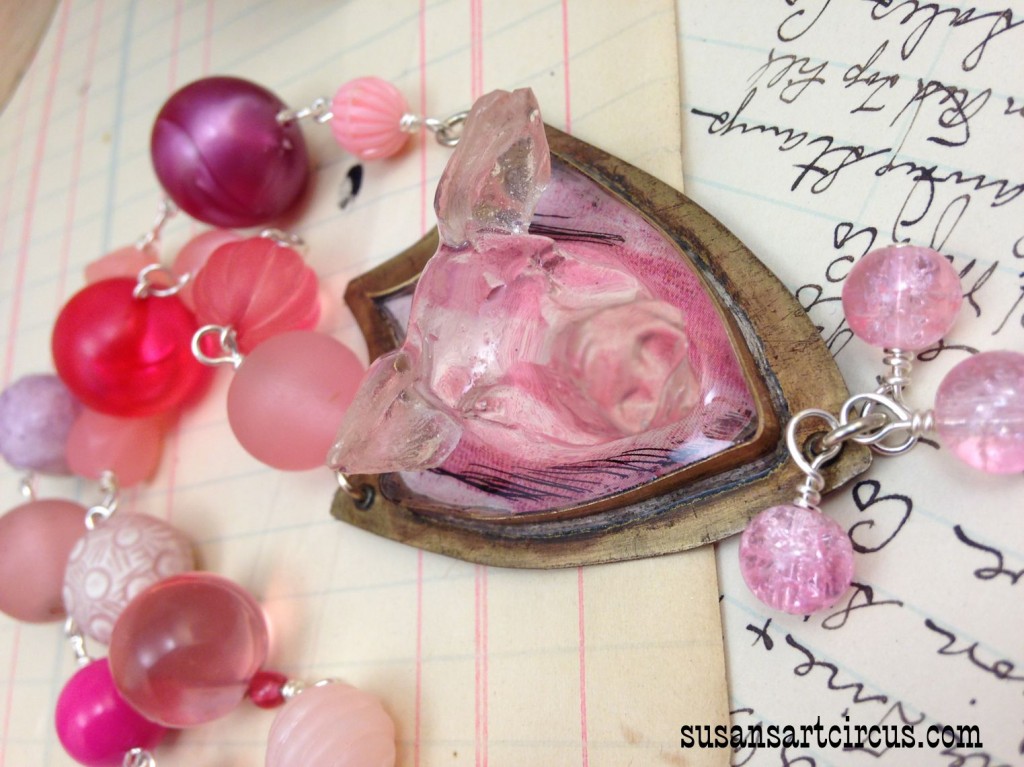
Piggie

I can’t get enough of these…

Hippo

 And you’re saying to yourself…”so this is what you do after you cast a zoo!” I (I feel like Dr. Suess)
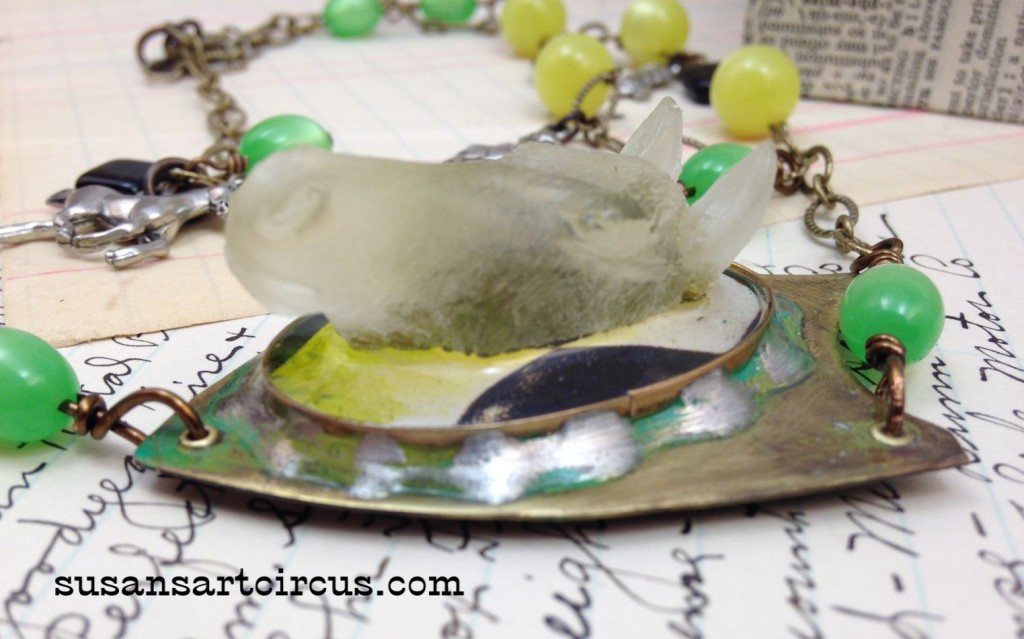
Horse

My absolute favorite…the Rhino!

Rhino

 There are only about 100 more to make into something.
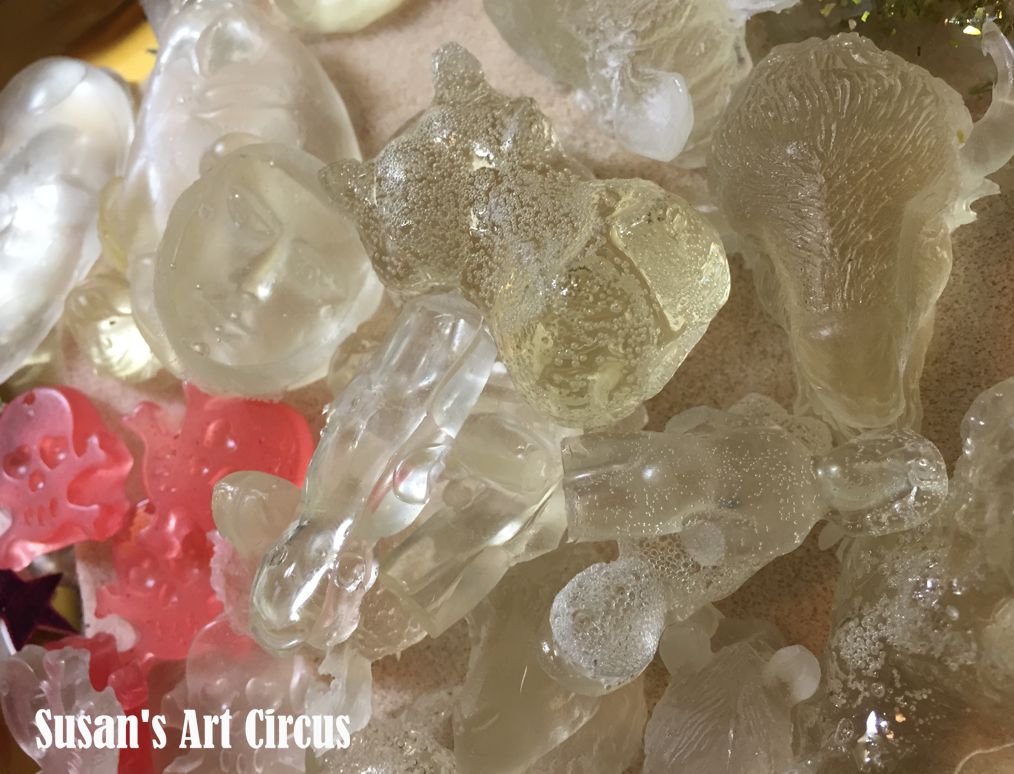
resinanimaltray1res

Don’t ask how many other animals are around the studio. It would take me an hour to show them all to you. Once you start casting resin it becomes obsessive. Oh well…it’s fun…

Here are the links to my series Ice Resin Play and casting resin:

Molding Putty: Part 1

I’ll be back with more resin adventures soon…

Until then,

Susan

When I Don’t Feel Creative: My Top 6 Fixes

Am I the only one that has moments when the creative muse takes a vacation? When you don’t feel creative…what do you do?

This is a topic that seems to raise it’s head when I’m the busiest. I have tons to do but can’t seem to rid myself of the cobwebs long enough to get through it. Well…when I don’t feel creative here’s my top 6 fixes I put into action to try to coax my muse around.

Seth Apter messy worktable 1
1. I clean. Believe me when I say cleaning is not my favorite thing but wandering around the studio, organizing, and picking things up always seems to loosen up the creative spirit. Not only does it help clear the cobwebs but I always seem to find things I had forgotten I had. And those things seem to sneak into my next creations!

Doodling
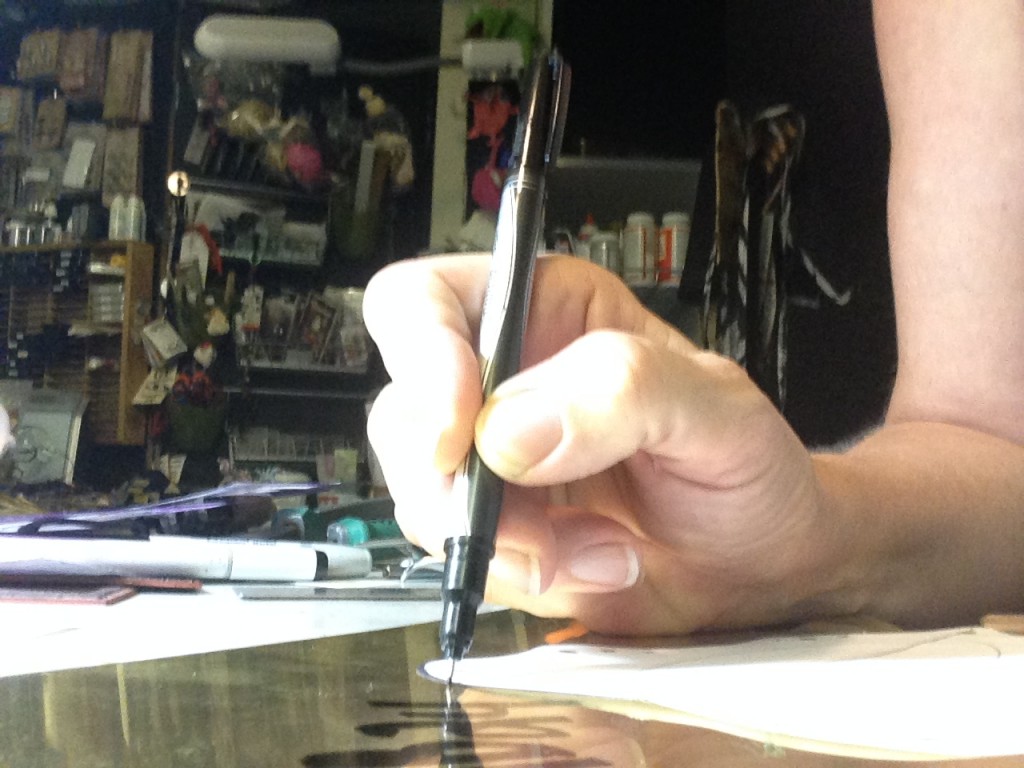
2. Pull out the sketch books and doodle. Draw anything…straight lines, stick figures, swirls…anything and everything! Just put pen or pencil to paper and see what manifests itself. I draw whatever comes to mind and pay no attention to whether it is “art” or not. Just the simple putting pen to paper allows me to feel more creative.

A break with coffee and sweets...
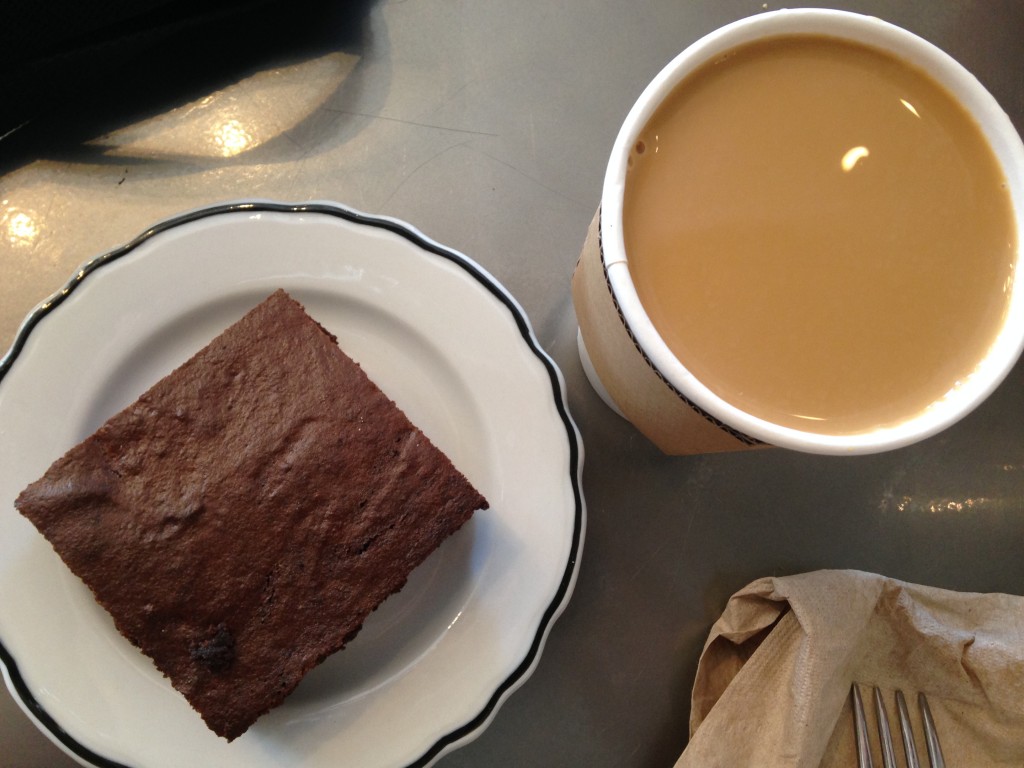
3. Take a break…go eat something, have tea or coffee maybe a glass of water or take a handful of vitamins. Just be for a few minutes.

UnoUs3stillgoofy
4. This goes along with taking a break but do something goofy with your family. Go lighten up and be free with comedy! Laugh lots and then laugh some more. Play cards, dig out a board game…watch a silly movie. I promise being crazily happy with laughter will take your mind off things and your muse will crawl back without you noticing.

CHA 2014
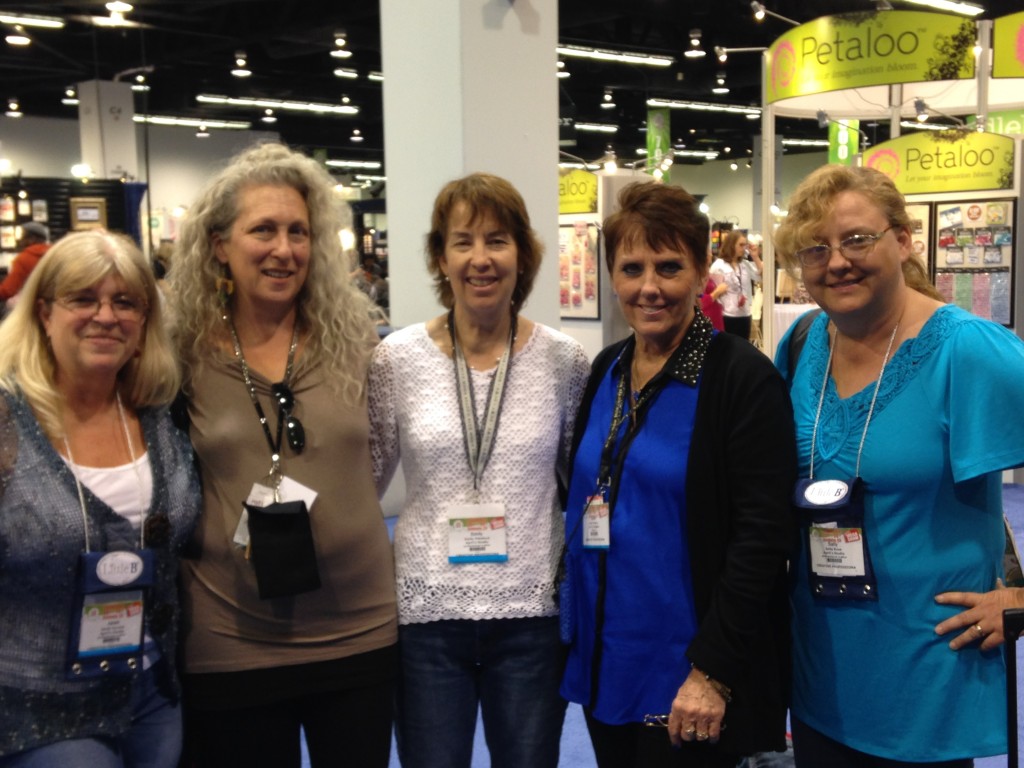
5. Find your creative peeps and do something together! Lean on your tribe for support when you can’t find your own muse…maybe one of theirs will pop over and let you borrow some ideas!

Sleep it off
6. Sleep it off until the next day. Sometimes all you need is a good nights sleep and all things appear new again.

Be kind to yourself.  Those moments of “stuck” never hang out for long. That muse will come running back.

Until next time!

signature3button

Show Ready: The Season Of Crazy

So it’s October. The days are getting shorter and the nights have a certain chill in the breeze that wasn’t noticeable a month ago.

For me this time of year means it’s  almost show season…the season of crazy and high gear! 15 hour days. 7 days a week. All the way through December.

I thought you might like a peek into how I get show ready and how crazy it can be. Let’s start with the state of my studio…
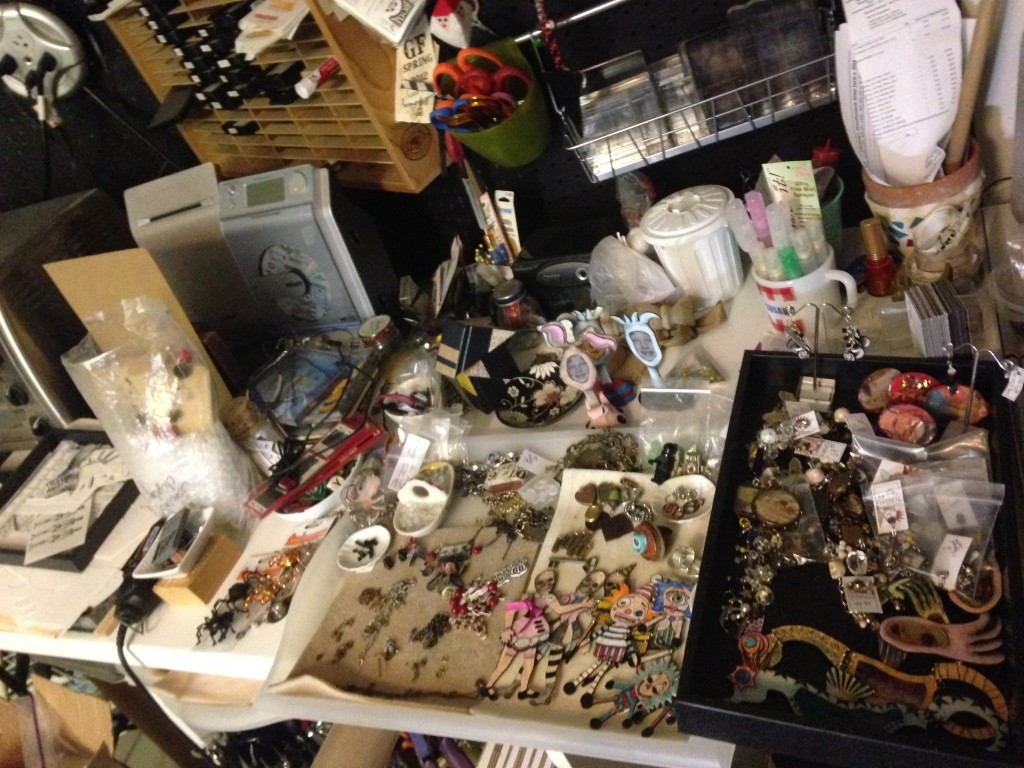
Seth Apter messy worktable 1
So. I feel the need to explain. When one tries to be show ready several things seem to explode. The most common occurrence happens all over the flat surfaces. Things seem to multiply. Procreate. This area is actually 2 feet wide and 8 feet long. Guess how much of it I can work on right now? Um. Yeah. None of it. Moving on…
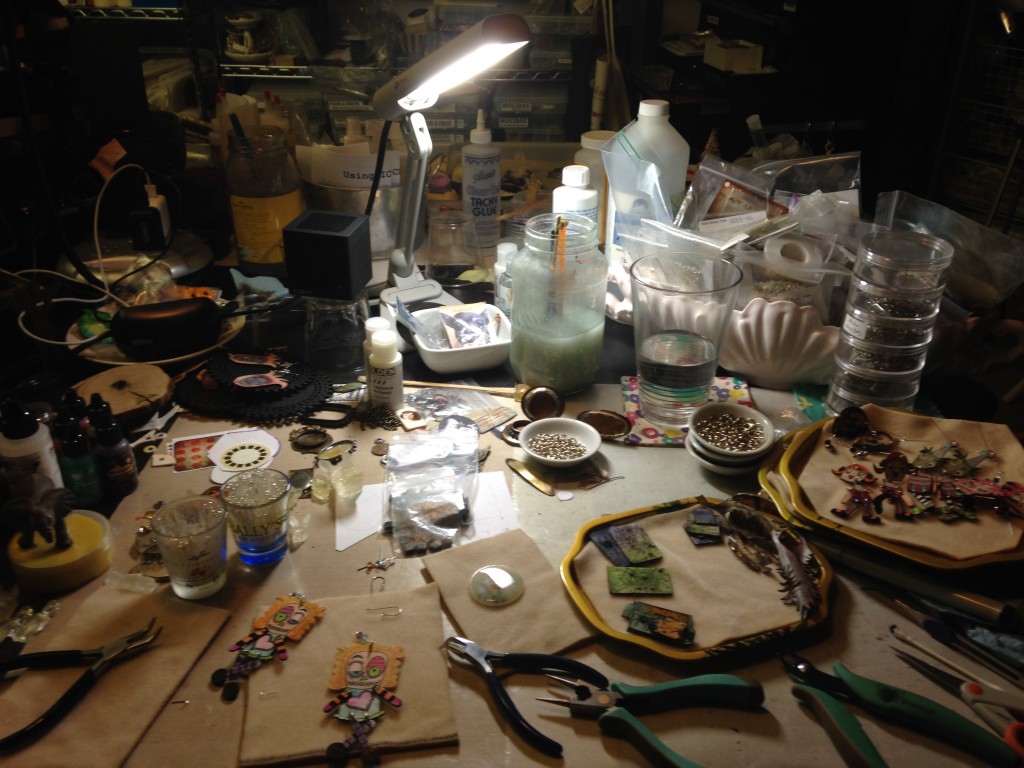
Seth Apter messy worktable 2
This is my main work area. Yes. I still have a 12″ square to work in. Really! I do. A square foot. Yeah.
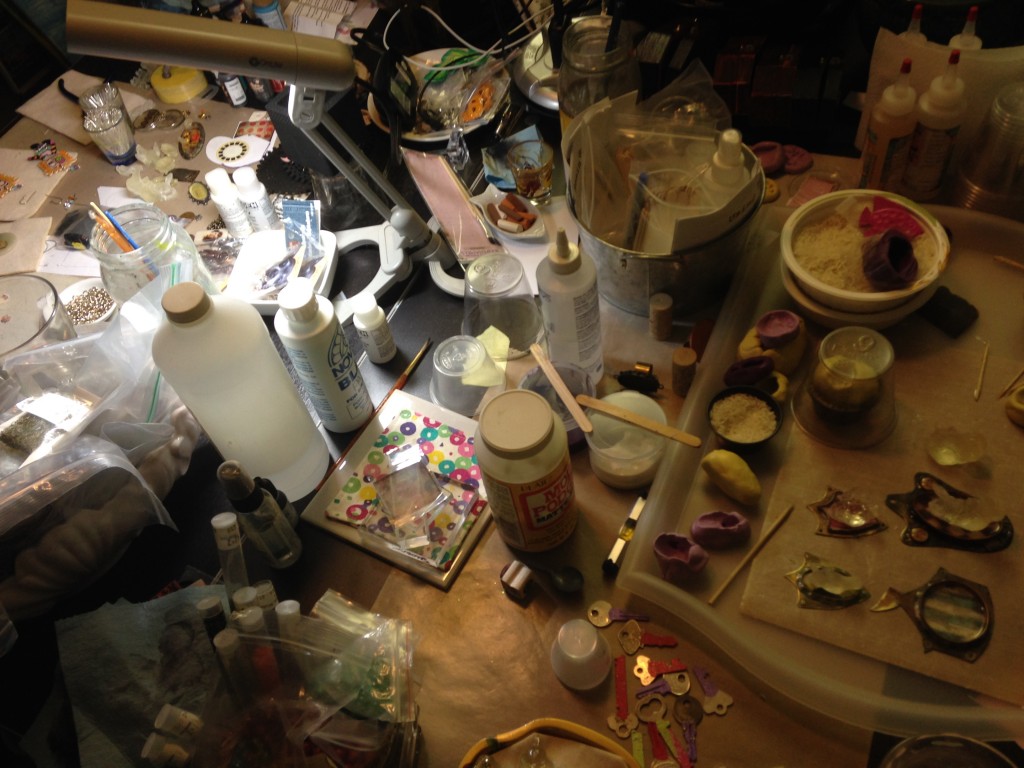
Seth Apter messy worktable 4

My resin area. You get the idea. Show ready means every surface is covered in something that needs to be beaded, wired, coated, sanded, tagged, cured, colored, painted, glued, left alone, cast, patinaed, ground, sawed, polished, sealed…and or finished in some way. Otherwise show ready would just be a myth.

More to come…

signature3button

Ice Resin Play: Rings & Things

Welcome to my world of ICE resin with rings and other things!

Resin Druzy Experiment

If you haven’t played with ICE resin you need to get your keys and head for the nearest craft store to pick up a package of it…right now!! (also available in my shop) The cup above photographed a touch yellow in the light of my studio but it isn’t. It is perfectly clear. Those few bubbles all went away with a blow of breathe through a straw passed over the top.

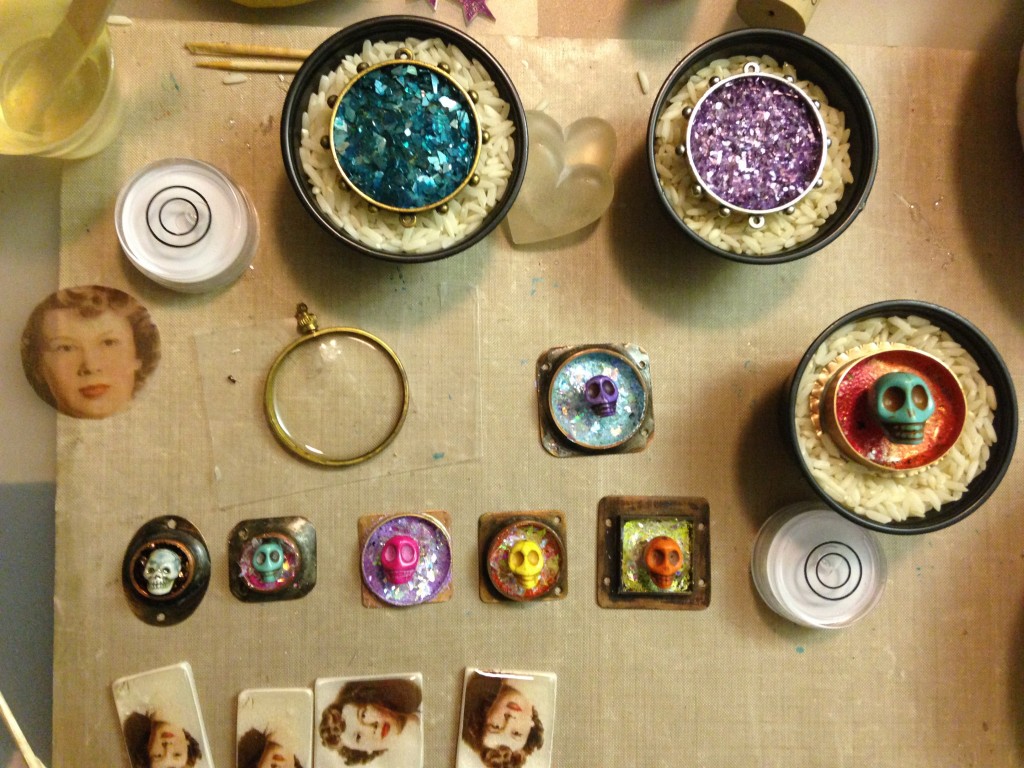
Resin Tray Set-Up

 My set up is on a tray for several reasons. A tray allows for many projects to be set out at one time, it’s easily moved if i need the space at the table, and simple to level if my work surface is wonky. It’s lined with a silicone mat so drips don’t mess up it’s surface.

At the top of the tray are some faux druzy experiments using the chunky German glass glitter from the Iced Enamels line. Moving right a skull and enameled (Iced Enamels of course) ring that i made from scratch…meaning that i actually made the metal ring base. A new skill i’ve been working on (read obsessed over).

Coming clockwise along the bottom there are six skully bezels. Lots of Ice Enamels plus a layer of yummy opal mica flakes…my favorite! Under those are some polymer clay transfers coated in resin and almost ready for beading into earrings.

Last but not least an open back ring that resembles the outside frame of a pocket watch. The lady’s face on the left is a tape transfer for that circle. Hopefully it will come out the way i want it. See through and a memento of my clients Mother.

Art In Rings

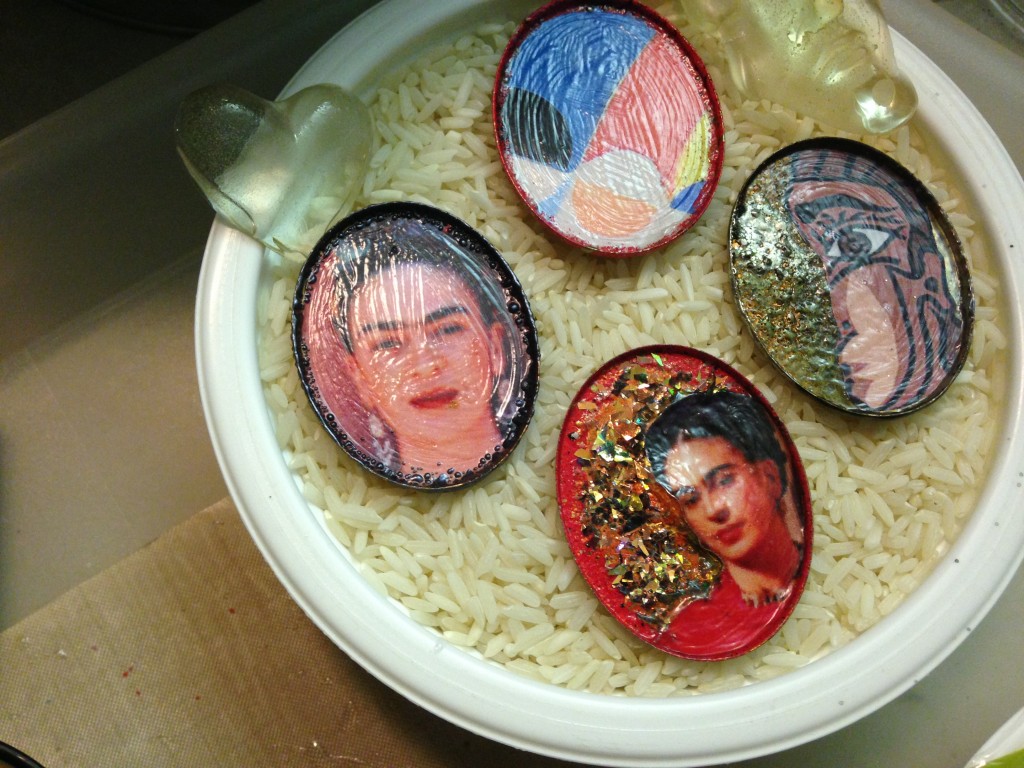
And then there are these. Giant copper trays that i soldered onto etched rings bands. Filled with huge artsy fartsy paper colages…and more enameling. They are just waiting for resin.

Next time i’ll show you how the resin changes them…

Always,

Susan