Arc Planner: My Daughters Point of View

Hi! Hello! I’m AdaLee, and I’m writing a guest blog post for my mom about our Arc Planner!!

Recently my mom and I both started to get more organized and we got ourselves an Arc planner organizer and notebook.

AddiesplannerAddiesplanner

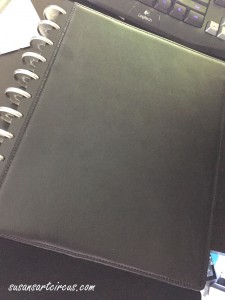
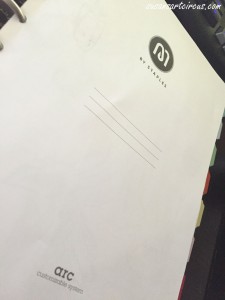
The Arc planner is disc based, not three-hole-based, which means that instead of the normal three-hole rings, they have 11 discs as the binding. We both have a faux-leather cover arc filled with dividers and paper and what nots of our choice.

Addiesplanner (1)

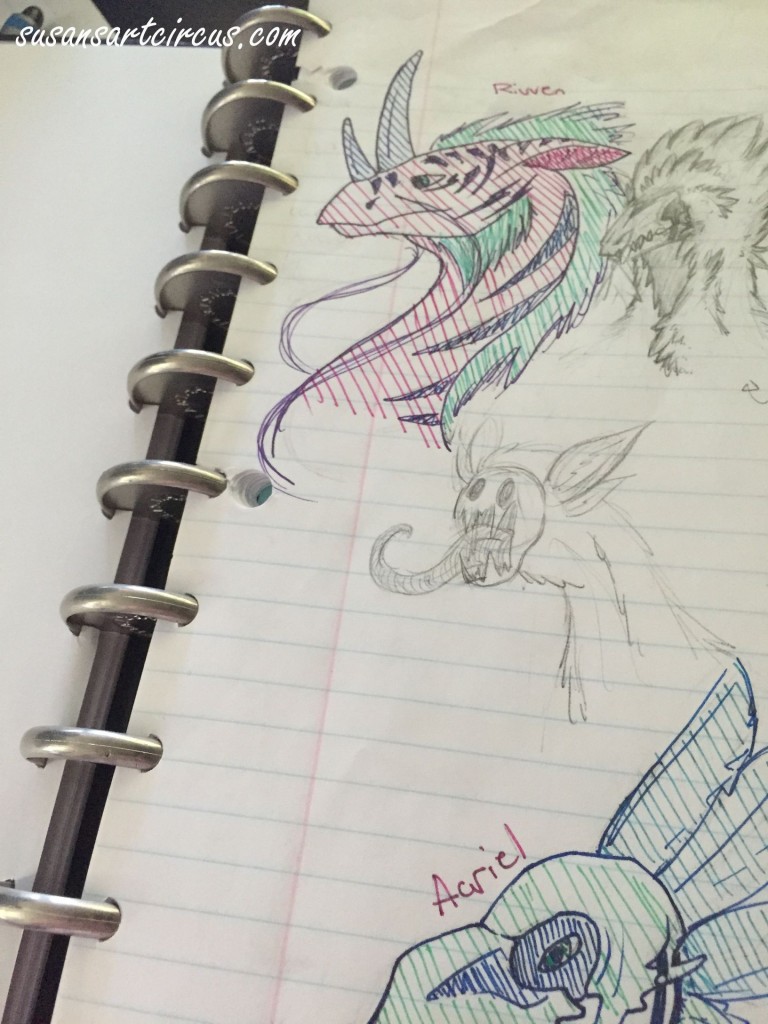
Mine happens to have normal three-hole-punched college-ruled paper, graph paper, and even some blank paper. Since these papers are not already compatible with the Arc because of their inferior three-hole-punches, the Arc planner has a punch system that makes pretty much any kind of stationery into something that can be put into the arc!

arcplannerpunch2

I love this thing. I honestly do.

I had a super lame three-hole binder that had d-shaped clips instead of the default O shaped or C shaped ones normally in three-hole binders. What the meant was that papers in the binder would be incredibly difficult to maneuver without putting unnecessary stress on the punched holes. This resulted in a lot of torn paper, including some that was (or would be) important to class.

Addiesplanner (6)

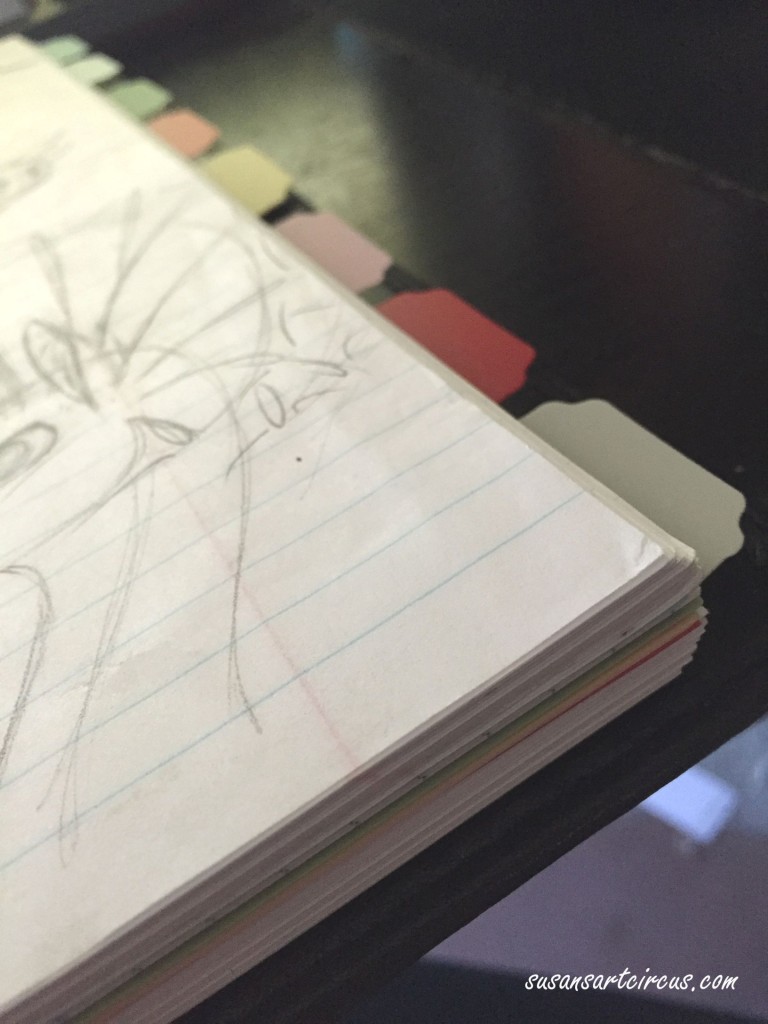
 With the arc, I can now not have to worry about any paper tearing too much, for the way the Arc punches the paper that fits in it, individual papers put under too much stress simply pop out.

 Addiesplanner (4)

No worries. No damage. Just pop them back in again and
***ta da!!!*** you’re all good!!

On top of that, having to repunch and reformat all of the paper that I put into this thing requires me to be more organized about my schoolwork. My failed organizational days are gone!

Thank you Arc!!


Arc Planner: What Is It?

So I would bet by now that you’ve seen some edition of the Arc Planner System from Staples around the interwebs…no?

I’m here today to give you a peek inside my own and how I got into it.

So I was wandering around Staples looking for nothing in particular when I happened upon this Arc planner system. I looked it over for quite awhile while my daughter shopped elsewhere and decided to try one notebook. Just to see if I liked it.

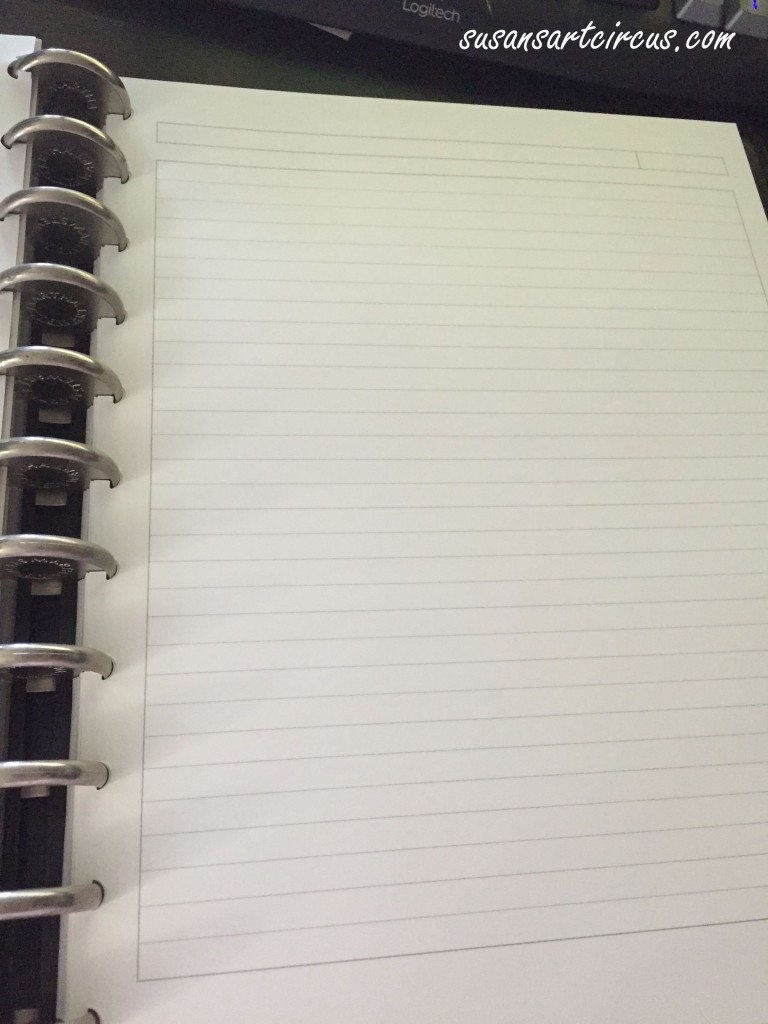
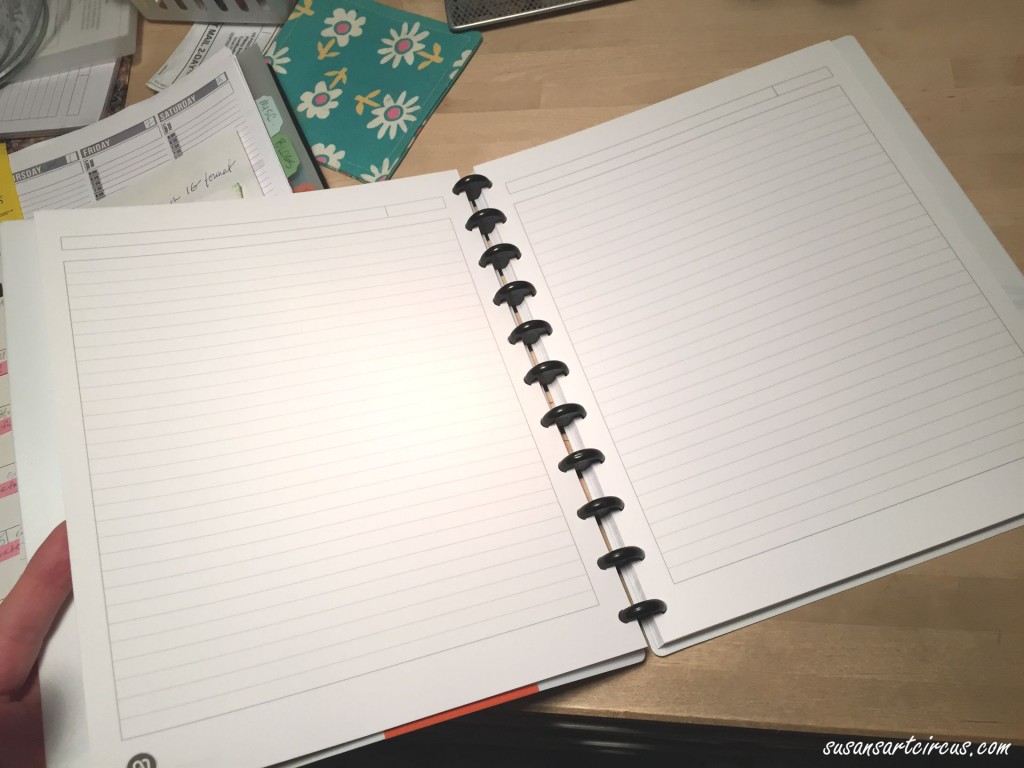
I comes with blank lined sheets. (you can see two Arc planners in this picture because one leads to two leads to three…you get the idea)

Plain Arc Pages

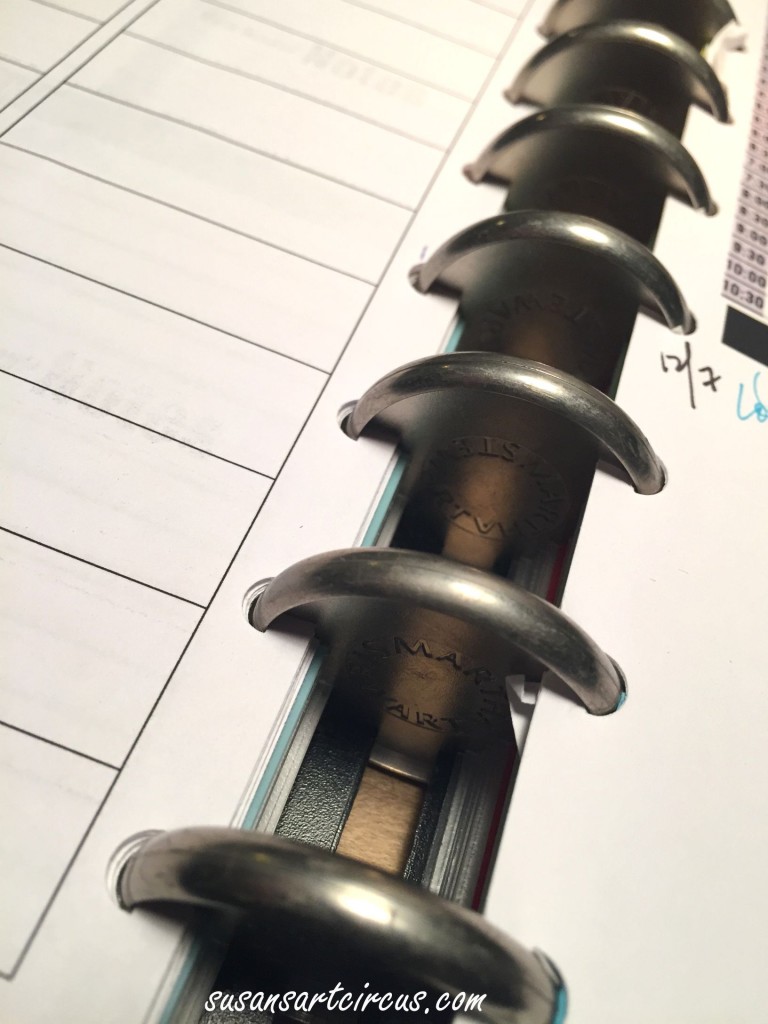
They are hooked together with these multiple discs. Normally they come with small discs which I knew immediately wouldn’t be enough so I bought some larger ones from the Martha Stewart collection that also has a few disc based items.

Large Discs

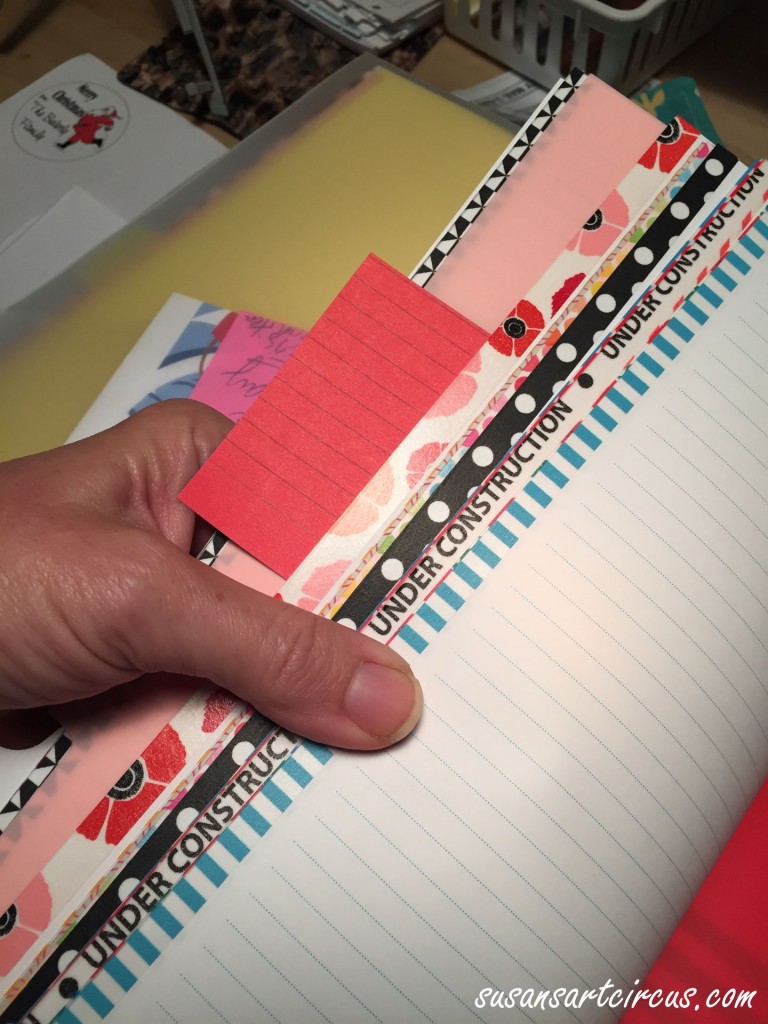
I also prettied up the edges of the pages with colorful washi tape.

Washi Tape Galore

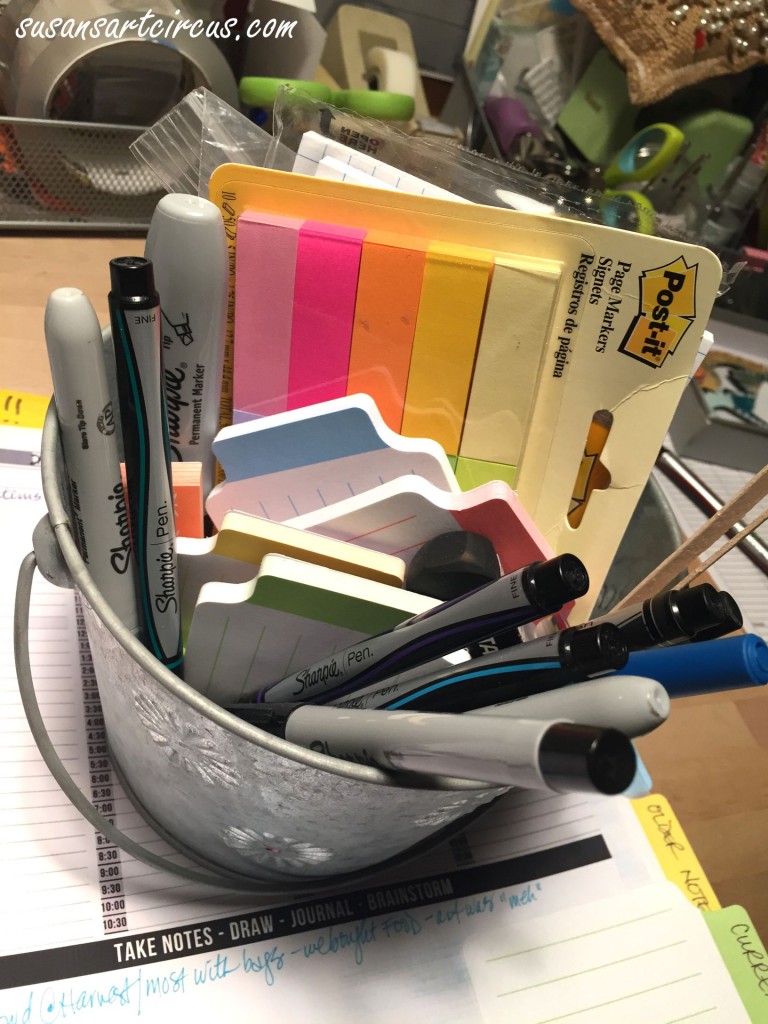
 I also made a can of goodies that I knew I would want to use with the planner. Things like colored pens, large and small post-it notes, graph paper post its, mechanical pencil with eraser. (yeah, I know. I’m getting obsessive) And it’s portable so I can take it from room to room as I jot down thoughts and ideas.

Can O'Goodies

Then, because enough is never enough, I designed some pages for the Arc planner as well as made some downloads from the internet work for it too. This meant that I take trip number two to Staples and buy the punch plus additional inserts. Now I knew what I would do with it I could better accessorize it…ha!

Triple Pic of Supplies

Yes…there are page dividers, pages with pockets, some of the post its are heavier paper and make great tabs.

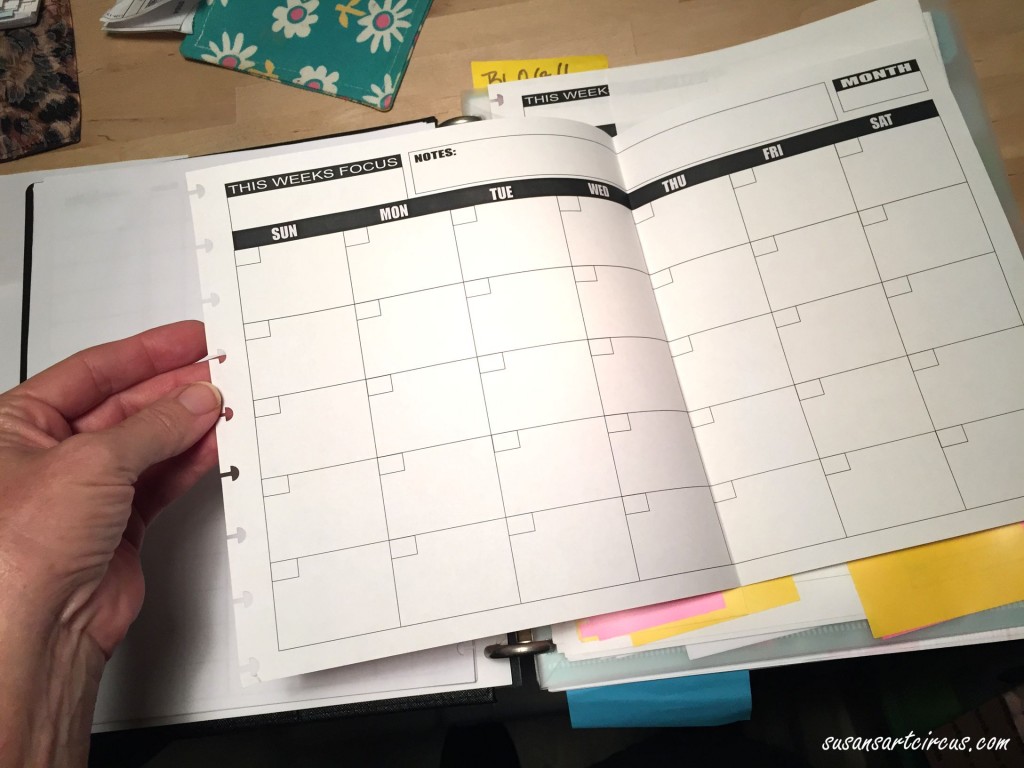
I designed my own calendar.

My Calendar Design

That’s right…just use the punch to put holes in the side and it fits right in! This is on legal paper so I just folded it over so it wouldn’t stick out.

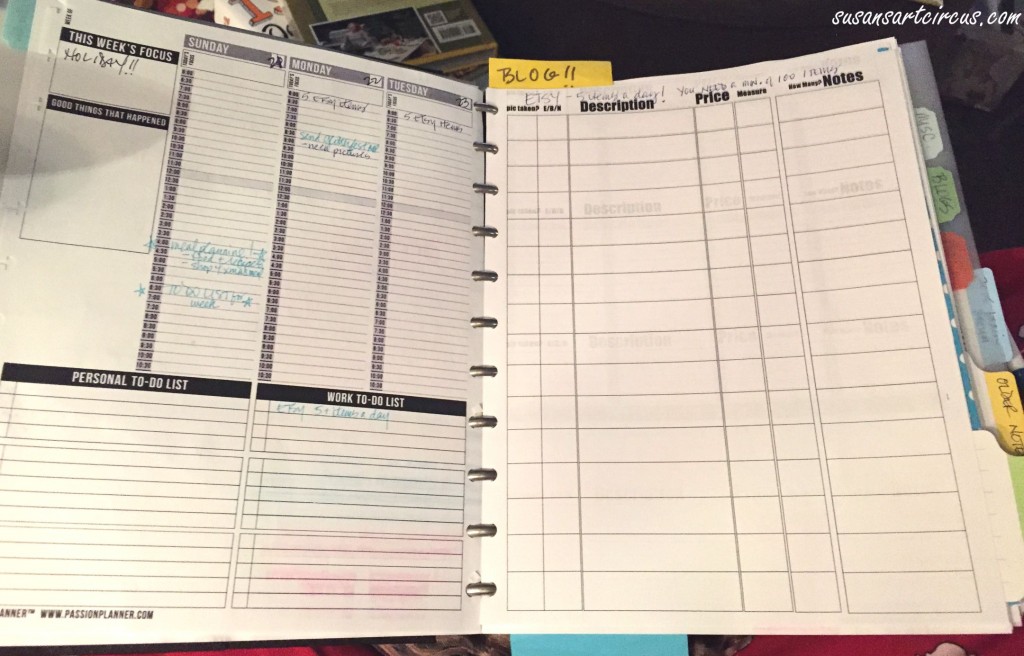
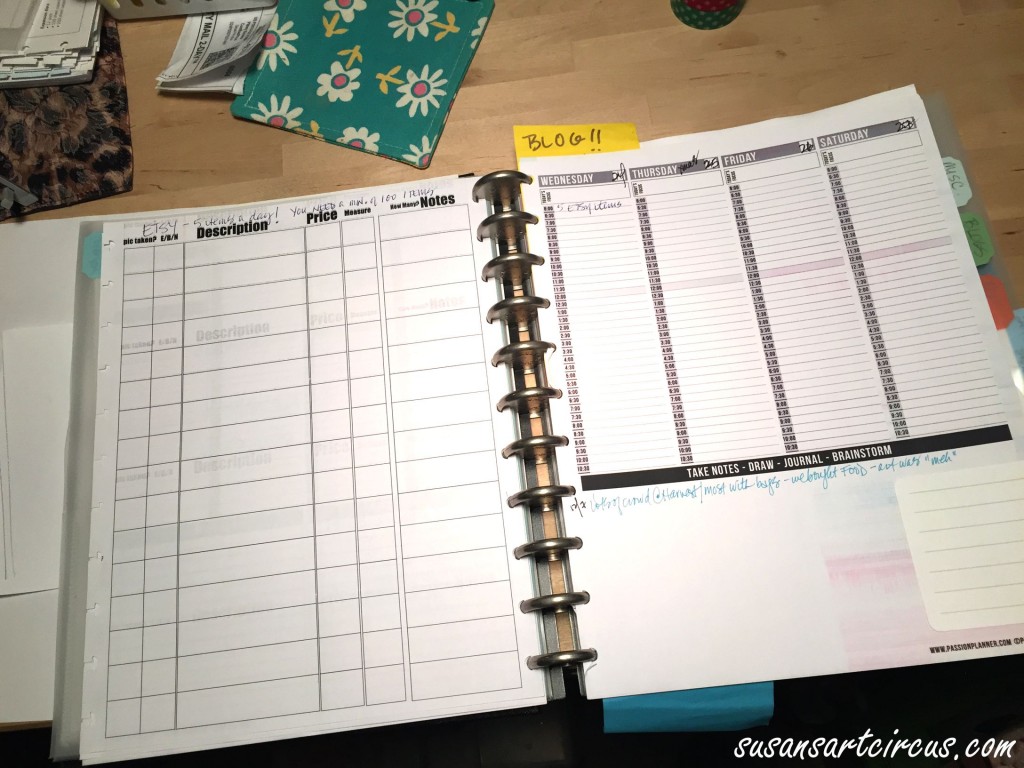
I also used Passion Planner weekly calendars. (if you haven’t seen a Passion Planner you really need to) You can only see the beginning of the weekly version here on the left side. The right side is a sheet I designed so I could have all my Etsy product notes available. Now I can photograph, jot down measurements, prices, and whatever else I need to know when I’m putting items into my shop. All on one page.

Passion Planner page 1

Passion Planner Plus

 Here’s the other side. You can see with the Arc planner punch I did both sides of the Etsy sheet. That way if I’m not finished, but the weekday has changed or I printed another copy of it on the reverse, I just flip it to continue. No fuss, no muss! No more ugly rings to wrench open…and how many times have you had a ring binder close on your finger? Ouch! Never again.

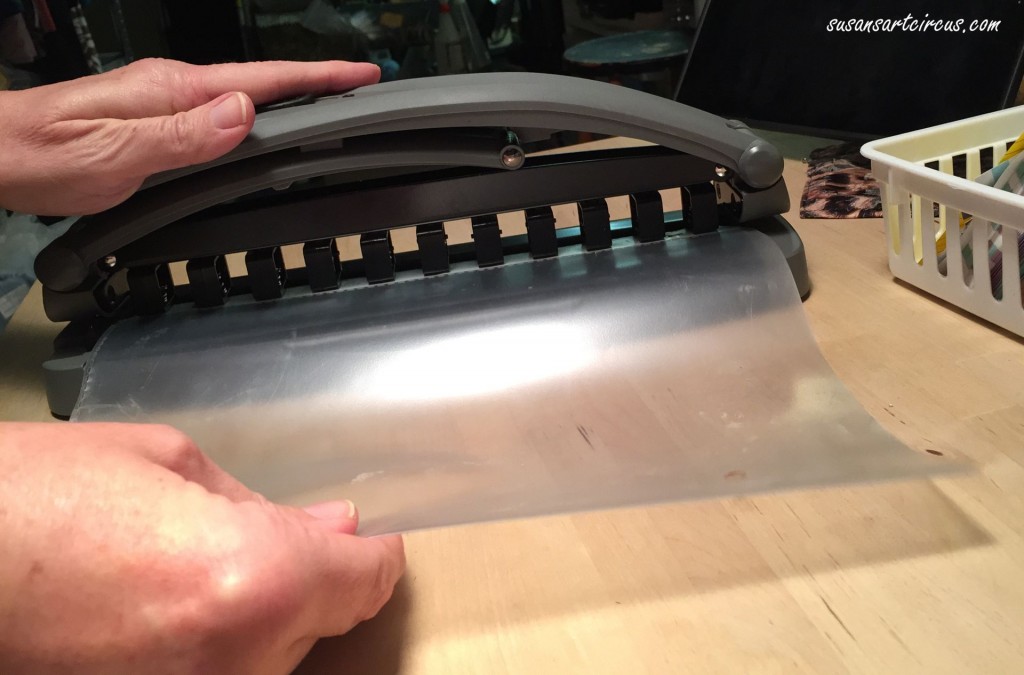
And here is the illustrious Arc planner punch!! Yes…that’s a plastic page cover and it will punch for you! Any kind of paper you want can be customized for this system.

Arc Planner Punch

 So there you have it! Now I have the book shown here, a custom recipe book you can see on January 7 over at the Cre8ive Klatch blog, my daughter will be here posting about her Arc planner on Thursday January 8, and there are some great posts by fellow artists and friends.

Lori Leissner of Leissnerart shows you her intro book planner here and her creative idea for tracking her health here.

Cindy Jones Lantier tells about how she was hooked into the system here.

You might be next to catch the Arc planner bug!!

Until next time,

Susan
Ice Resin Design Team 2.0

Well, to say I’m thrilled would be an understatement…!

It was announced today and the team for Ice Resin in 2015 includes …me!

It’s an honor and a delight to be involved with such a great group. After my 2012-13 involvement with them I have to say I missed them all last year!

Here’s the new team…

Ice Resin Design Team 2015

Here’s to an absolutely creative and artsy 2015!

Please be sure to join me in all the creative festivities!!

Come by and like my page…Susan’s Charming Trinkets and be sure to look up the Ice Resin Design Team on the Ice blog


Until next time,

Susan
Sisal Christmas Trees DIY – Part 2

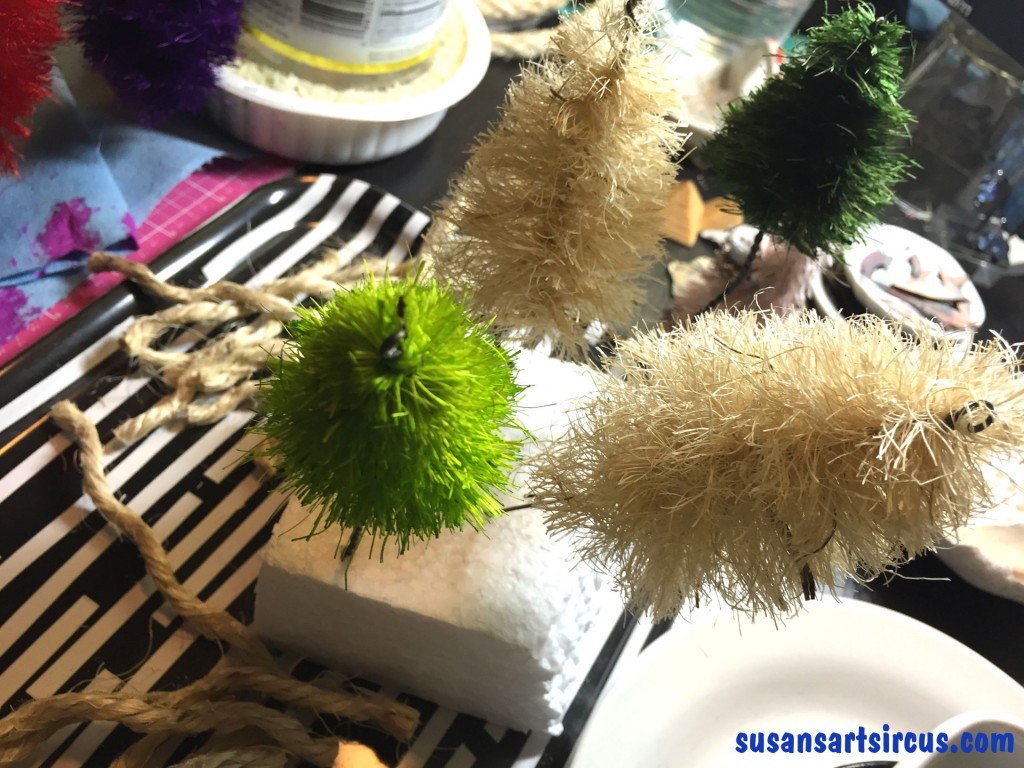
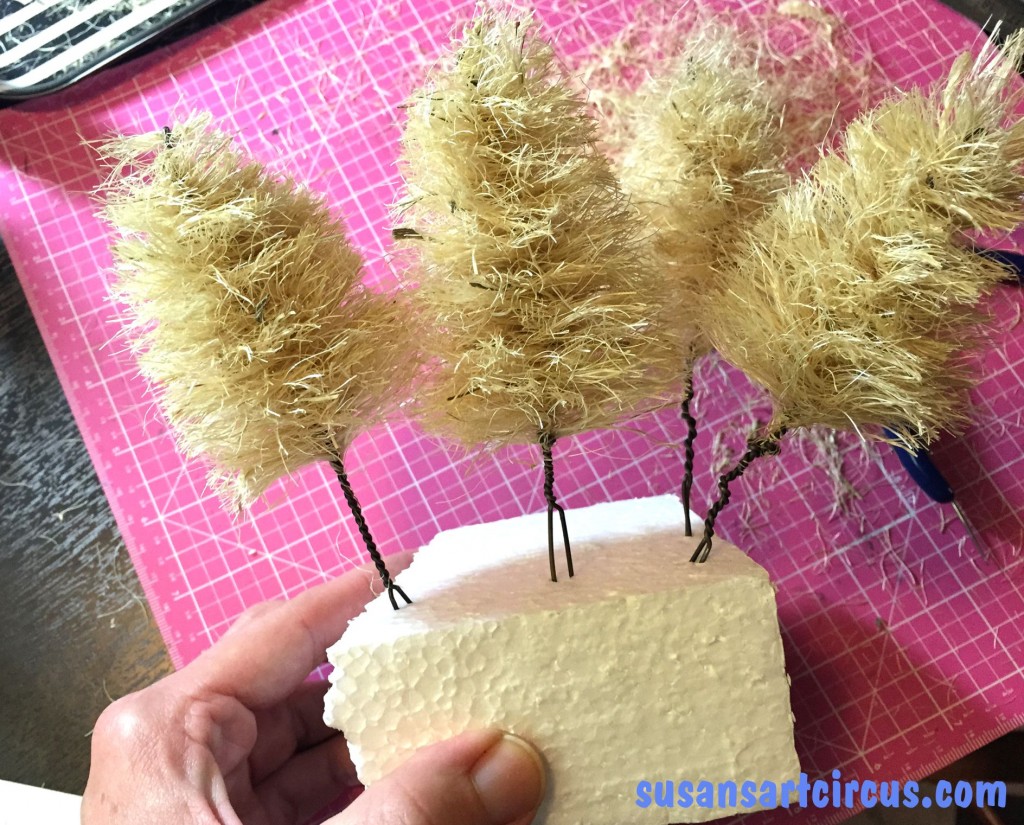
So where did I leave off…Oh yes…little beige sisal Christmas trees!

Sisal Christmas Trees Many

Aren’t they cute? Well they are about to get even cuter! How could we possibly leave sisal Christmas trees their natural color!?

Now the tutorial I had originally read through used leather dyes to color their sisal Christmas trees. I don’t have any of that lying around. Nor do I have any Rit dyes but some of the information on the web asks for that. But I do have, and love, my Dyan Reaveley spray inks. They are the most lovely colors…deep, vibrant, saturated…but one word of warning. They are water soluble. Since I was making what I thought would probably be tree ornaments I’m not concerned that they will get wet. Still something to think about. I’m sure the leather or Rit is not water soluble in the same way so…

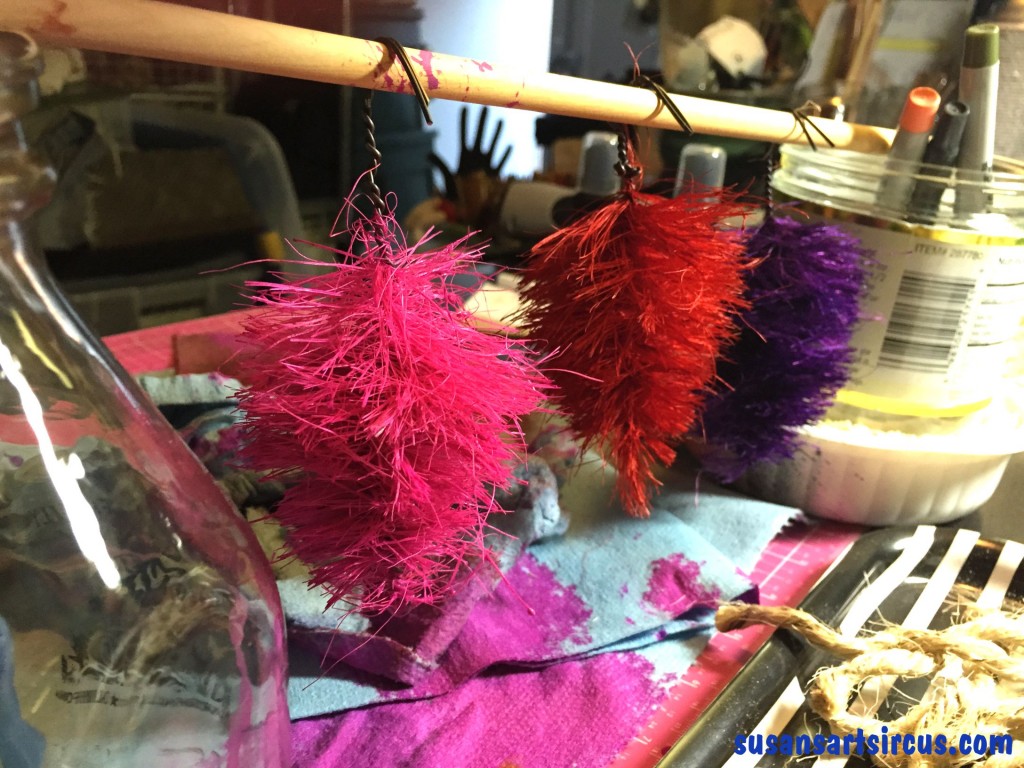
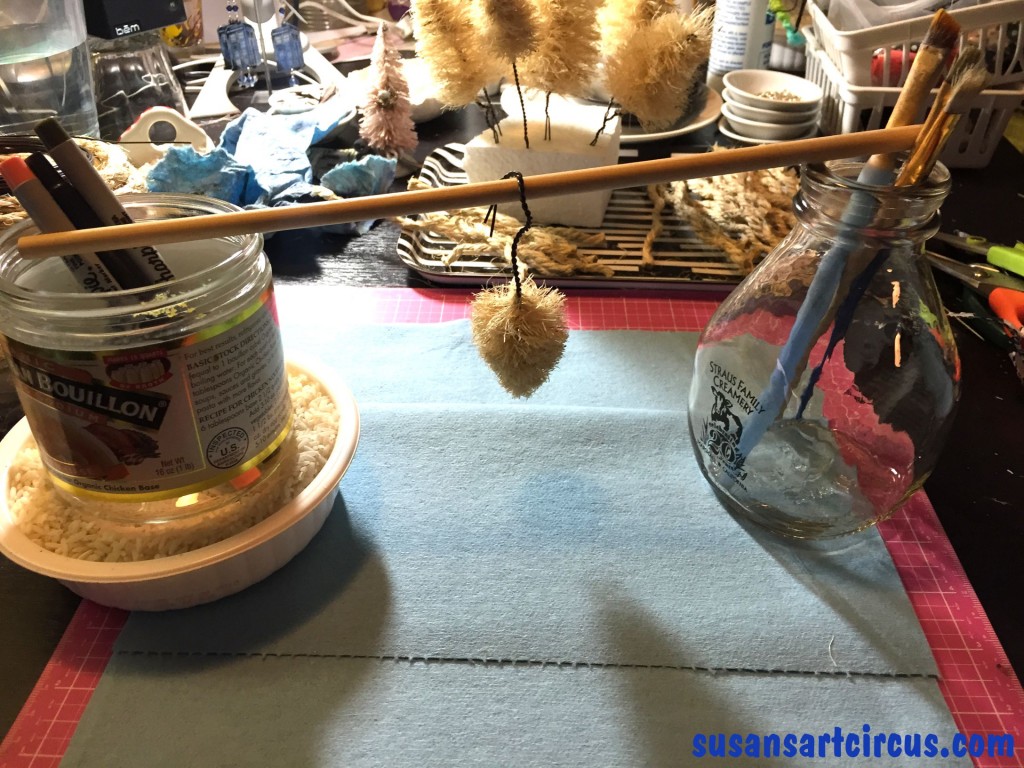
First I rigged up a dowel contraption so I could hang my wet trees to dry.

Sisal Christmas Trees Drying Rack

A loose dowel, a couple of jars, and some make shift pens and brushes to keep it from rolling off. Several paper towels to soak up anything dripping and I’m off to color…

Sisal Christmas Trees Color!

Oh yes!! Color!! Bright beautiful shades…and this is where this craft becomes obsessive.

sisaltree2dyewide

These little sisal Christmas trees just took on a life of their own! The spray inks make all the difference. Once I got this far I knew I was hooked and had to make a bunch.

sisaltree2doweltrees

No color is too outlandish or too odd for these little trees! And just think of all the little tree scapes I can make! So exciting!!

After they dry you can decorate them even further. I chose to use glitters for the next phase..

sisaltree3glitterwide

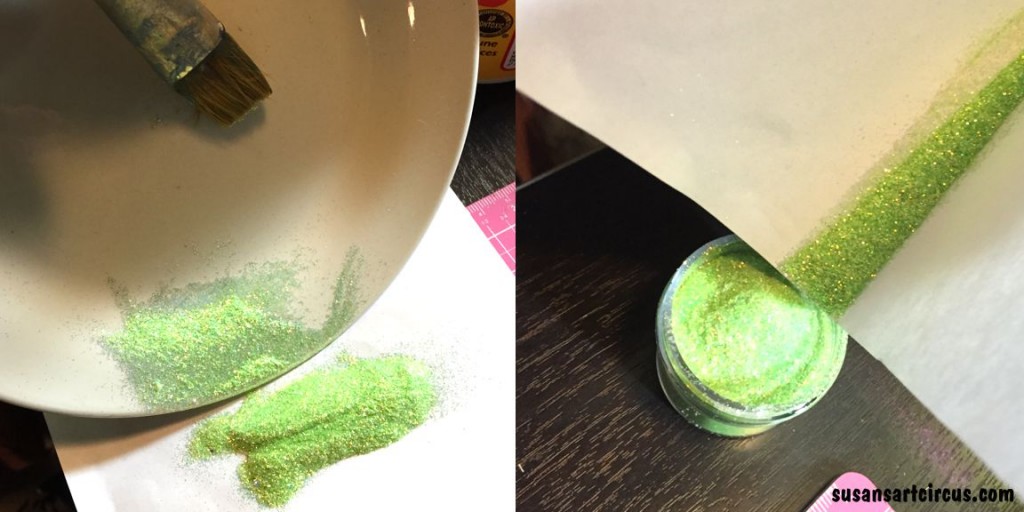
Pour your glitter into a flat plate or a sheet of paper kind of piled up into a small mountain. Using ModPodge or another craft glue and a small brush just graze the tips of your tree with the glue. Then dip the gluey tips into the mountain of glitter being sure you tap off to remove any unused glitter that may want to hang on. Repeat this until you get all the way around your tree.

Once you’re done with the glitter dump it onto a sheet of paper (or maybe that’s where you started) then fold into a sort of slide and dump your glitter back into the container. I had used a plate so I took a dry paintbrush to scrape off the glitter onto paper then folded it slightly to get it back in the jar. Needless to say after half a dozen trees I had glitter on my hands, face, clothing, and shed a glitter trail while I walked around the house!

sisaltree3savingglitter

And now the great reveal…

sisaltree4ours

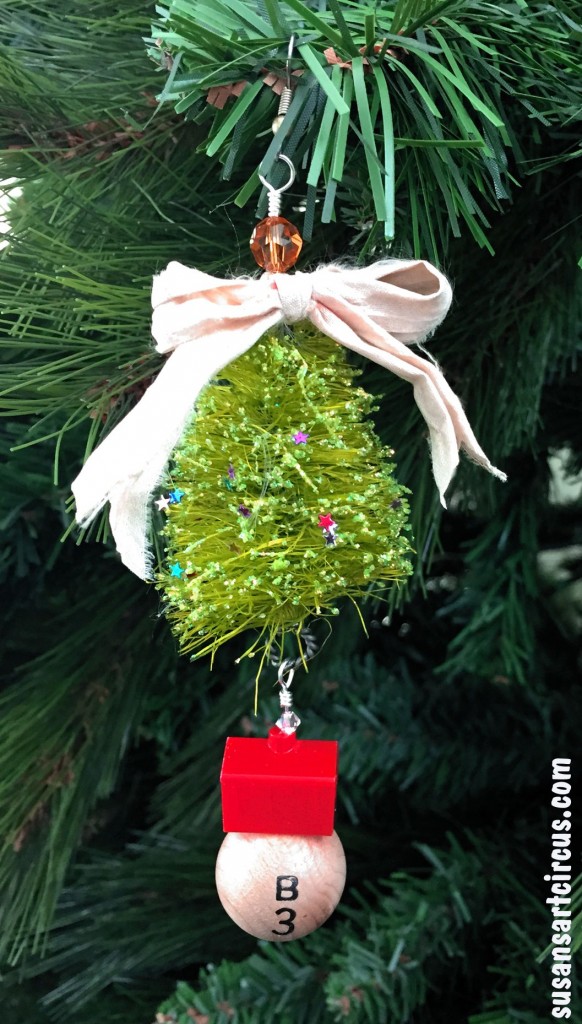
Isn’t this adorable? This one is for us. The family name is Beverly so the vintage bingo ball at the bottom fits perfectly.

sisaltree4second

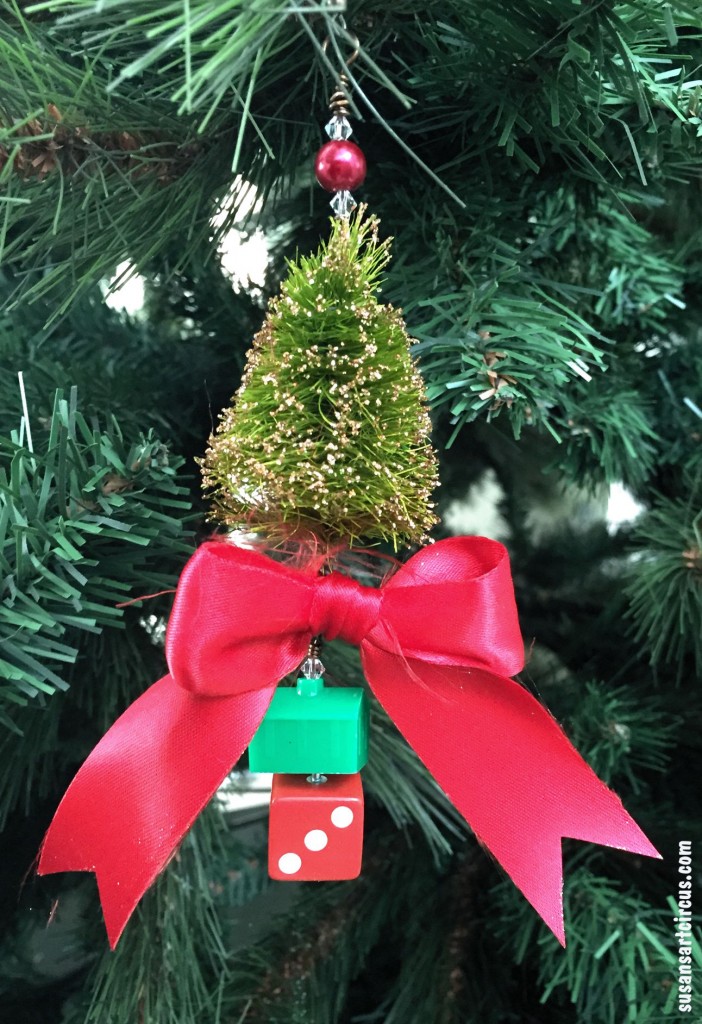
Shhh…but this one is a gift for new neighbors. They just moved in maybe a month ago so we thought they might like something for their first Christmas in their new home.

sisaltree5theend


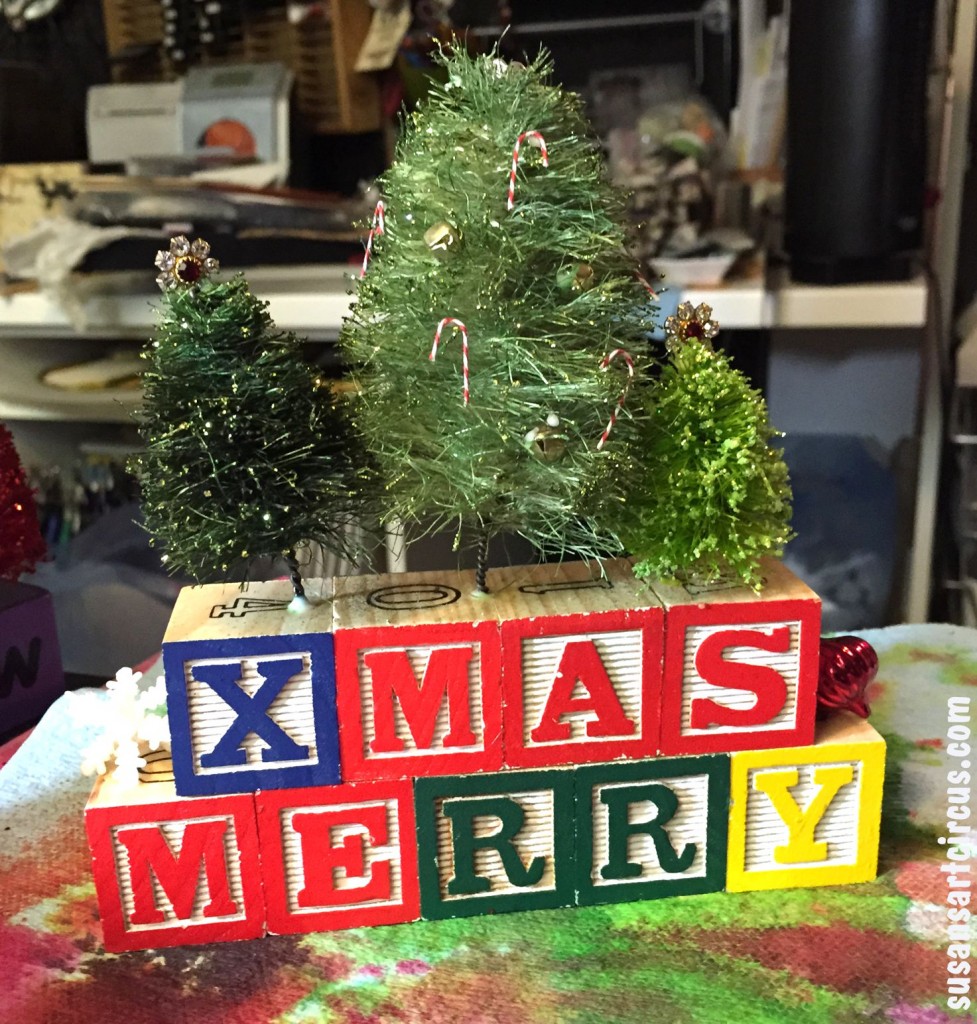
And this is almost complete and in my living room I took it’s picture before I had a chance to add the ribbons and a couple other things.

I hope you’ll think about making some of these sisal Christmas trees for yourself. It’s a bit messy but oh so much fun! And if you do let me know!

Come post a pic on my FB page:

Susan’s Charming Trinkets

Until next time!!

Susan

P.S. Here are a few great links to other sisal Christmas tree projects and tutorial…

The original that inspired me to try this: Cathe Holden’s Site

Another fun one: Pink House

…and some on how to dye them…

Elizabeth Kartchner

Halloween Trees (these are pretty great!)

Polyvore Collage Play!

Ice resin play...


Today has currently been spent playing and making Polyvore collage pictures.  Do you know what that is? I call Polyvore an aggregate app or a place that stores tons of information, photos, and tools pulled from many sites all over the web and keeps them all in one place. Then you and I can go in there and pull out the pieces that we like and put them into these fun Polyvore collages. Like the one above. You can even add text and other elements for a great graphic effect.

When I was finished with this collage it allowed me to copy and paste the html code so it would show up here. Now if you click on the picture you will be taken to Polyvore where it will show you the link to purchase. Pretty nifty! You can then purchase directly by clicking those links…if anything appeals to you. And the best part is they are linked to my supply shop on Etsy. I think that’s very cool! It makes me think of a million ways to use Polyvore collage boards for other aspects of my business.

Polyvore could be a great tool for anyone who blogs or reps their own creations. Membership to play is free and you can also poke around and follow other folks you might know who are making Polyvore collages too! (like me!)

So go on over and give it a try! Then come back and put your links in the comments so I can see what you chose for your Polyvore collage!

Until next time,

Susan