Author: susanmwb
Multi-passionate artist living each day as creatively as possible!!
Ice Resin Design Team 2.0
Well, to say I’m thrilled would be an understatement…!
It was announced today and the team for Ice Resin in 2015 includes …me!
It’s an honor and a delight to be involved with such a great group. After my 2012-13 involvement with them I have to say I missed them all last year!
Here’s the new team…
Here’s to an absolutely creative and artsy 2015!
Please be sure to join me in all the creative festivities!!
Come by and like my page…Susan’s Charming Trinkets and be sure to look up the Ice Resin Design Team on the Ice blog
Until next time,
Susan
Sisal Christmas Trees DIY – Part 2
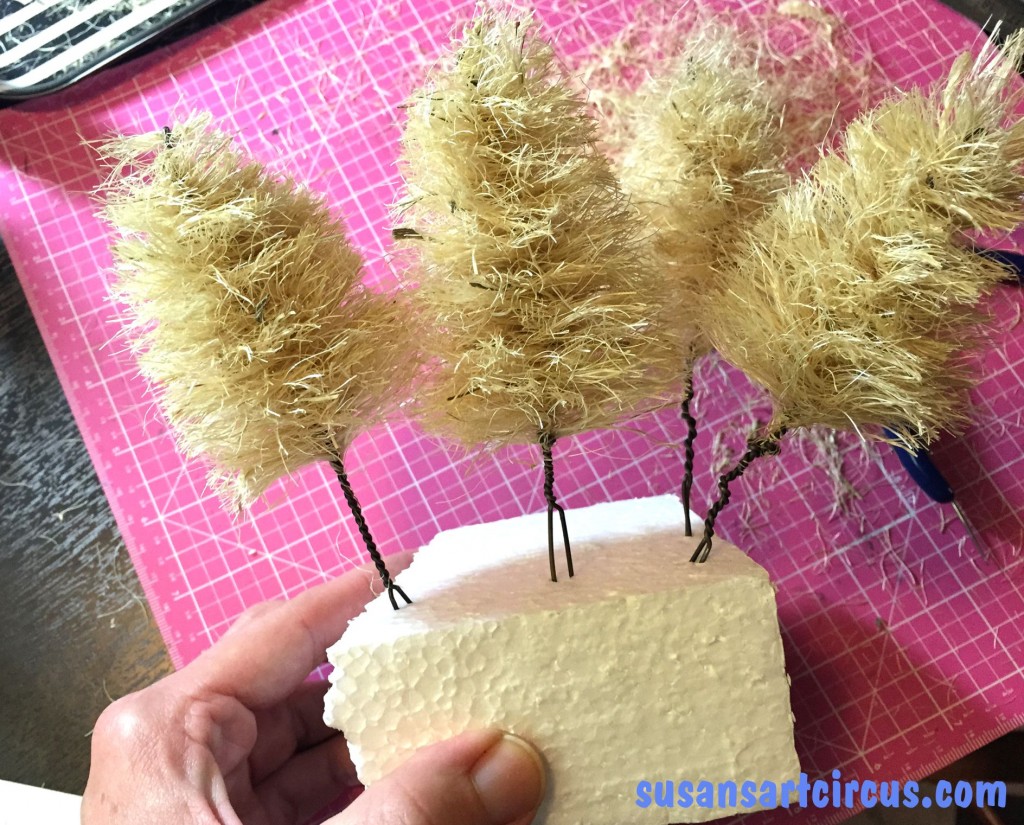
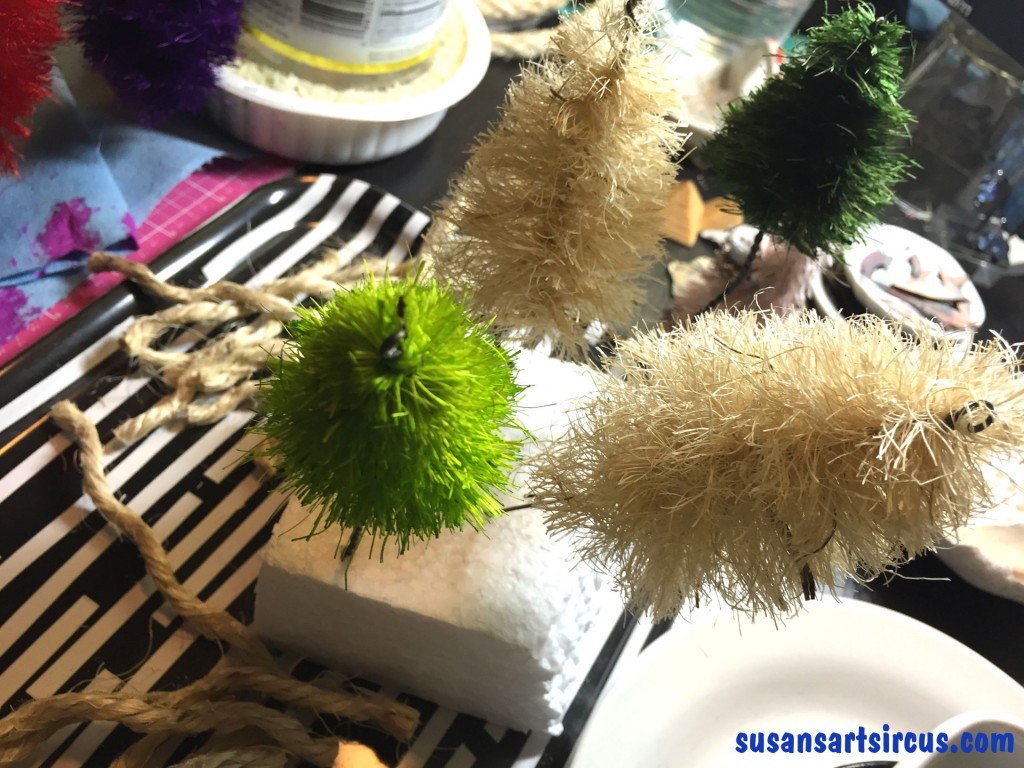
So where did I leave off…Oh yes…little beige sisal Christmas trees!
Aren’t they cute? Well they are about to get even cuter! How could we possibly leave sisal Christmas trees their natural color!?
Now the tutorial I had originally read through used leather dyes to color their sisal Christmas trees. I don’t have any of that lying around. Nor do I have any Rit dyes but some of the information on the web asks for that. But I do have, and love, my Dyan Reaveley spray inks. They are the most lovely colors…deep, vibrant, saturated…but one word of warning. They are water soluble. Since I was making what I thought would probably be tree ornaments I’m not concerned that they will get wet. Still something to think about. I’m sure the leather or Rit is not water soluble in the same way so…
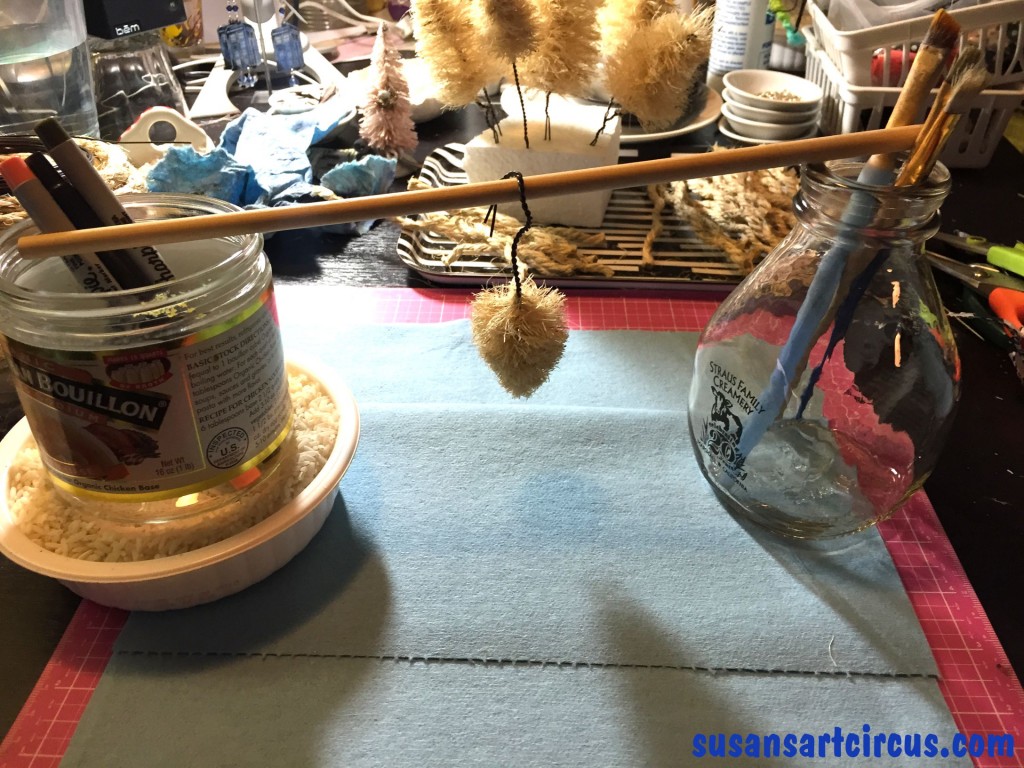
First I rigged up a dowel contraption so I could hang my wet trees to dry.
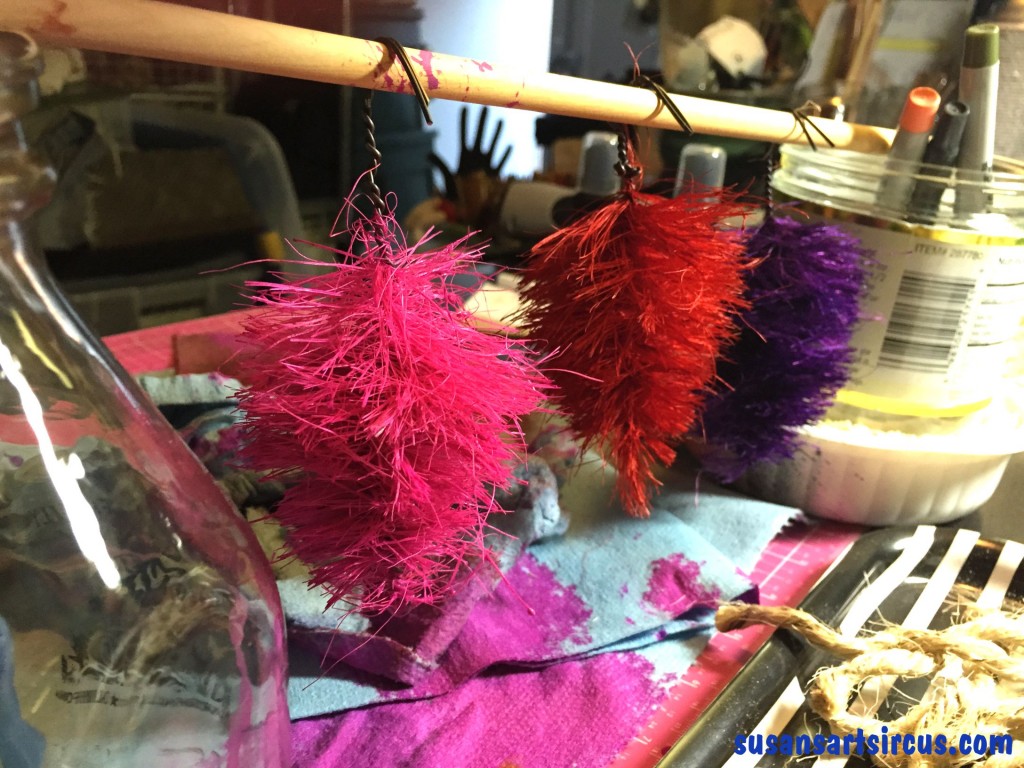
A loose dowel, a couple of jars, and some make shift pens and brushes to keep it from rolling off. Several paper towels to soak up anything dripping and I’m off to color…
Oh yes!! Color!! Bright beautiful shades…and this is where this craft becomes obsessive.
These little sisal Christmas trees just took on a life of their own! The spray inks make all the difference. Once I got this far I knew I was hooked and had to make a bunch.
No color is too outlandish or too odd for these little trees! And just think of all the little tree scapes I can make! So exciting!!
After they dry you can decorate them even further. I chose to use glitters for the next phase..
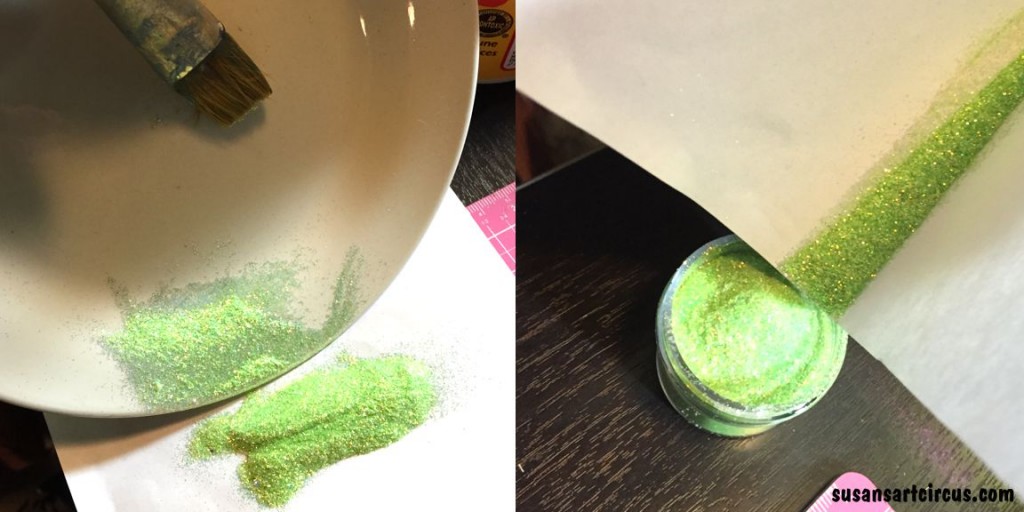
Pour your glitter into a flat plate or a sheet of paper kind of piled up into a small mountain. Using ModPodge or another craft glue and a small brush just graze the tips of your tree with the glue. Then dip the gluey tips into the mountain of glitter being sure you tap off to remove any unused glitter that may want to hang on. Repeat this until you get all the way around your tree.
Once you’re done with the glitter dump it onto a sheet of paper (or maybe that’s where you started) then fold into a sort of slide and dump your glitter back into the container. I had used a plate so I took a dry paintbrush to scrape off the glitter onto paper then folded it slightly to get it back in the jar. Needless to say after half a dozen trees I had glitter on my hands, face, clothing, and shed a glitter trail while I walked around the house!
And now the great reveal…
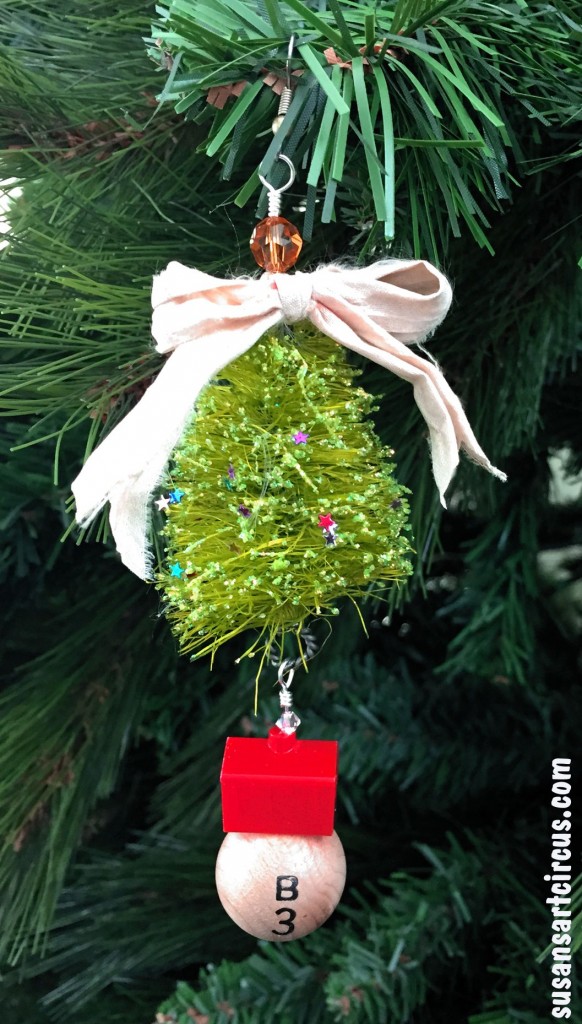
Isn’t this adorable? This one is for us. The family name is Beverly so the vintage bingo ball at the bottom fits perfectly.
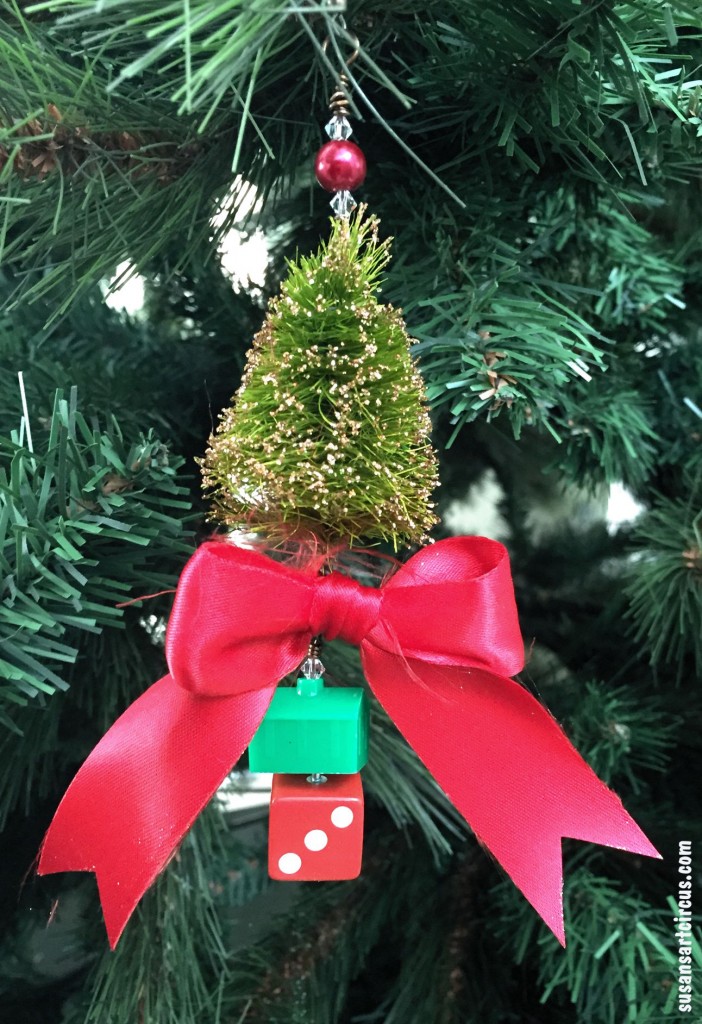
Shhh…but this one is a gift for new neighbors. They just moved in maybe a month ago so we thought they might like something for their first Christmas in their new home.
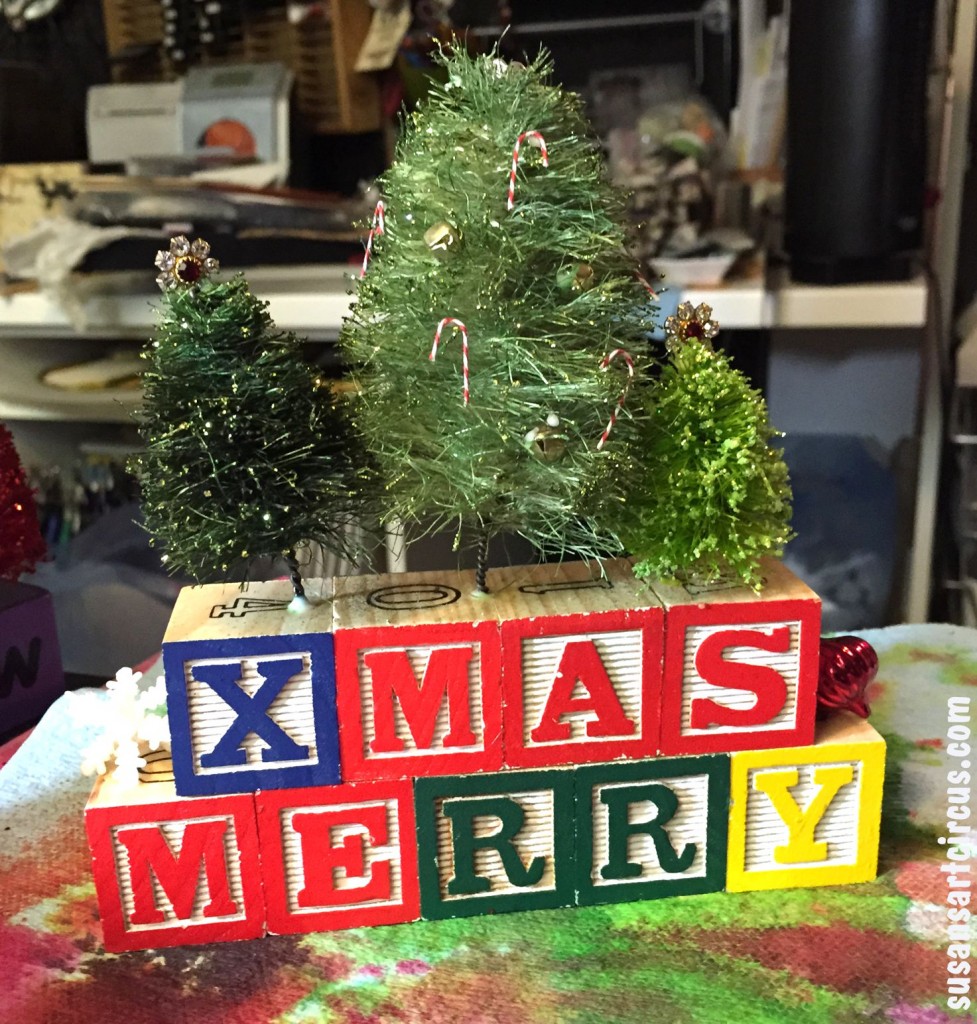
And this is almost complete and in my living room I took it’s picture before I had a chance to add the ribbons and a couple other things.
I hope you’ll think about making some of these sisal Christmas trees for yourself. It’s a bit messy but oh so much fun! And if you do let me know!
Come post a pic on my FB page:
Susan’s Charming Trinkets
Until next time!!
Susan
P.S. Here are a few great links to other sisal Christmas tree projects and tutorial…
The original that inspired me to try this: Cathe Holden’s Site
Another fun one: Pink House
…and some on how to dye them…
Elizabeth Kartchner
Halloween Trees (these are pretty great!)
Polyvore Collage Play!
Today has currently been spent playing and making Polyvore collage pictures. Do you know what that is? I call Polyvore an aggregate app or a place that stores tons of information, photos, and tools pulled from many sites all over the web and keeps them all in one place. Then you and I can go in there and pull out the pieces that we like and put them into these fun Polyvore collages. Like the one above. You can even add text and other elements for a great graphic effect.
When I was finished with this collage it allowed me to copy and paste the html code so it would show up here. Now if you click on the picture you will be taken to Polyvore where it will show you the link to purchase. Pretty nifty! You can then purchase directly by clicking those links…if anything appeals to you. And the best part is they are linked to my supply shop on Etsy. I think that’s very cool! It makes me think of a million ways to use Polyvore collage boards for other aspects of my business.
Polyvore could be a great tool for anyone who blogs or reps their own creations. Membership to play is free and you can also poke around and follow other folks you might know who are making Polyvore collages too! (like me!)
So go on over and give it a try! Then come back and put your links in the comments so I can see what you chose for your Polyvore collage!
Until next time,
Susan
Sisal Christmas Trees DIY
Inspired by another artist I decided to make some of those little sisal Christmas trees this year. Of course you can buy bags of sisal trees but I needed to make them from scratch. (of course)
So I headed off to Home Depot for some ingredients:
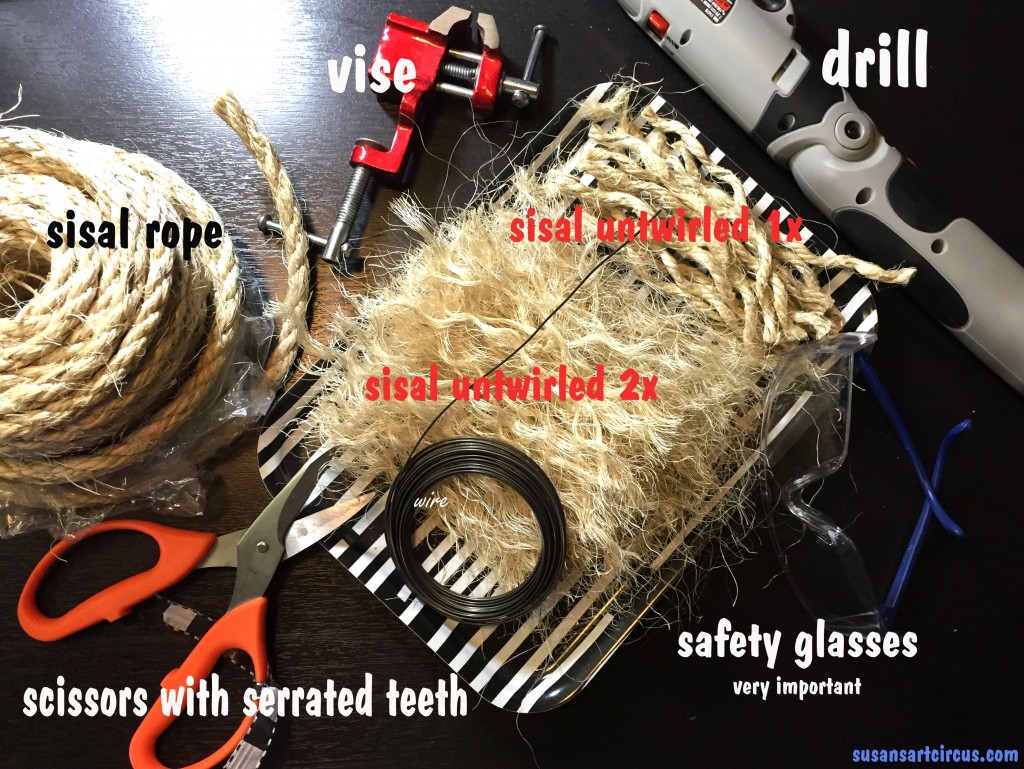
Based on my inspiration tutorial, which you can find here: DIY Bottle Brush Trees, these are all the necessary things.
-
sisal natural rope
-
heavy duty scissors (I went with serrated blades)
-
18 gauge wire
-
vise
-
drill
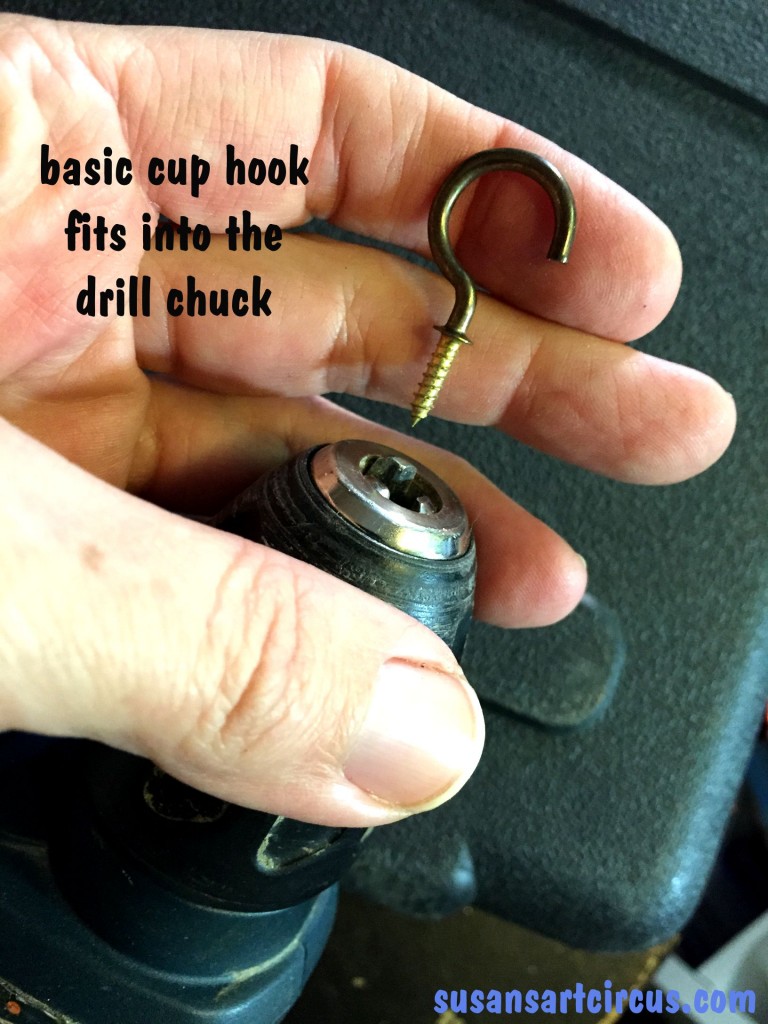
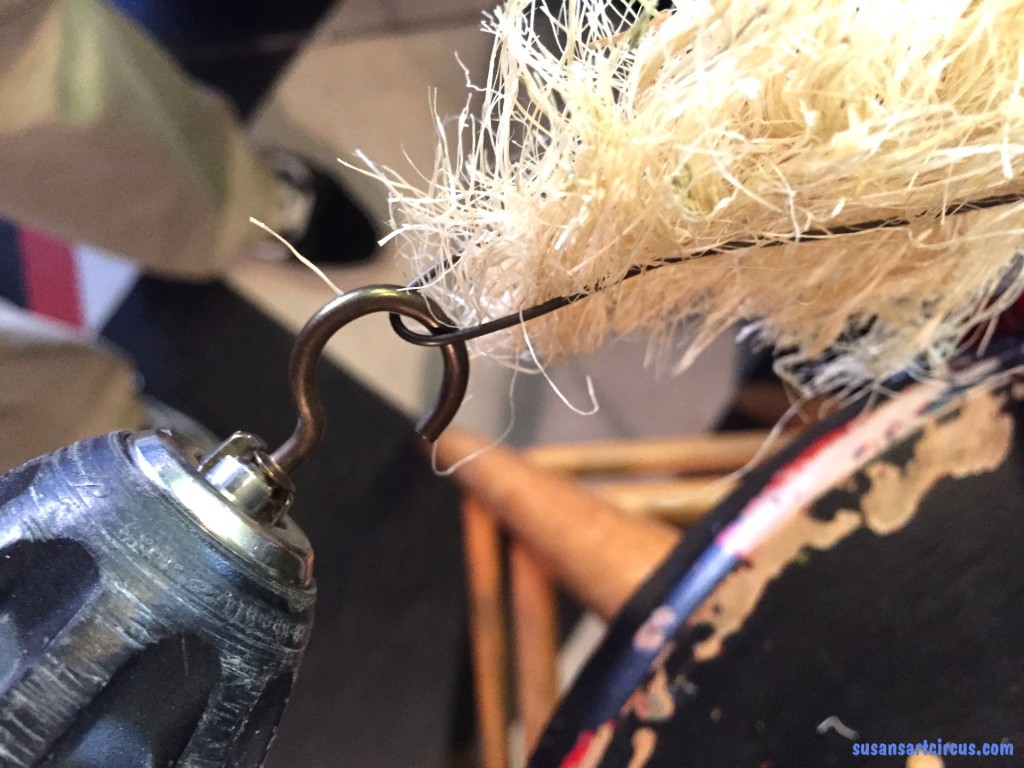
I added safety glasses and a cup hook to this list. Also the above picture shows my household drill that doesn’t have an adjustable chuck (the thing that holds the bit) so I needed to upgrade into this…
It has three movable parts where the bit is held so I could do this with the cup hook…
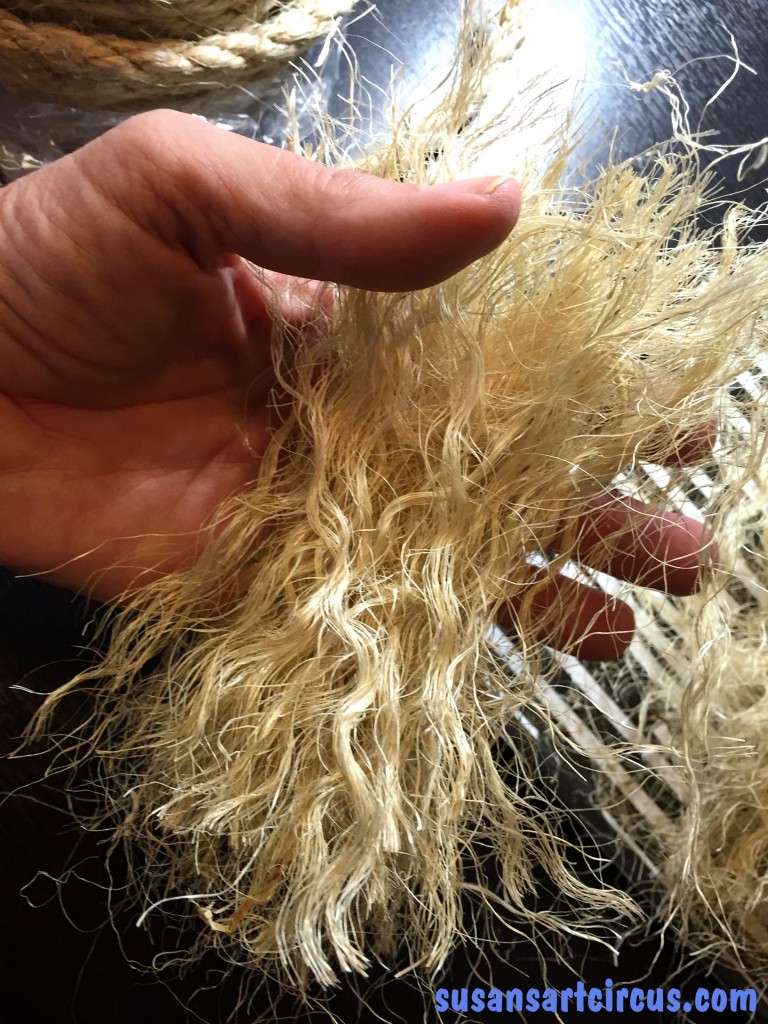
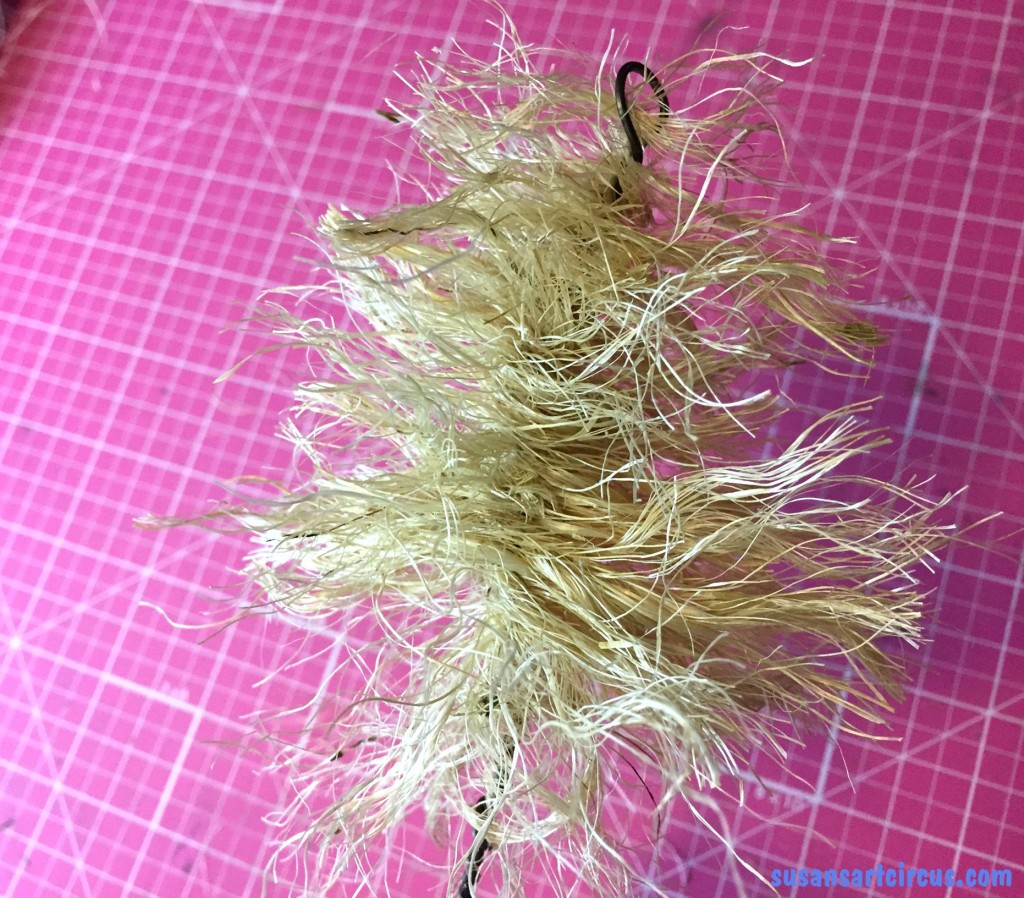
I stuck that in there for twirling of the wire necessary to make the tree. But let’s back up a little and start with the sisal. First you want to cut some lengths of the rope to work with. I cut 6 inch pieces, about 20 to start, then untwirled all the fibers. You will have to untwirl two times. The first will take apart the rope. The second will take apart the fibers and look the picture below. At least this is what you are shooting for.
Looks like my hair! Keep doing this until you have a nice full pile. Mine were about 6 undone strands of rope each but you can really do more or less depending on your aesthetic.
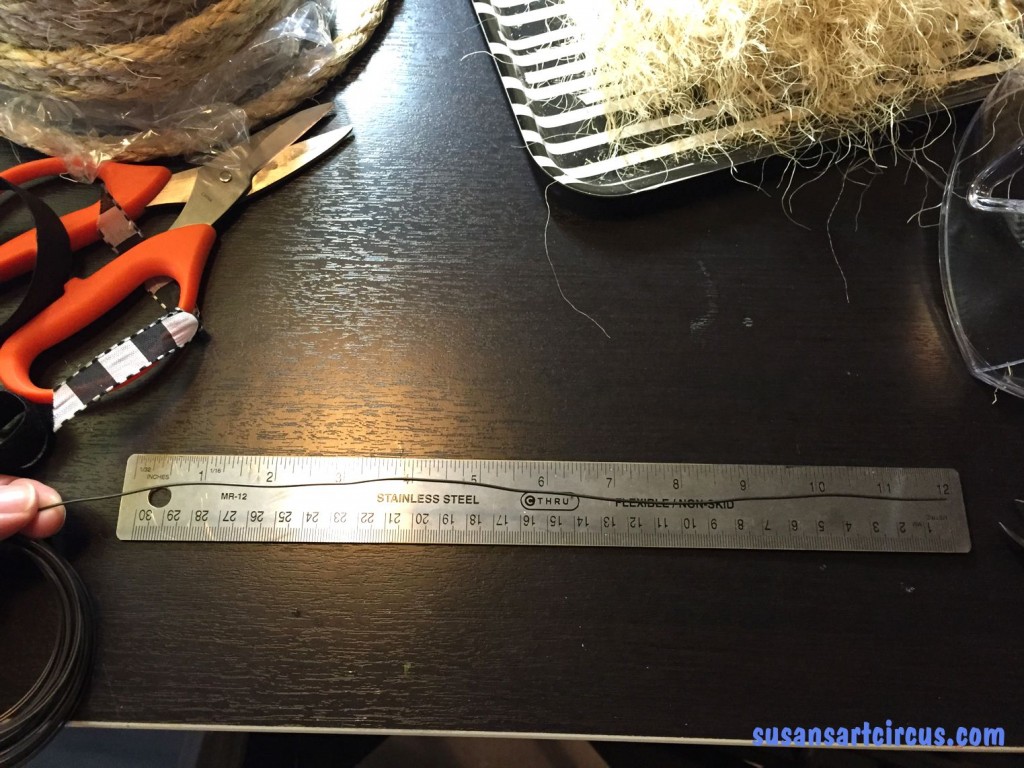
Next you will need to cut the wire.
I started with 12 inch pieces which then are folded in half.
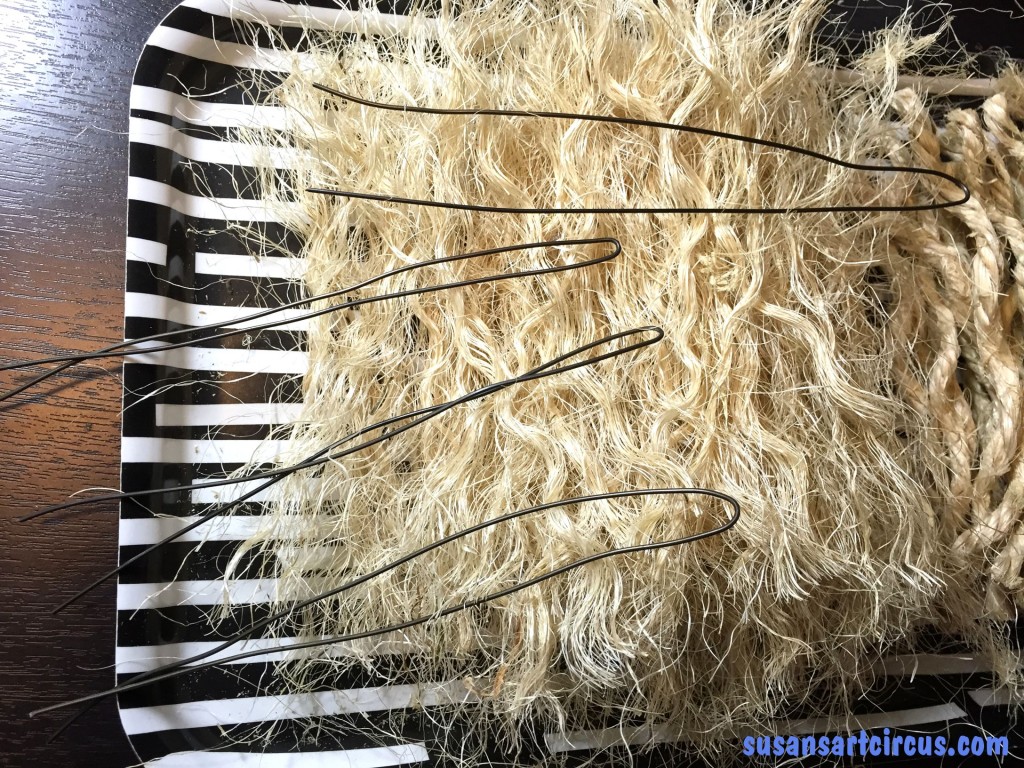
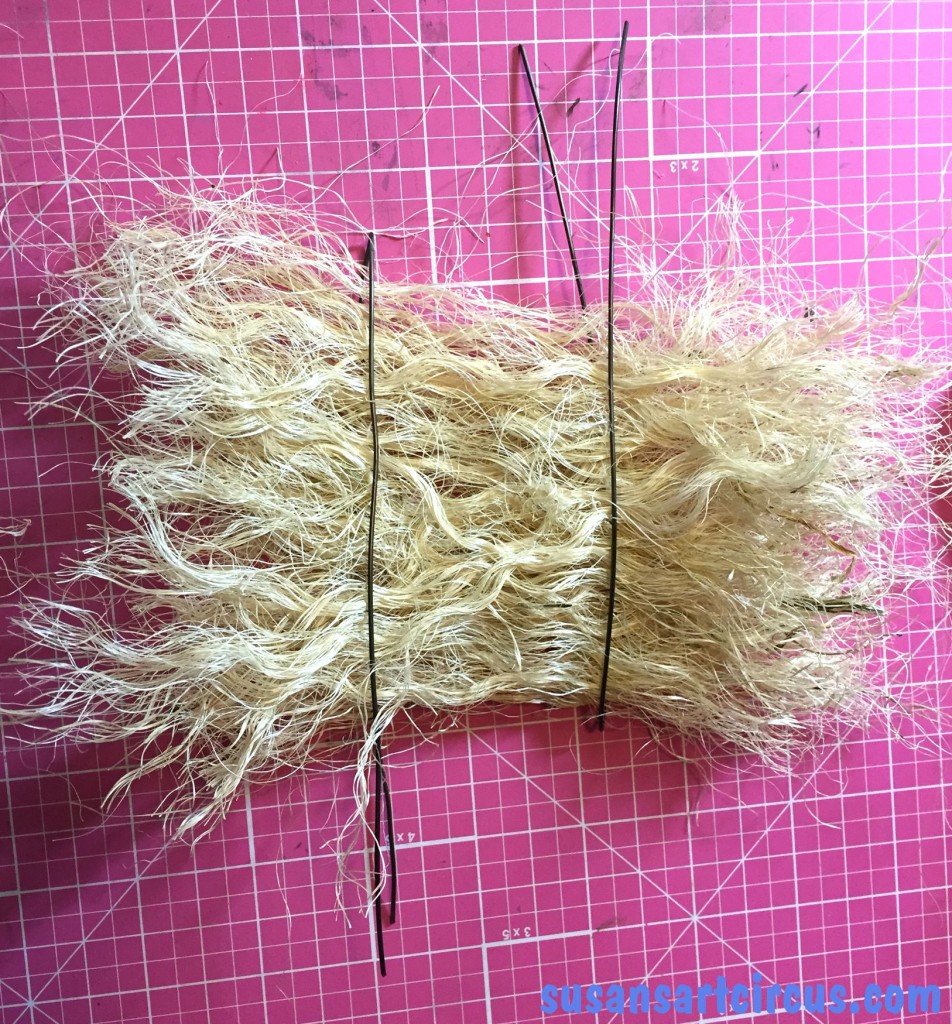
Now take your pile of fibers and fit them in between one of the folded wires. Take a second wire and place it over the fibers in the opposite direction. Slip these to each side of your fiber pile and it should look like this.
Trust me…at this point you’ve made a big mess and you’re wondering if this is even going to work. But be patient because it’s slowly coming together.
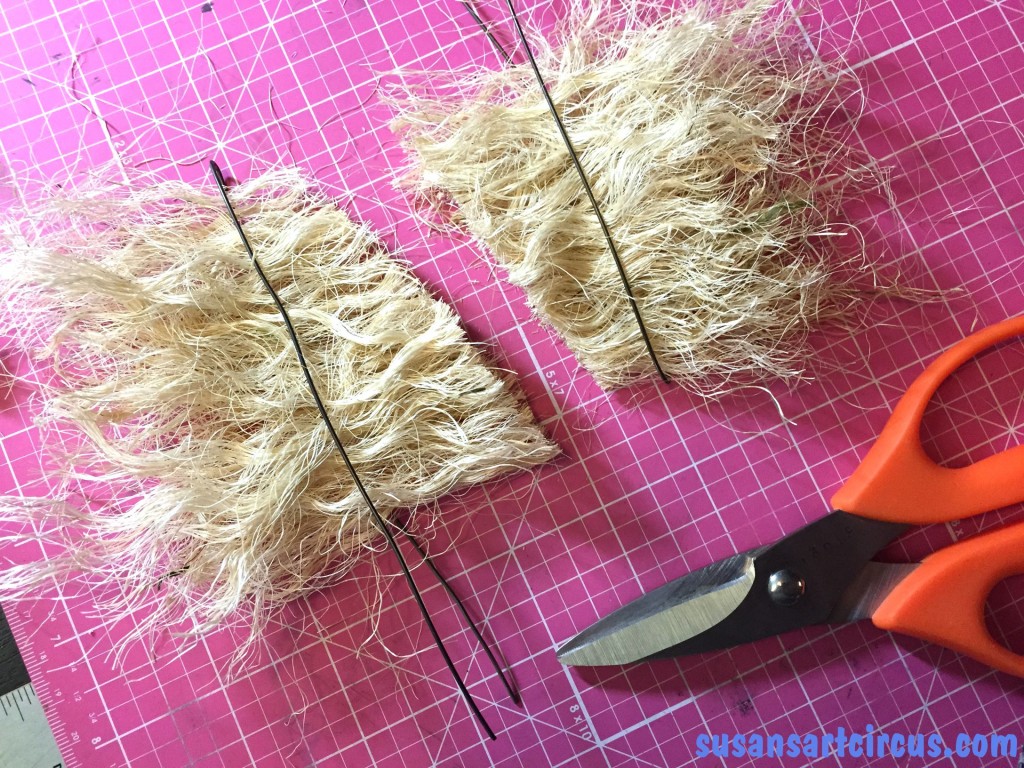
Get your scissors and we are going to cut diagonally in between the wires like so…
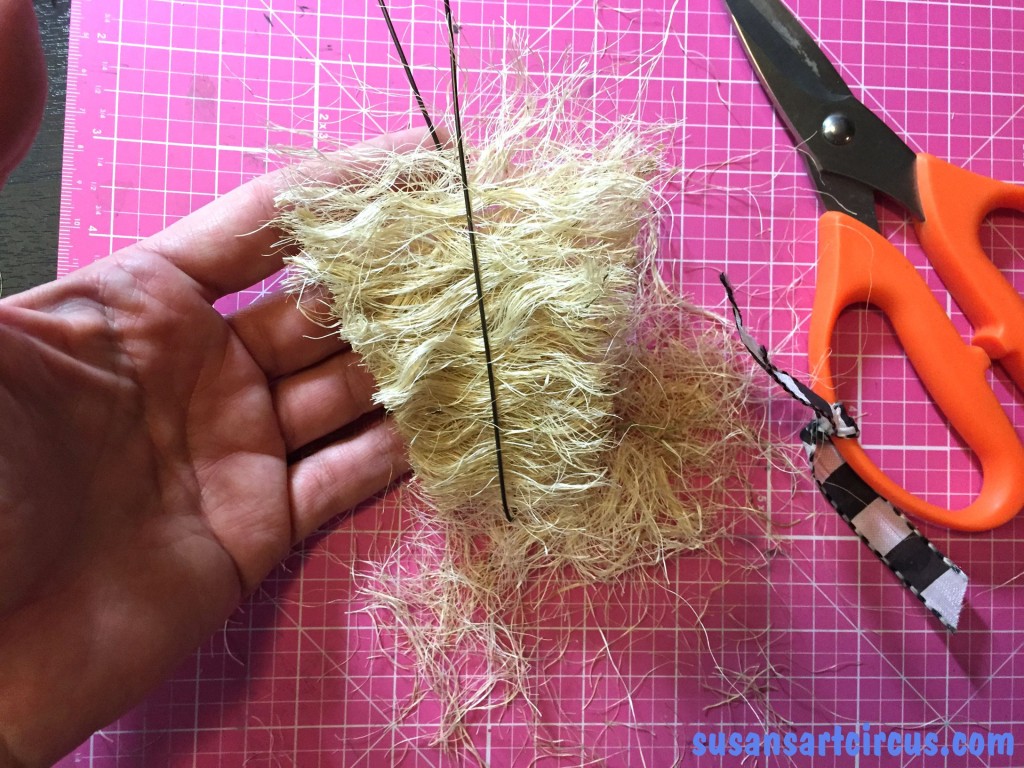
Then go back to each side and make some more diagonal cuts so you have basic tree shapes.
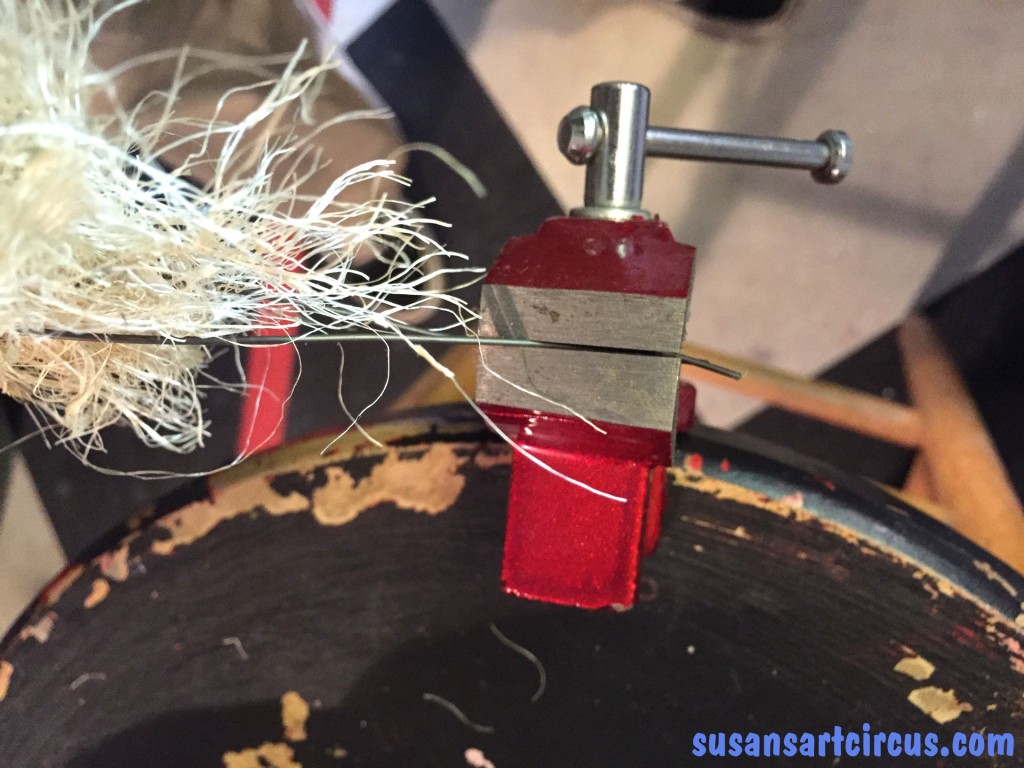
Here’s where that cup hook and larger drill come into play. Placing the bottom of the wires, the open end, into your vise screw it down hard so they will stay put.
Then take your drill with the cup hook and place the hook like so in the folded portion of the wire…
Pulling up slightly with the drill start to allow the wire to twirl. The hook will probably catch a bit more wire here than you would like but keep twirling with the drill moving slowly until you get the hang of it. The wire will be very twisted when it’s done but not so twisted that it breaks or twirls over on itself. This took me a few tries before I felt comfortable. AND WEAR YOUR SAFETY GLASSES! You don’t want things spinning through the air to hit you in the eyes!
So here is the pay off…
A messy tree like thing…but wait! Take your scissors or, I used a needle tool, and brush out the fibers. I found it best to work in one direction. Then using your scissors trim into a tree shape. Keep trimming…and trimming….and trimming and a tree will appear!
Miraculous! All of a sudden you really have a mini sisal Christmas trees….but they’re beige. And now the real fun begins!
Don’t hate me but I’m not going to show you until tomorrow!
See you back here then!
Susan
